
Last Updated on April 15, 2026 by Indoor Plant Nook
If you want to know how to use bonsai wire cutters on roots without crushing tissue or stripping bark, the short answer is: treat them as a precision tool for wire removal and for very small roots in tight spots—not as a substitute for root shears on thick wood. Most beginners quietly damage roots by using the wrong jaw angle, skipping relief cuts on embedded wire, or cutting roots that are too large for the cutter’s geometry.
This guide walks through how to use bonsai wire cutters on roots step by step: where they fit in root work, how to position the jaws, how to remove wire safely, and which mistakes to avoid.
When (and How) to Use Bonsai Wire Cutters on Roots
Bonsai wire cutters are built to shear annealed aluminum or copper wire without chewing bark. That same blunt, shearing jaw shape also makes them useful on roots—but only in narrow situations: surface roots wrapped with wire, embedded wire that must be cut into segments, and very small feeder roots where scissors cannot reach without disturbing the rest of the root ball.
Where wire cutters help on roots:
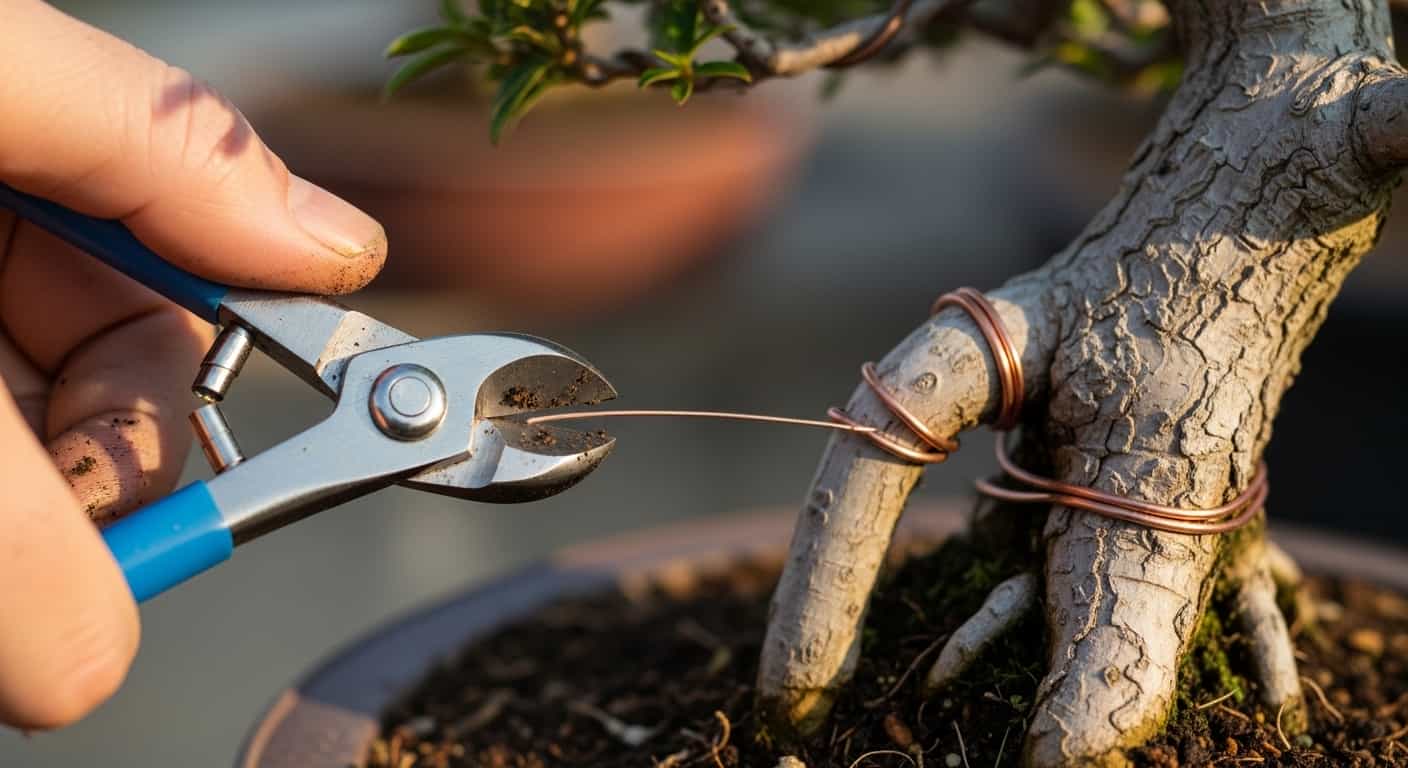
- Cutting training wire that runs along or wraps surface roots before you lift segments out
- Freeing roots that have grown around wire after long training
- Snipping small feeder roots (typically under about 3–4 mm) in tight pot corners during repotting
Where you should not rely on them for roots:
- Thick structural roots (roughly over 5–6 mm)—use concave cutters or root shears
- Heavy woody roots—wire cutters tend to crush rather than slice, which invites die-back
- Broad combing and sorting of the root mass—use rakes, hooks, and root scissors for control
The rule for how to use bonsai wire cutters on roots is simple: they are a supplemental tool for delicate cuts and wire removal, not the main root-pruning tool for big cuts.
Know Your Cutters Before You Touch the Roots
Before you use bonsai wire cutters on roots, it helps to know which style you have and how the jaws behave under the trunk and nebari.
Common bonsai wire cutter types:
Spherical or round-head wire cutters — The domed head lets the jaws sit close to bark or root without the handles blocking you. That clearance matters when you cut wire flush along a surface root.
Diagonal or flush wire cutters — Angled jaws can give a flatter cut when the wire lies along the soil line; match the jaw angle to the root so you are cutting wire, not pressing the root flat.
What to look for if roots will see regular use:
- Japanese high-carbon steel for edge life through wire and occasional organic cuts
- A smooth return spring so long sessions stay accurate
- Jaws that meet cleanly at the tip—misaligned jaws crush and tear root tissue
Note: tools like knob or concave cutters are meant for woody cuts and hollow wounds; they are not interchangeable with wire cutters for the techniques below. Stick to wire-cutter jaw geometry and the size limits in this guide.
How to Use Bonsai Wire Cutters on Roots: Remove Wire Safely
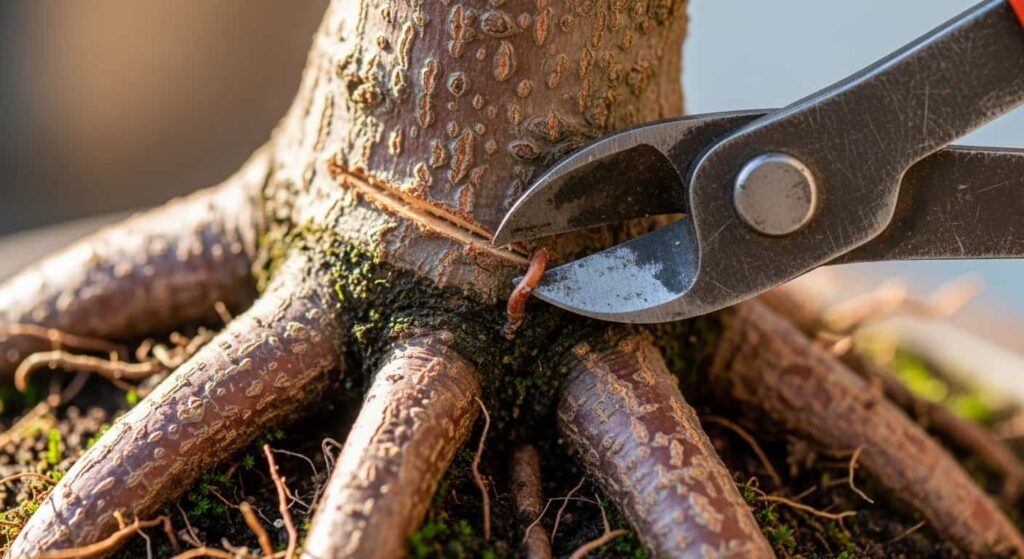
Removing training wire from surface roots is one of the most delicate jobs. Wire left on for a full season may sit partly in the bark. The method below is the standard safe sequence.
Tools: round-head bonsai wire cutters, tweezers or a root hook, disinfectant (70% isopropyl alcohol or cut paste).
Step 1: Check how deep the wire sits
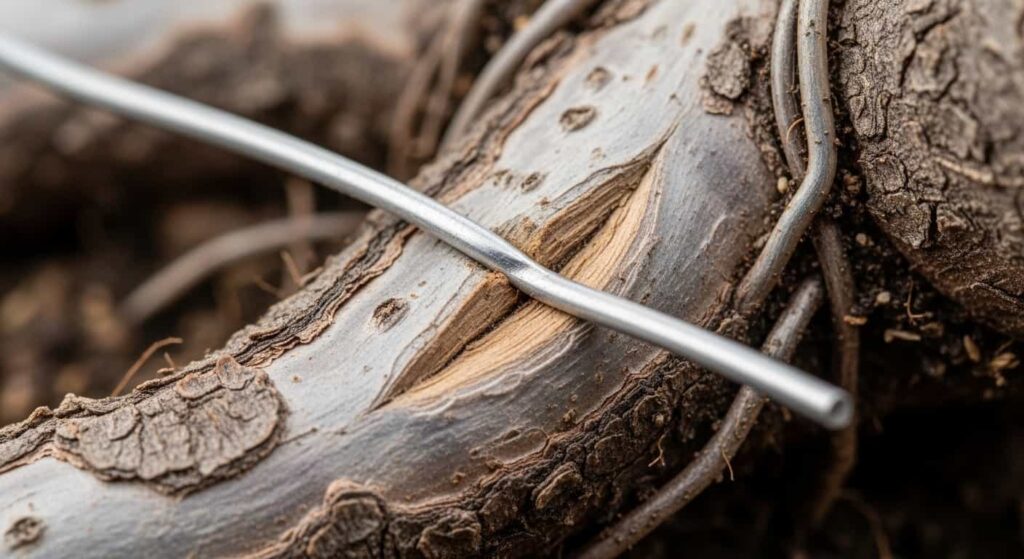
Trace the wire with a fingernail or root hook. If the wire sits above the root, you have clearance. If it disappears into the root, plan for embedded wire—slower cuts and smaller segments.
Step 2: Use relief cuts, not one long pull
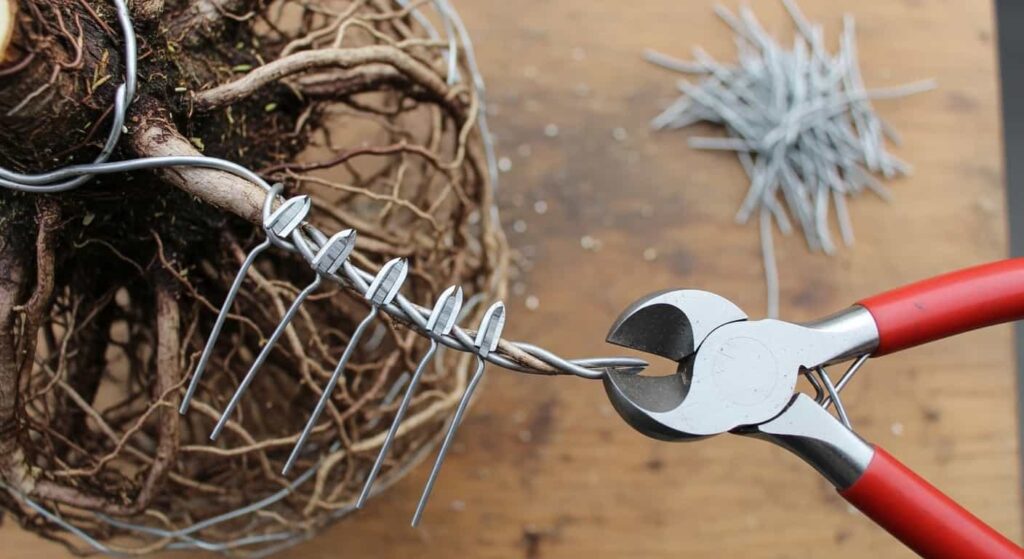
Do not unwind embedded wire. Cut every 2–3 cm along its length so one piece becomes short segments you can lift out one at a time. That way you reduce torque on the tissue and lower the chance of tearing bark.
Step 3: Keep the lower jaw off the root
The usual mistake is pressing the bottom jaw into the root while you squeeze. For surface roots, angle the tool so the lower jaw clears the root; the cut happens at the wire, not as a crush on the root.
Step 4: Lift segments out, do not yank
After each cut, lift the wire with tweezers using a slight roll. Pulling straight up through embedded cambium can strip bark and open infection sites.
Step 5: Treat any compressed or exposed spots
Where wire pressed into the root, use cut paste or let the surface dry briefly before you return the tree to soil—compressed areas are more prone to fungal entry.
How to Use Bonsai Wire Cutters on Roots for Small Pruning Cuts
After wire removal, the same tool can trim tiny roots only where geometry and access matter.
Feeder roots in pot corners
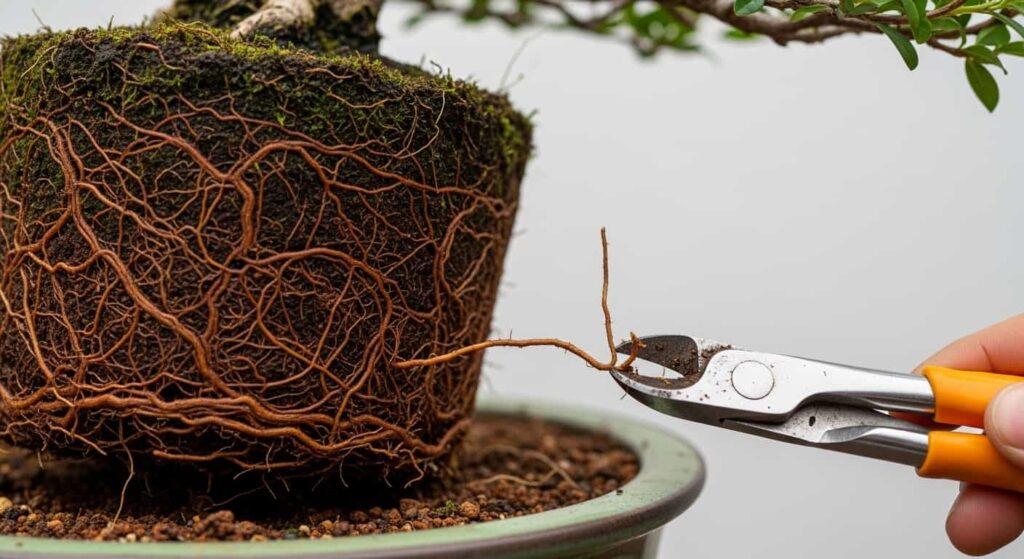
In repotting, far corners often pack feeder roots that scissors cannot reach cleanly. A narrow round head reaches in and snips without levering the whole mass. Work from the outside inward: open space with a first cut, then refine. Avoid one sweeping cut through a dense mat—that tears more than it cuts.
Small surface roots for nebari work
When you remove a thin surface root (stay under about 3 mm) that sits tight to others, wire cutters can limit collateral contact compared with larger scissors. For a cut at the trunk, place the flat side of the jaw toward the trunk and aim for a flush or slightly concave stub so it heals neatly.
Mistakes When Using Bonsai Wire Cutters on Roots
Oversized roots: Force on roots above roughly 4–5 mm makes jaws flex and crush tissue. Frayed wounds heal slowly and rot more easily. Step up to root shears or concave tools for structural roots.
Skipping disinfection between trees: Wipe jaws with isopropyl between trees, especially on species sensitive to root rot.
Uncoiling embedded wire: Stripping bark is quick if you twist wire off in one piece. Relief cuts first, then remove segments.
Dull jaws on live tissue: Sharp cutters shear; dull ones crush. If the tool will not slice paper cleanly, sharpen or replace before root work.
Worn jaw alignment: If tips do not meet, roots tear. Check periodically and retire tools that no longer close true at the tip.
Aftercare for Tools Used on Roots
Wire cutters pick up sap, soil, and moisture on roots, so they need a bit more care than cutters used only on metal.
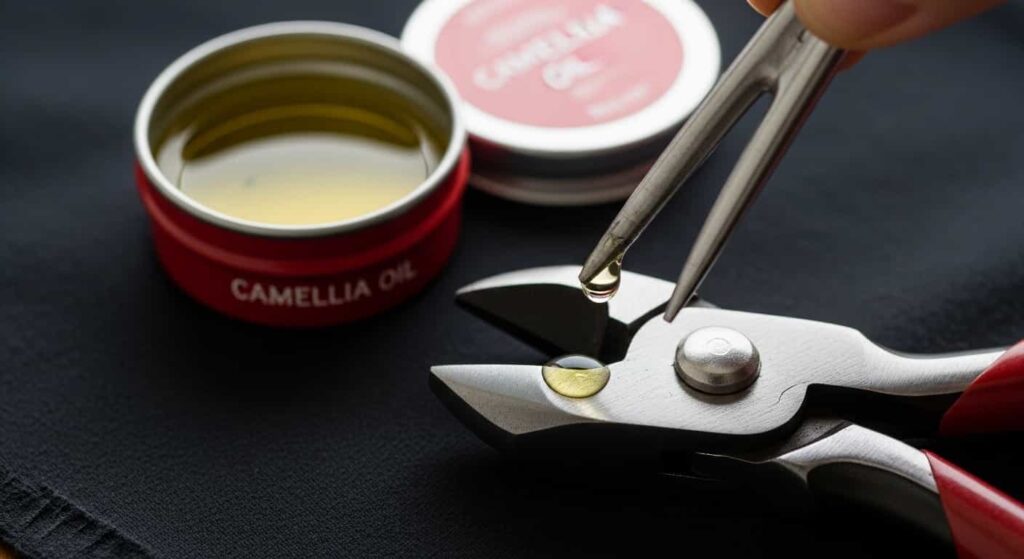
- Wipe jaws dry after each session to remove sap, grit, and water
- Thin film of camellia oil or light machine oil on inner faces and pivot
- Close the jaws and check for light at the tips—gaps mean misalignment
Sharpen on the flat inner face only with a diamond stone, keeping the factory bevel; avoid grinding the outer faces or you lose flush behavior. Light touch-ups beat waiting until the edge is obviously dull. Store oiled, with the spring slightly held closed if your model allows it, to limit spring fatigue.
Specs That Support Root Work
If you are buying with roots in mind:
- Round or spherical head for clearance near nebari
- High-carbon steel for holding an edge through mixed use
- Shorter jaw depth (under about 15 mm capacity) for control in corners
- Total length around 160–180 mm for balance of leverage and precision
- Coil spring when possible—often easier to service than leaf springs
Mid-range Japanese lines usually combine solid alignment with fair price; the cheapest tier often ships with uneven jaws that are risky on roots.
Quick Reference: How to Use Bonsai Wire Cutters on Roots
| Task | Use wire cutters on roots? | Notes |
|---|---|---|
| Remove wire from surface roots | Yes—ideal | Relief cuts; lift segments |
| Trim feeder roots in tight corners | Yes—small roots | Stay under ~3 mm |
| Sever small surface roots for nebari | Yes—if thin | Flush or slightly concave stub |
| Cut thick structural roots | No | Root shears or concave cutters |
| General root-ball sorting | No | Rake, hook, root scissors |
| Deeply embedded trunk wire | Only with care | Small segments; no pulling |
Closing
Learning how to use bonsai wire cutters on roots comes down to scope and mechanics: right root diameter, correct jaw placement, relief cuts before you pull wire, and sharp, aligned jaws. Stay inside those limits and wire cutters stay a precise aid on roots—outside them, switch tools and protect the tree.