
Last Updated on March 16, 2026 by Indoor Plant Nook
Root washing is one of the most powerful — and most misunderstood — techniques in bonsai cultivation. When done correctly on a juniper, it can dramatically improve nebari, eliminate root-bound soil, and revitalize a tree’s long-term health. Done wrong, it can kill your tree within weeks.
This guide covers everything you need to know: when to do it, how to do it, what to avoid, and how to help your juniper recover afterward.
What Is Root Washing in Bonsai?
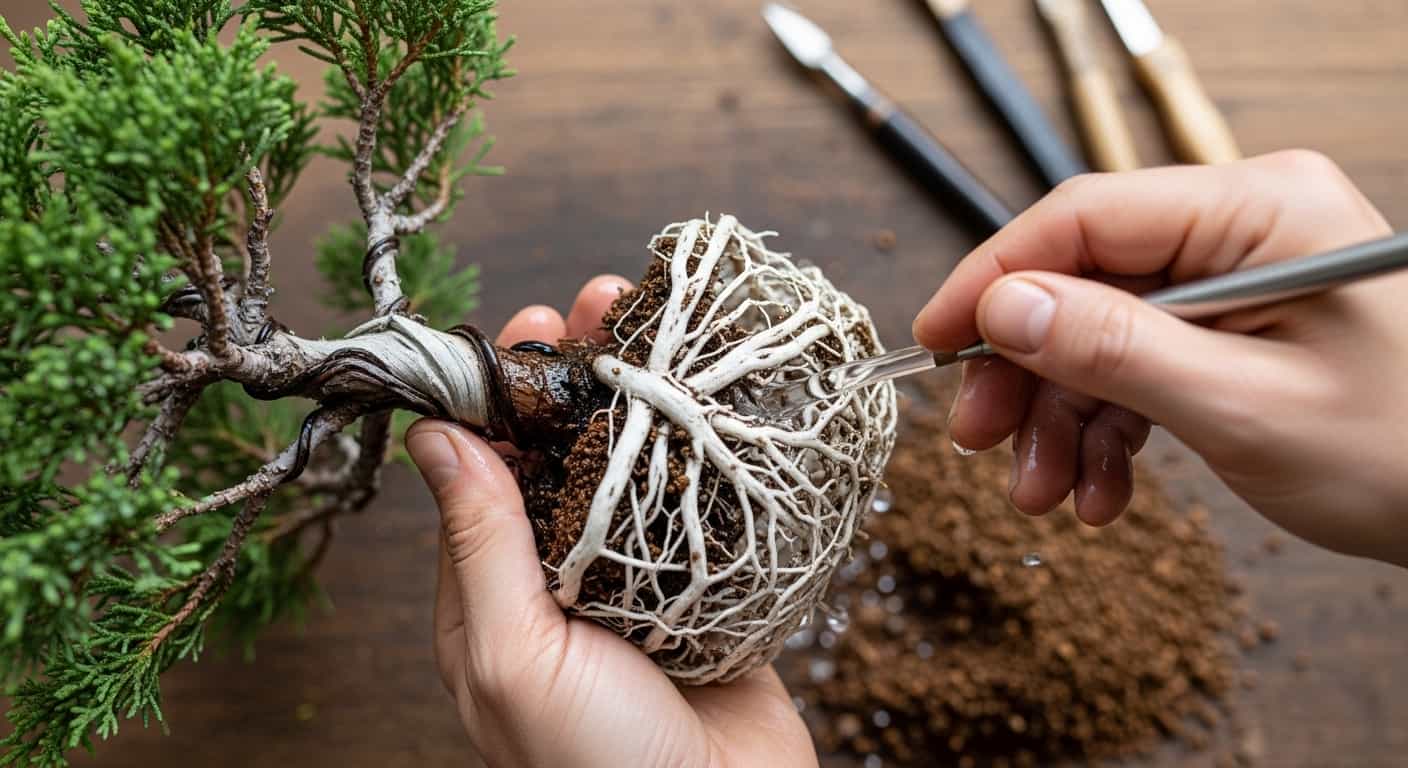
Root washing (also called bare-rooting) is the process of completely removing all soil from a bonsai’s root system, typically during repotting. The roots are gently rinsed and combed out, dead or circling roots are pruned, and the tree is planted in fresh, well-draining substrate.
For junipers specifically, this technique is used to:
- Reset compacted or decomposed soil
- Correct girdling or crossing roots
- Improve nebari (surface root spread)
- Inspect root health for rot or pests
- Transition from nursery soil to proper bonsai substrate
When to Root Wash a Juniper Bonsai
Timing is everything. Junipers are evergreen conifers, and unlike deciduous trees, they don’t have a true dormant period in the same sense — but they do have a growth window that makes repotting far safer.
Best time: Late winter to early spring, just as buds begin to swell but before new candles fully extend. This is typically February through April depending on your climate.
Acceptable secondary window: Early autumn in cooler climates, after the summer heat has passed and before the first hard frost.
Avoid: Midsummer heat, the dead of winter, or during active new-growth extension (when fresh green shoots are actively elongating).
The Dos: Best Practices for Juniper Root Washing
✅ Do Use Lukewarm Water
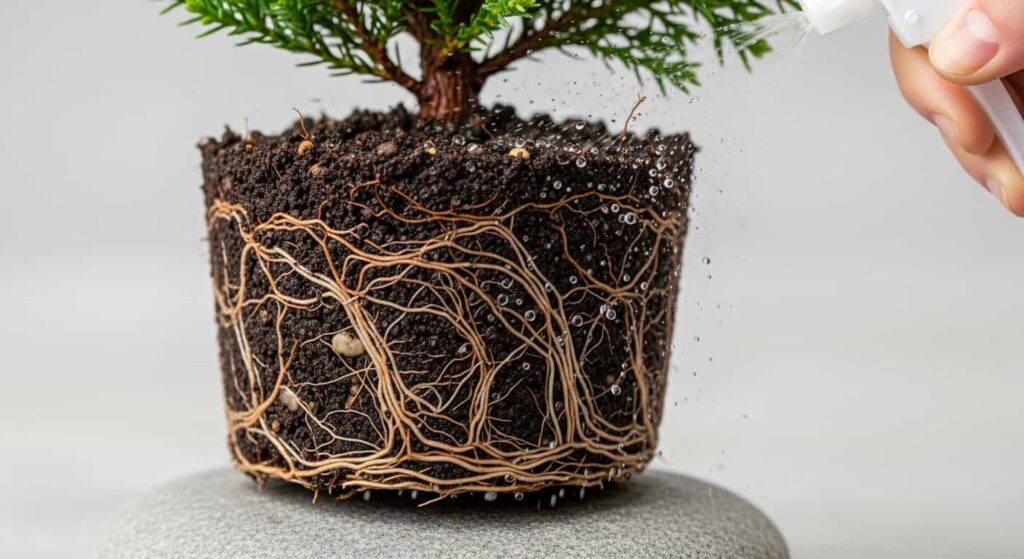
Cold tap water can shock fine feeder roots. Use room-temperature or slightly warm water when rinsing. A gentle garden hose setting or a spray bottle works well for dislodging soil without tearing roots.
✅ Do Work Quickly and Keep Roots Moist
Juniper roots are sensitive to desiccation. Once exposed, fine roots begin to die within minutes if left to dry. Work in the shade, mist roots frequently, and aim to complete the process and get the tree repotted within 30–60 minutes.
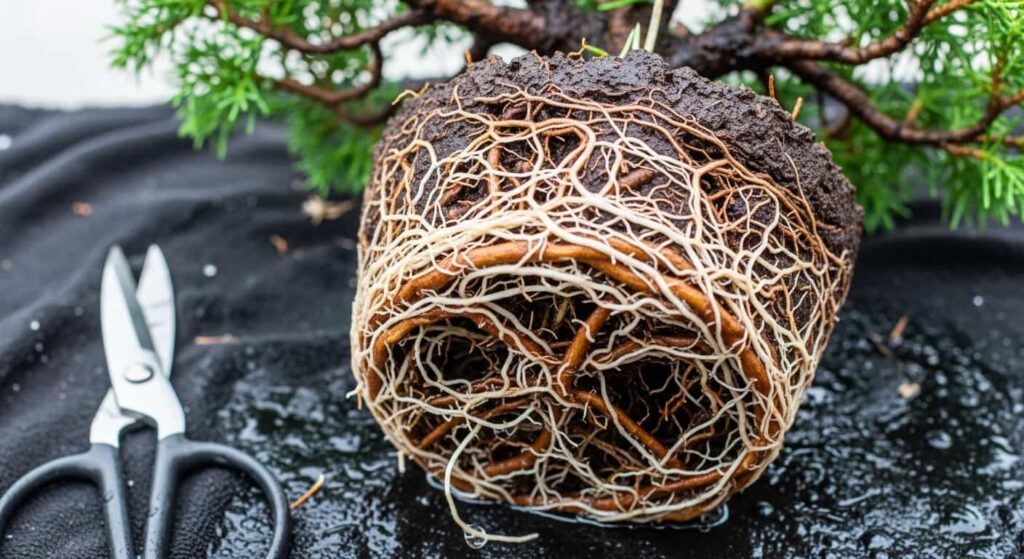
✅ Do Remove Old, Dead, and Circling Roots
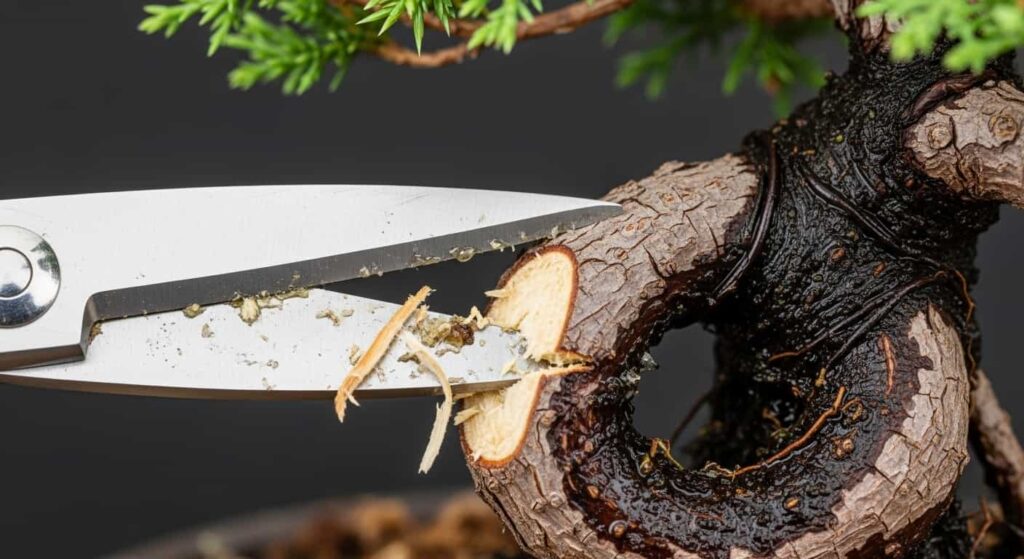
This is the main reason you’re doing this. Use clean, sharp scissors or root pruners to cut:
- Dead roots (brown, brittle, hollow)
- Circling roots that wrap around the base
- Downward-growing thick roots that add depth without anchoring value
- Excessively long roots that can’t fit naturally into the new pot
Always cut back to healthy white or light tan tissue.
✅ Do Sterilize Your Tools
Junipers are susceptible to fungal infection. Before touching the root system, clean all cutting tools with isopropyl alcohol or a 10% bleach solution. This is especially important if you’re working with multiple trees.
✅ Do Use Well-Draining Bonsai Substrate
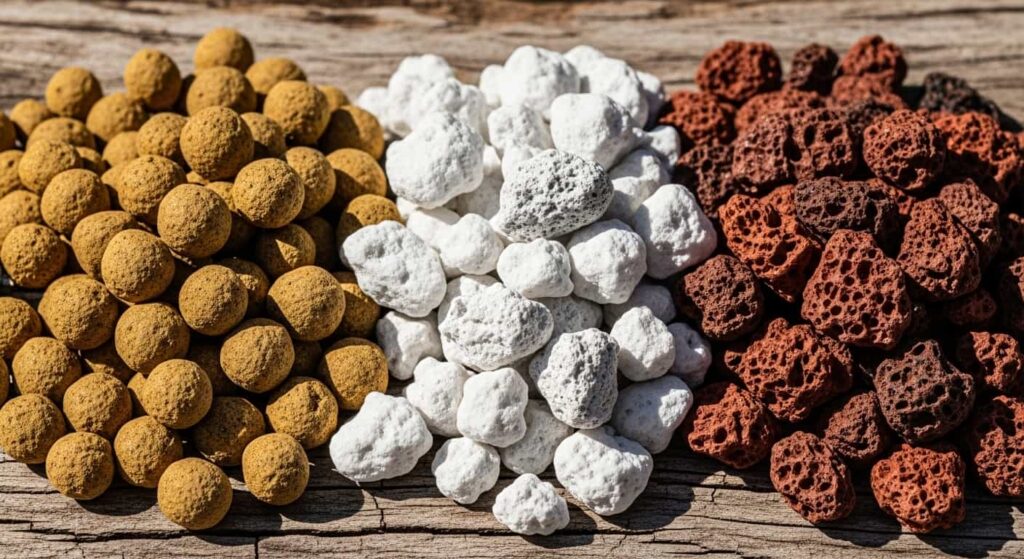
After washing, repot into a proper inorganic or semi-inorganic mix. Popular choices for junipers include:
- Akadama (alone or blended)
- Pumice + Akadama + Lava rock (the classic 1:1:1 mix)
- Decomposed granite in coarser ratios for dry climates
Avoid peat-heavy mixes that retain too much moisture — they are a primary cause of root rot in junipers.
✅ Do Secure the Tree in the Pot

After repotting, wire the tree through the drainage holes to anchor it firmly. A tree that can shift and move in the wind during root recovery will struggle to re-establish, as new feeder roots are extremely fragile.
✅ Do Place the Tree in Partial Shade for Recovery
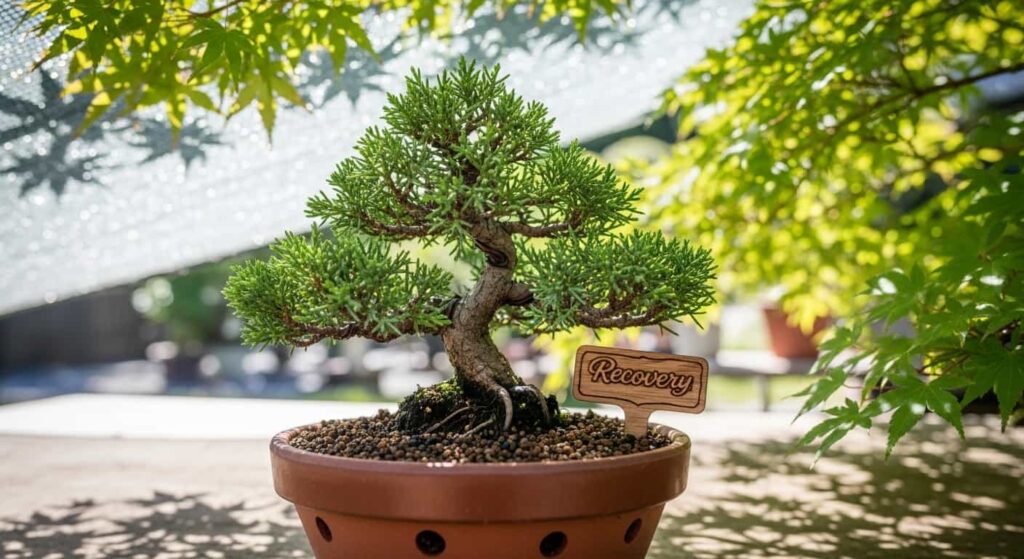
Immediately after root washing, move the tree to a sheltered spot with bright indirect light — no direct midday sun. This reduces transpiration demand while the root system rebuilds. Two to four weeks of shade recovery is typically sufficient before gradually reintroducing full sun.
✅ Do Water Carefully During Recovery
Water thoroughly after repotting to settle the substrate around the roots. Then allow the top layer of soil to approach dryness before watering again. Overwatering a freshly root-washed tree in sterile substrate is one of the leading causes of post-repot decline.
The Don’ts: Mistakes That Can Kill Your Juniper
❌ Don’t Root Wash a Weak or Stressed Tree
Root washing is a major stressor. It should only be performed on a tree in strong health. If your juniper is showing signs of:
- Yellowing or browning foliage
- Back-budding failure
- Recent pest or disease damage
- Very sparse foliage
…then do not root wash. Repot with minimal root disturbance and focus on building the tree’s health first. Wait at least one or two full growing seasons before attempting a full bare-root.
❌ Don’t Remove More Than One-Third of the Root Mass at Once
This is a universal bonsai guideline, but it’s especially important for junipers. Removing too much root tissue at once forces the tree into crisis — it can’t support its canopy and will drop foliage or die back rapidly.
If roots are severely overgrown, spread the reduction over two or three repotting cycles.
❌ Don’t Root Wash Every Year
Most junipers should only be root washed every two to five years, depending on tree size, pot size, and growth rate. Younger, vigorous trees in small pots may need repotting every two years; older, established specimens in large containers can go five years or more.
Over-repotting disrupts the fungal mycorrhizal network that junipers depend on and unnecessarily stresses the tree.
❌ Don’t Use High-Pressure Water on Fine Roots

A strong jet of water will tear fine feeder roots — the very roots most critical to recovery. Use a gentle stream, a soft spray setting, or even a bucket of water and your fingers to rinse away soil. Patience here is essential.
❌ Don’t Fertilize Immediately After Root Washing
Freshly cut roots cannot process fertilizer efficiently, and applying fertilizer too soon can burn damaged root tissue. Wait until you see clear signs of new growth — typically 4 to 8 weeks after repotting — before introducing a balanced, diluted fertilizer.
❌ Don’t Repot Into the Same Depleted Soil
The whole point of root washing is to replace exhausted substrate. Never reuse old bonsai soil — it compacts, loses drainage, and can harbor pathogens or pests. Always repot into fresh, clean substrate.
❌ Don’t Ignore Root Rot

If you discover root rot during the process — soft, dark, foul-smelling roots — don’t just trim and repot as normal. Cut all affected tissue back to healthy white root, dust cut surfaces with powdered sulfur or cinnamon as a natural antifungal, and repot into a fast-draining, nearly dry mix. Water sparingly until recovery is confirmed.
❌ Don’t Leave the Tree in Wind or Full Sun Right After Repotting
Wind dramatically accelerates water loss from foliage. Even an hour of wind exposure right after a root wash can dry the tree faster than the damaged roots can recover. Keep the tree in a calm, shaded spot for at least two weeks.
Step-by-Step: How to Root Wash a Juniper Bonsai
Here is the complete process in order:
- Prepare your workspace. Set up in the shade with clean tools, fresh substrate, a bucket of lukewarm water, and a spray bottle.
- Remove the tree from its pot. Gently work around the edges with a root hook or chopstick to loosen the root ball.
- Remove coarse soil first. Use a chopstick or root hook to loosen and remove the bulk of old substrate without pulling on roots.
- Rinse gently. Use lukewarm water to rinse away remaining fine particles. Work from the base outward.
- Inspect and prune. Identify and remove dead, crossing, or problematic roots. Trim overly long roots. Keep feeder roots intact wherever possible.
- Prepare the pot. Cover drainage holes with mesh, add a thin layer of coarse drainage material (lava rock or pumice) at the bottom, then a base layer of fresh substrate.
- Position the tree. Set the tree at the correct height and angle. The nebari should sit just above soil level.
- Backfill and work in substrate. Use a chopstick to work substrate in around all roots, eliminating air pockets.
- Wire the tree in. Secure through drainage holes.
- Water thoroughly. Allow water to drain completely. Move to recovery location.
Juniper Root Washing: Quick Reference Summary
| Topic | Recommendation |
|---|---|
| Best timing | Late winter / early spring (bud swell) |
| Frequency | Every 2–5 years |
| Water temperature | Lukewarm |
| Maximum root removal | One-third of root mass |
| Recovery location | Partial shade, sheltered from wind |
| Fertilize after | Wait 4–8 weeks |
| Best substrate | Akadama / Pumice / Lava rock mix |
Final Thoughts
Root washing a juniper bonsai is not something to rush or take lightly — but it’s also not something to fear. Done at the right time, with a healthy tree, careful technique, and proper aftercare, it’s one of the most rewarding procedures in bonsai. The results — improved nebari, revitalized growth, and a thriving root structure — are well worth the effort.
Take your time, respect the roots, and your juniper will reward you for years to come.