
Last Updated on March 16, 2026 by Indoor Plant Nook
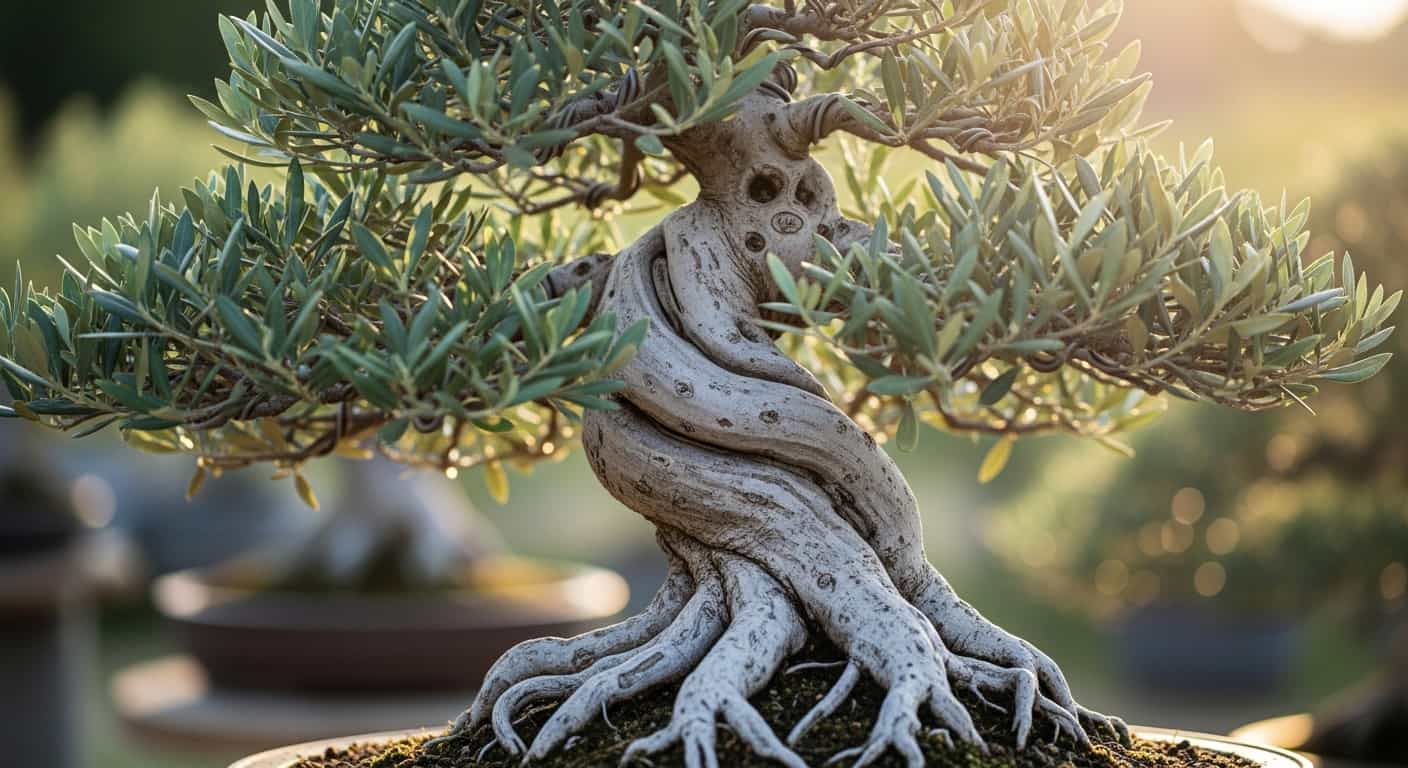
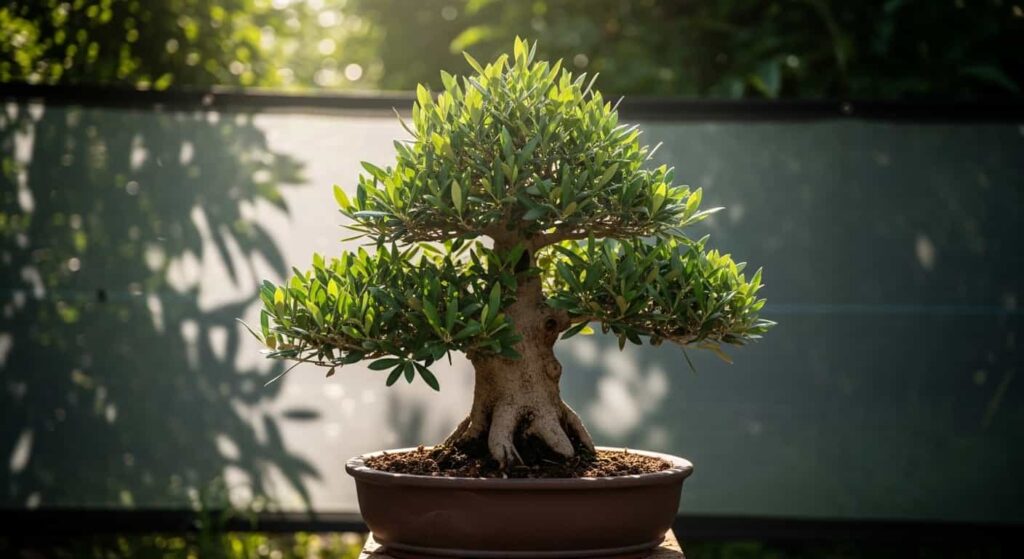
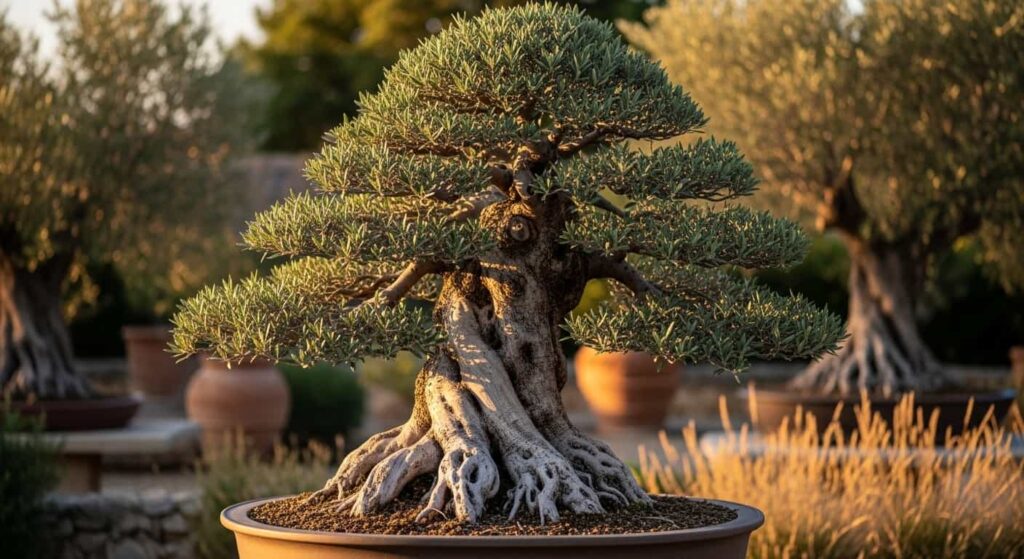
Olive bonsai (Olea europaea) are among the most rewarding trees to cultivate — their gnarled trunks, silvery-green foliage, and incredible longevity make them prized specimens. But even the most beautiful olive bonsai can decline silently when its roots become compacted, tangled, or suffocated inside an overcrowded pot.
Root washing and repotting are two of the most powerful maintenance techniques you can perform. Done correctly, they reset your tree’s root system, restore nutrient absorption, and lay the foundation for decades of healthy growth. Done incorrectly, they can shock or kill your tree.
This guide walks you through every step — from knowing when to act, to aftercare that ensures a smooth recovery.
1. Why Root Washing and Repotting Matter for Olive Bonsai
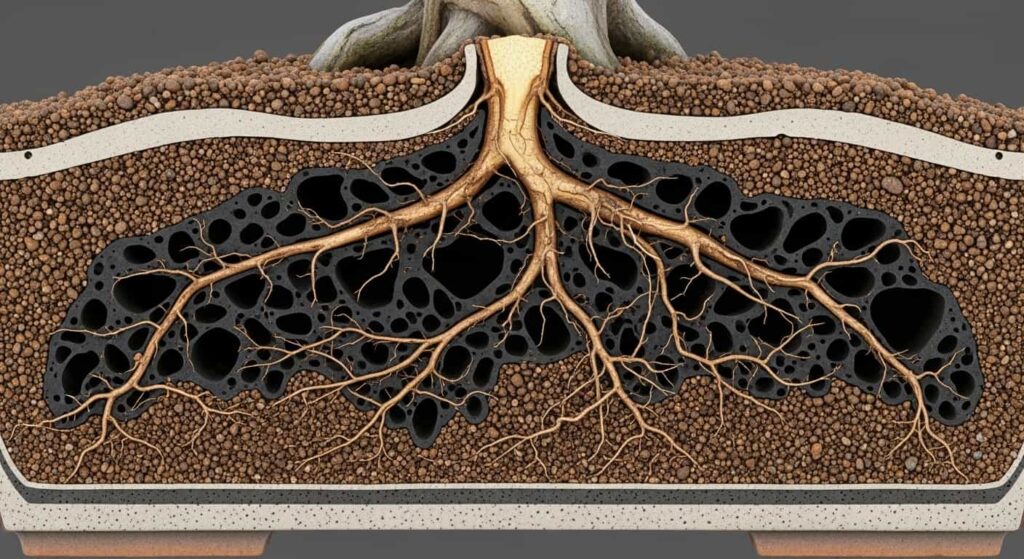
The root system is the engine of your olive bonsai. Over time — typically every two to five years — roots fill the container, coil around themselves, and begin to starve for oxygen and space. Old soil also breaks down, losing its drainage and aeration properties, which can cause root rot and nutrient lockout.

Root washing goes one step further than standard repotting. It involves removing all the old soil from the root mass using water, allowing you to:
- Inspect every root for damage, rot, or pests
- Remove dead, circling, or excessively long roots with precision
- Introduce a completely fresh, purpose-built substrate
- Assess the true health of your tree’s nebari (surface roots)
For olive bonsai specifically, root washing is especially valuable when working with collected yamadori specimens or trees that have been growing in dense nursery soil for years. Heavy clay or loam soils clog the fine pore spaces in bonsai substrates and need to be eliminated.
2. When to Root Wash and Repot Your Olive Bonsai
Timing is critical. Get this wrong, and you risk stressing a tree that cannot recover quickly.
Best Time of Year
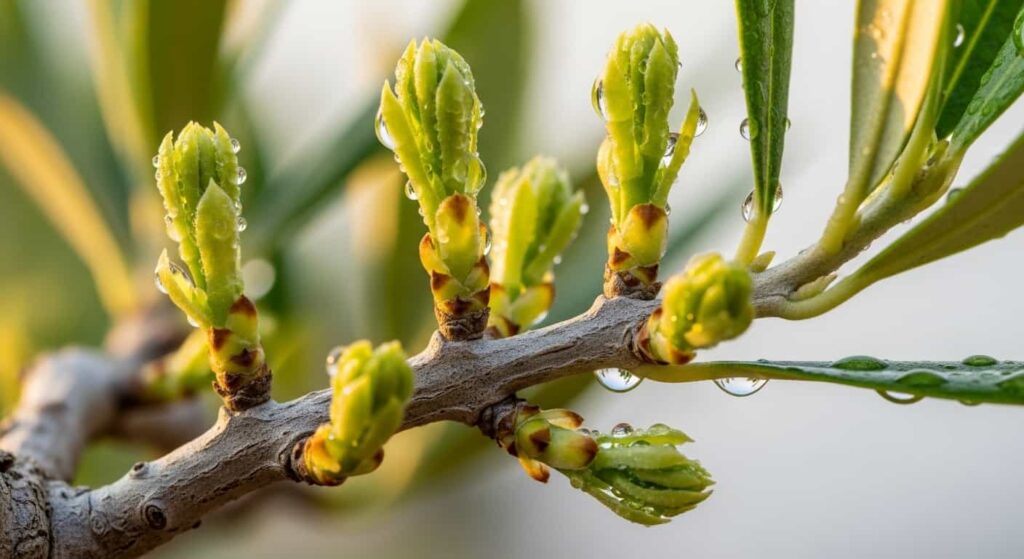
The ideal window for repotting olive bonsai is late winter to early spring — just as the buds begin to swell but before significant leaf expansion. In most temperate climates, this falls between late February and early April.
At this stage:
- The tree’s energy reserves are high from the previous season
- Root growth is about to accelerate, aiding rapid recovery
- The risk of heat stress is low
Olive trees can also be repotted in early autumn (September in the Northern Hemisphere), though spring is strongly preferred for root washing since it is more invasive.
Signs Your Olive Bonsai Needs Repotting
- Roots are visibly circling the pot or emerging from drainage holes
- Water drains slowly or pools on the soil surface
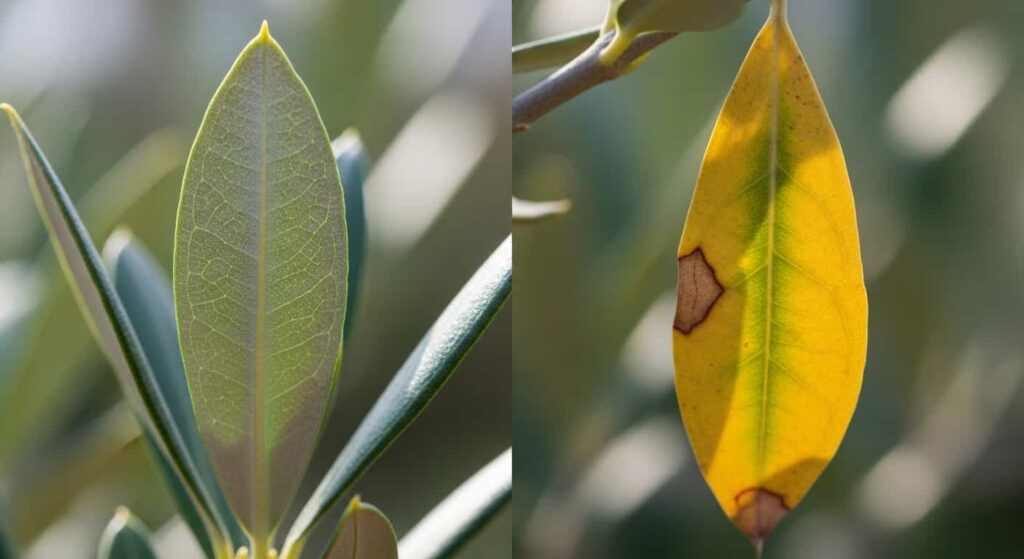
- The tree dries out unusually quickly after watering
- Reduced vigor, yellowing leaves, or slow growth despite adequate feeding
- The rootball lifts cleanly out of the pot as a single solid mass
- It has been more than 3–5 years since the last repot
How Often?
| Tree Age/Stage | Repotting Frequency |
|---|---|
| Young developing trees | Every 1–2 years |
| Established trees (10–30 years) | Every 2–4 years |
| Mature/old specimens | Every 4–6 years |
| Newly collected yamadori | As needed after initial recovery |
3. Tools and Materials You’ll Need
Gather everything before you start. Once you remove the tree from its pot, speed and efficiency matter.
Tools
- Root hook or chopstick (for loosening soil)
- Root rake
- Sharp bonsai scissors or concave cutters
- Sharp root pruning shears
- Mesh/drainage screens
- Plastic or aluminum wire (for securing the tree)
- Large bowl or tub of lukewarm water
- Garden hose with a gentle spray setting or a watering can with a fine rose
Materials
- Fresh bonsai substrate (see Section 6)
- New bonsai pot (or cleaned original pot)
- Wire mesh to cover drainage holes
- Aluminum tying wire
- Optional: mycorrhizal fungi inoculant powder
- Optional: rooting hormone (for severely pruned roots)
- Shade cloth for post-repotting recovery
4. How to Root Wash an Olive Bonsai: Step-by-Step
Root washing is a thorough process. Set aside a full hour or more, especially for large or old trees.
Step 1: Water the Tree the Day Before
Water your olive bonsai thoroughly 24 hours before the procedure. Moist roots are more flexible and less prone to snapping during manipulation. Never root wash a bone-dry tree.
Step 2: Remove the Tree from Its Pot
Tip the pot sideways and gently slide the rootball out. If it’s stuck, run a root hook around the inner edge of the pot to break the seal. Never yank the tree by the trunk.
Step 3: Remove the Bulk of the Old Soil
Using your fingers, a root hook, or a chopstick, gently break apart and remove as much soil as possible from the outer edges of the rootball. Work from the outside in a combing motion. Avoid tearing fine feeder roots unnecessarily.
Remove at least 50–70% of the soil at this stage before introducing water.
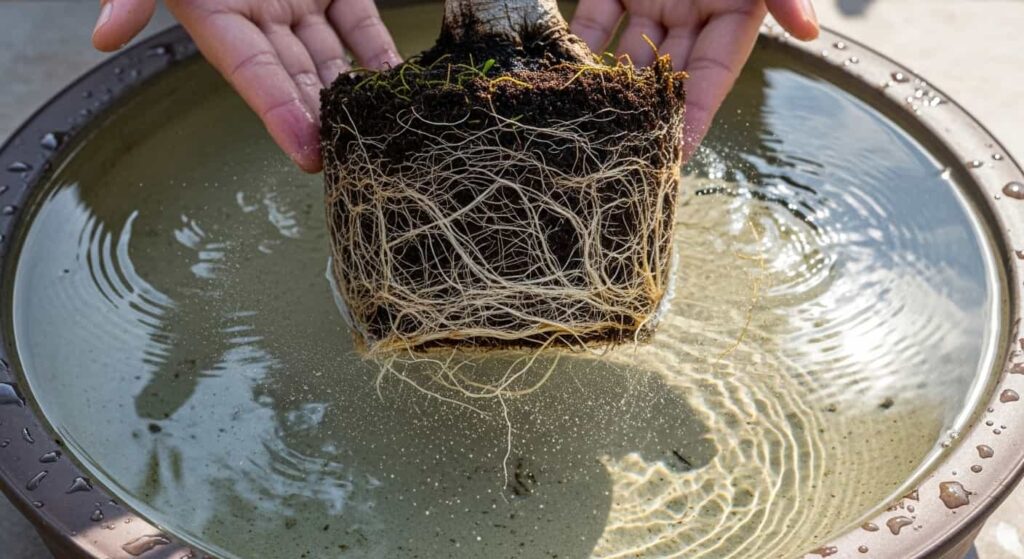
Step 4: Soak the Rootball
Place the rootball in a tub or large bowl of lukewarm water. Let it soak for 10–20 minutes. This softens the remaining soil and makes it far easier to remove without force.
Do not use hot or cold water. Extreme temperatures shock the roots.
Step 5: Wash Away Remaining Soil
Use a gentle spray of water — either a hose on a soft setting or a watering can — to rinse away all remaining soil from the roots. Work methodically, section by section.
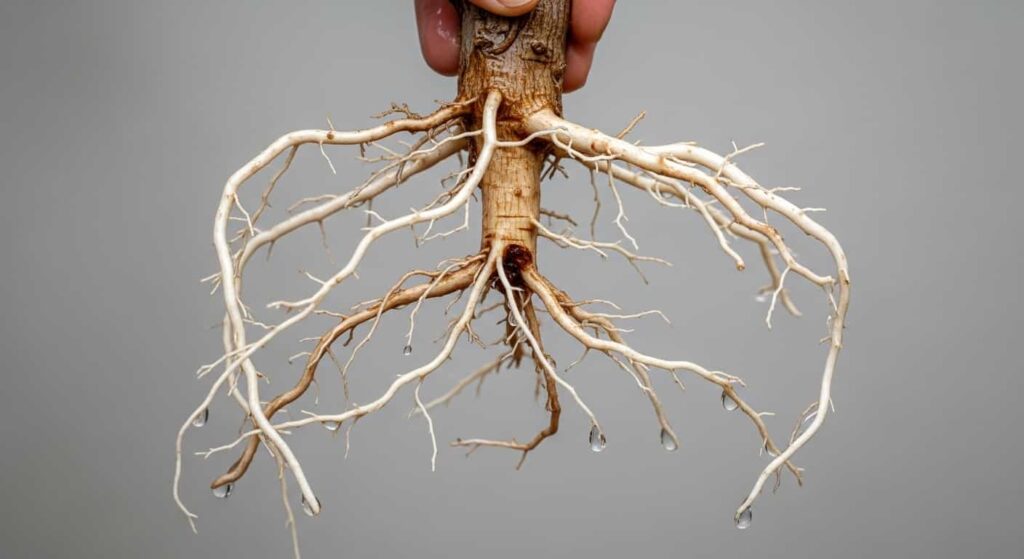
Your goal is to have completely bare, clean roots. You should be able to see every root clearly. Pay attention to:
- The nebari (surface flare roots)
- The main structural roots (primary roots radiating from the trunk)
- The secondary and tertiary feeder roots
Step 6: Inspect the Roots
With the roots clean, examine them carefully:
- Healthy roots: White to light tan, firm, flexible
- Dead roots: Black, mushy, or dry and brittle — remove these entirely
- Root rot: Dark, soft, foul-smelling — cut well back into healthy tissue
- Circling/girdling roots: Remove or redirect as they can strangle the trunk over time
- Oversized tap roots: Can be reduced significantly to encourage a finer, more radial root structure
Look also for signs of pests: root aphids, vine weevil larvae, or soil mealybugs. If found, rinse thoroughly with water and treat if necessary.
Step 7: Prune the Roots
Using sharp, clean bonsai root shears or scissors:
- Remove all dead, rotting, and damaged roots
- Shorten excessively long roots to fit within the new pot
- Remove any downward-growing or crossing roots
- Thin out extremely dense clusters of feeder roots by removing roughly one-third of them
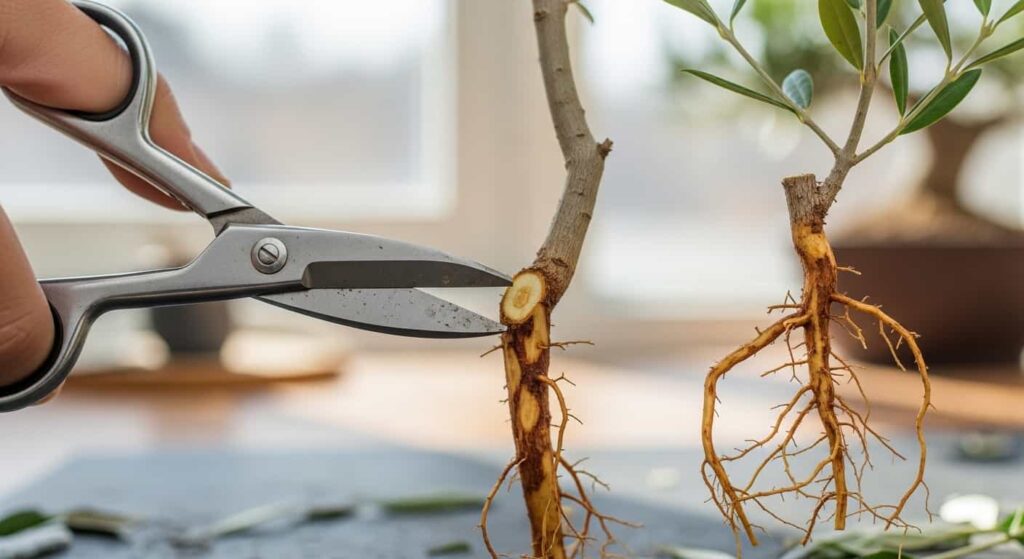
For olive bonsai, it is safe to remove up to 30% of the root mass in a single session on a healthy, well-established tree. Go beyond this only if the tree is vigorous and the repotting is being done at the optimal time.
Important: Make clean cuts. Crushed or torn root ends invite disease. Always use sharp, sterilized tools.
5. How to Repot an Olive Bonsai: Step-by-Step
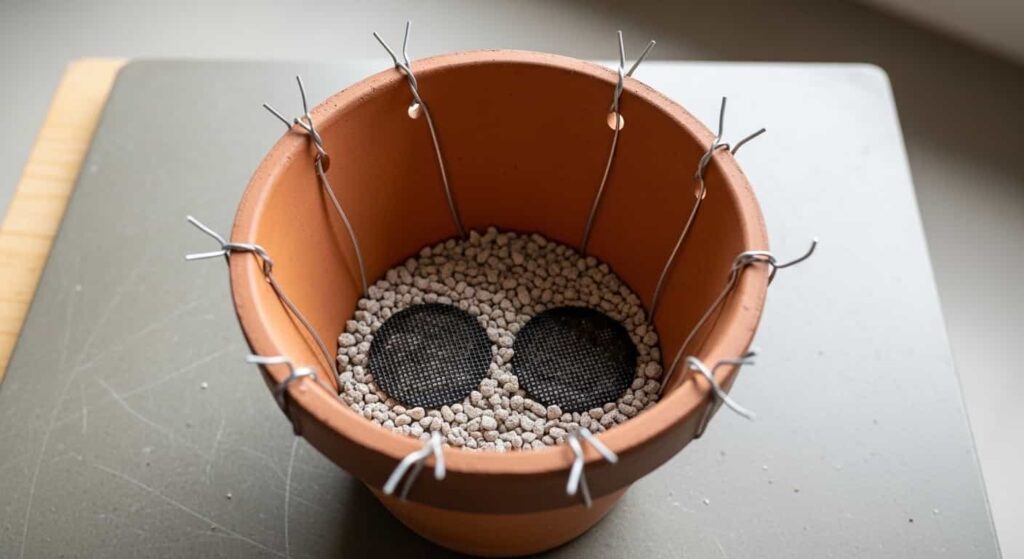
Step 1: Prepare the New Pot
Cover the drainage holes with plastic or metal mesh screens. These allow water to flow freely while preventing soil from washing out and stopping pests from entering.
Thread the tying wire up through the drainage holes. You will use this to secure the tree in place after positioning.
Step 2: Add a Drainage Layer
Add a thin layer (1–2 cm) of coarse aggregate (such as large grit or pumice) to the bottom of the pot. This prevents fine particles from clogging drainage holes over time.
Step 3: Add a Base Layer of Fresh Substrate
Add enough fresh substrate so that when the tree is placed, the nebari sits just at or slightly below the pot rim. The exact depth depends on your pot and rootball size — adjust as needed.
Step 4: Position the Tree
Place the tree in the pot off-centre, slightly toward the back. This is a classic bonsai aesthetic principle — the tree should not sit dead center. Rotate it to display the best angle of the trunk, nebari, and first branch.
Consider the planting angle carefully. A slight forward tilt of 3–5 degrees often makes the composition look more natural and dynamic.
Step 5: Secure the Tree
Thread the pre-placed tying wires over the main roots or rootball and twist them together firmly above the soil surface. The tree should not rock or shift when gently nudged. A tree that moves during the recovery phase will not root well.
Step 6: Fill with Substrate
Work the fresh substrate into all the spaces between the roots using a chopstick. This is one of the most important steps. Air pockets in the root zone cause roots to desiccate and die.

Work the chopstick in a gentle stabbing motion from the edges inward, all around the rootball. Add more substrate and repeat until the pot is filled to just below the rim. Do not compress the substrate with your hands — allow it to settle naturally through the chopstick process.
Step 7: Surface Dressing (Optional)
Many bonsai artists apply a thin layer of fine akadama or moss to the soil surface. This retains moisture, looks attractive, and indicates soil moisture levels at a glance (moss darkens when wet).
6. Choosing the Right Soil Mix for Olive Bonsai
Olive trees are Mediterranean natives that thrive in free-draining, mineral-based soils. They are highly intolerant of waterlogged conditions. A correctly formulated bonsai substrate is essential for long-term health.
Recommended Substrate Mix

A reliable all-purpose mix for olive bonsai:
| Component | Proportion | Purpose |
|---|---|---|
| Akadama | 40% | Water retention, cation exchange |
| Pumice | 40% | Drainage, aeration, root anchorage |
| Lava rock (kiryu) | 20% | Structure, drainage, long-term stability |
For hot, dry climates (such as the Mediterranean, California, or Southern Pakistan), increase akadama to 50% to improve moisture retention.
For humid, wet climates, reduce akadama to 30% and increase pumice and lava rock proportionally.
What to Avoid
- Peat-based composts: Retain excessive moisture, compact over time, acidic
- Standard garden soil: Dense, poor drainage, harbours pests and disease
- Pure organic matter: Breaks down rapidly, causes anaerobic conditions
Particle Size
For most olive bonsai, use particles in the 3–6mm range. Finer particles (1–3mm) can be used for shohin and small trees.
7. Selecting the Right Pot
The pot is not just a container — it is part of the artistic composition.
Functional Requirements
- Drainage holes: At least two, ideally more for larger pots
- Size: The pot should be approximately two-thirds the height of the tree or two-thirds the width of the canopy (whichever is greater)
- Depth: For olive bonsai with thick trunks, a deeper pot provides better anchorage and a moisture buffer
Aesthetic Considerations
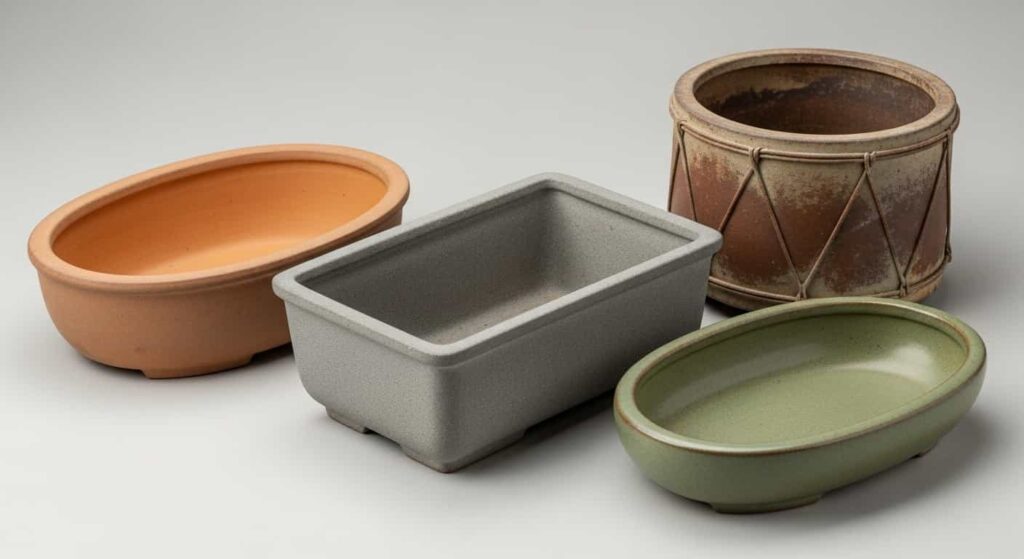
Olive bonsai, with their rustic, ancient character, suit:
- Unglazed, earth-tone pots: Terracotta, grey, brown, or weathered stone colours
- Japanese or Chinese stoneware: Particularly those with a rough, aged texture
- Oval or rectangular shapes for informal upright and cascade styles
- Round or drum pots for more upright, formal specimens
Avoid bright glazes, shiny finishes, or overly decorative pots — they compete visually with the tree’s natural, Mediterranean character.
Upgrading Pot Size
When repotting, you can move up one pot size if the tree is being developed. For mature trees in refinement, stay the same size or even downsize slightly to restrict vegetative growth and encourage ramification.
8. Post-Repotting Care and Recovery
The first six to eight weeks after root washing and repotting are the most critical. Your job is to reduce stress and support root regeneration.
Immediate Aftercare
Water thoroughly immediately after repotting. Use a fine-rose watering can and water until water flows freely from the drainage holes. This initial watering settles the substrate and ensures good root-to-soil contact.
Placement
For the first four to six weeks, keep your olive bonsai:
- Out of direct midday sun: A spot with morning sun and afternoon shade is ideal
- Sheltered from strong wind: Wind desiccates foliage faster than newly pruned roots can replenish moisture
- Above freezing: Never allow a recently repotted olive to be exposed to frost during recovery
Watering
Water when the top 1–2 cm of substrate begins to dry. Newly washed and pruned roots are vulnerable to both drying out and sitting in excess moisture. Check daily and adjust based on weather conditions.
Fertilising
Do not fertilise for at least four to six weeks after repotting. New roots are tender, and fertiliser salts can cause chemical burn. Once new growth is visibly extending, begin with a diluted, balanced liquid fertiliser (e.g., half-strength NPK 10-10-10) and gradually return to your normal feeding schedule.
What to Expect
- Slight leaf wilt in the first 1–2 weeks is normal
- New root growth begins within 2–4 weeks under good conditions
- Significant top growth will resume once a new feeder root network is established — usually 6–10 weeks post-repotting
If the tree drops leaves heavily or fails to show new growth within 8 weeks, check the roots again for rot and reassess your watering routine.
9. Common Mistakes to Avoid
Even experienced growers make errors. Here are the most damaging mistakes when root washing and repotting olive bonsai:
1. Repotting at the wrong time of year.r Repotting in midsummer heat or during winter dormancy dramatically reduces recovery success. Stick to the late winter/early spring window.
2. Removing too much root mass. Removing more than 30% of roots on a single occasion stresses the tree severely. If the tree requires heavy root work, spread it over two repotting sessions two to three years apart.
3. Using organic or garden soil Standard compost and garden soil suffocate roots and cause rot in bonsai containers. Use only purpose-formulated mineral substrate.
4. Leaving air pockets in the soil. Air pockets kill roots. Use your chopsticks thoroughly during backfilling to eliminate every void.
5. Placing in full sun immediately after repotting. This causes excessive transpiration that the reduced root system cannot support. Always provide shade during early recovery.
6. Fertilising too soon. Fresh root cuts are susceptible to fertiliser burn. Wait at least four to six weeks before feeding.
7. Using cold water for root washing. Cold water shocks roots and can cause fine root death. Always use tepid or room-temperature water.
8. Not securing the tree. A tree that moves in its pot cannot form new root attachments. Tying wire is not optional — use it every time.
10. Frequently Asked Questions
Can I root wash an olive bonsai in summer?
It is not recommended. Summer heat combined with the stress of root washing significantly increases recovery risk. If it is necessary (e.g., severe root rot), do so in the early morning, shade the tree completely, and keep it well-misted for several weeks.
How much root can I safely remove?
As a general rule, no more than 25–30% of the root mass should be on an established, healthy tree. For younger, vigorously growing trees, up to one-third is acceptable. For older, more refined specimens, be more conservative.
Do olive bonsai need root washing every repot?
No. Standard repotting — where you loosen and remove some old soil before introducing fresh substrate — is sufficient for routine maintenance. Root washing is reserved for initial potting of collected trees, when old, dense soil needs to be completely replaced, or when root rot or pests need to be addressed.
Should I use rooting hormone after root washing?
It can help, particularly for trees that have had significant root reduction. Dust or dip freshly cut root ends in a low-concentration indole-3-butyric acid (IBA) rooting powder before potting.
My olive bonsai dropped leaves after repotting. Is this normal?
Some leaf drop — especially of older, interior leaves — is common and not cause for alarm. If the tree drops all its leaves and shows no new budding within 6–8 weeks, investigate the root zone for rot or dehydration.
Can I repot an olive bonsai that is currently in flower or fruit?
It is better to wait until after flowering and fruiting unless there is an urgent health reason (root rot, pest infestation). The stress of repotting during reproduction can cause premature fruit and flower drop and weaken the tree significantly.
What is the best pot material for olive bonsai?
Unglazed stoneware or high-fired ceramic is ideal. These materials are frost-resistant, breathable, and aesthetically complement the olive’s character. Avoid plastic pots for long-term cultivation — they retain heat and moisture unevenly.
Conclusion
Root washing and repotting an olive bonsai is one of the most hands-on, intimate connections you can have with your tree. It demands care, preparation, and respect for the tree’s biology — but the rewards are immense. A properly repotted olive bonsai will reward you with vigorous growth, an increasingly refined root structure, and the kind of enduring beauty that only decades of attentive cultivation can produce.
Follow the timing, be deliberate with your root pruning, use the right substrate, and give your tree the shelter and patience it needs to recover — and your olive bonsai will thrive for generations.