
Last Updated on April 15, 2026 by Indoor Plant Nook
Repotting is one of the most stressful events in a bonsai’s life — and it is also when root fungus in bonsai after repotting most often shows up. Fresh cuts, disturbed soil, and wet substrate give fungal pathogens an opening. If you have noticed white fuzz, brown mushy roots, or a foul smell soon after a repot, this guide is for you.
Below you will learn why it flares up right after a repot, how to tell harmful fungus from harmless growth, how to treat it step by step, and how to prevent it when you repot again.
Why Root Fungus in Bonsai After Repotting Happens
When you repot a bonsai, you prune roots, disturb the soil, and expose cut surfaces to air and moisture. That combination is exactly what many soil-borne fungi need, especially if:
- The new soil holds water too long
- Tools were not sterilized before cuts
- The tree was repotted in hot, humid weather or when already stressed
- Drainage is weak or holes are blocked
Fungal spores are common in the environment. They become root fungus in bonsai after repotting when moisture, warmth, and damaged or stressed root tissue line up at the wrong time.
How to Spot Root Fungus in Bonsai After Repotting
Timing matters: symptoms that appear in the days or weeks right after a repot often trace back to that event — waterlogging, unseen rot, or spores entering through fresh wounds. Before you treat, confirm you are dealing with a real problem; not every stain or white patch on roots is harmful.
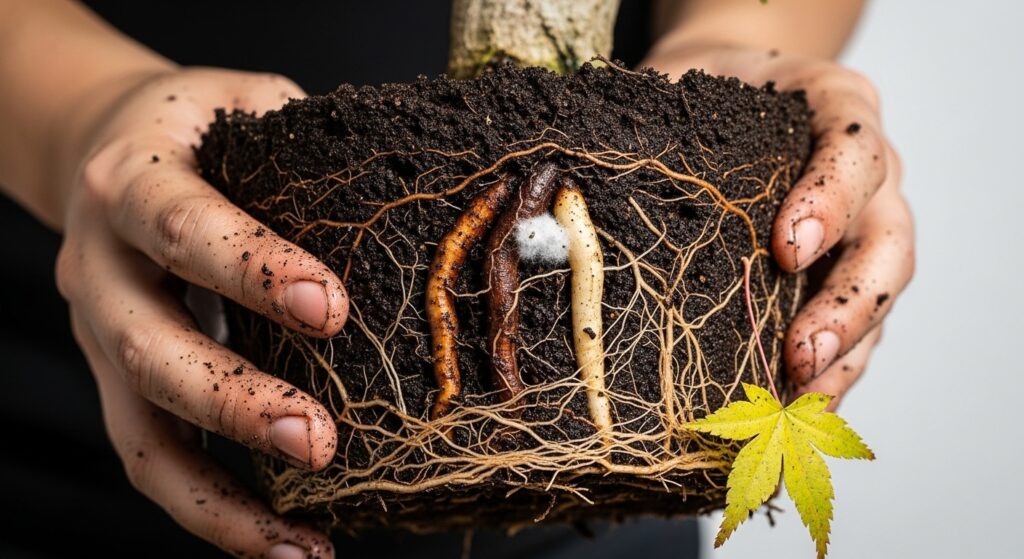
Signs of root fungus after a repot
- White or gray cottony growth on roots or at the soil surface
- Brown, black, or slimy roots that feel soft when squeezed
- Foul, musty, or rotten smell from the soil or root ball
- Yellowing or wilting leaves even when you are not underwatering
- Root tips that crumble or detach easily
- Dark lesions spreading along root tissue
Beneficial mycorrhizae vs. harmful fungus
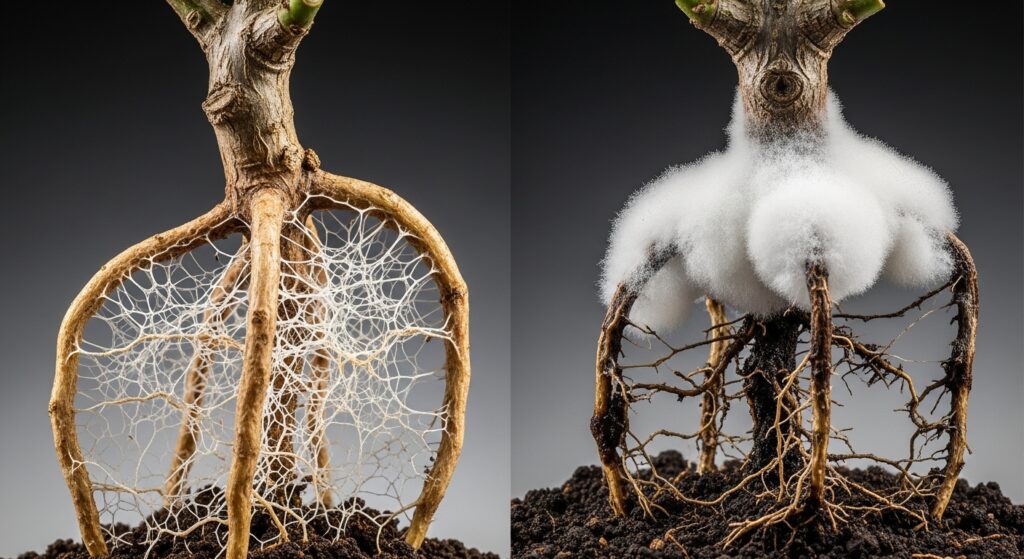
Not all white or fuzzy growth is bad. Mycorrhizal fungi form a fine, web-like network around healthy roots and support nutrient uptake. Harmful root fungus in bonsai after repotting usually comes with soft, dark roots and bad odor. Use this quick comparison:
| Feature | Beneficial mycorrhizae | Harmful root fungus |
|---|---|---|
| Color | White, fine threads | White, gray, brown, or black |
| Texture | Thin, web-like | Cottony, slimy, or powdery |
| Smell | Earthy, neutral | Foul, rotten, or sour |
| Root condition | Firm, healthy-colored roots | Soft, brown, or black roots |
| Spread | Around root tips | On soil surface, up stem base |
If you are unsure, gently expose part of the root ball and inspect roots directly.
Common fungi behind root problems after repotting
These pathogens often tie to wet, compacted, or poorly aerated soil right after a repot — when the tree is already adjusting.
1. Root rot (Pythium, Phytophthora, Fusarium)
These infections are a major risk for bonsai. Root rot favors waterlogged, poorly draining mix. Infected roots turn brown or black and mushy; without treatment, damage can move toward the trunk.
Often reported after repotting into dense or peat-heavy mixes on junipers, Ficus, maples, and azaleas.
2. White mold (Sclerotinia or Botrytis)
Fluffy white growth on soil or at the trunk base is common in cool, damp, still air — conditions that sometimes follow an overwatered post-repot routine.
3. Damping-off complex
This group attacks the root collar. The base darkens or pinches, and the tree can collapse even when top growth still looks fine — a pattern sometimes seen when moisture sits against the trunk after repotting.
4. Black root rot (Thielaviopsis basicola)
Roots turn black and decay. It is more common in alkaline mixes and can affect conifers and junipers.
Step-by-step: treating root fungus in bonsai after repotting
Act quickly; the fungus spreads while roots are wet and wounded. Follow these steps in order.
Step 1: Remove the tree from its pot
Carefully unpot the bonsai. Tap the sides of the pot and ease the root ball out without tearing healthy roots.
Step 2: Rinse the root ball
Hold the root ball under lukewarm running water or submerge it in clean water. Wash away old soil so you can see roots clearly.
Step 3: Inspect and prune affected roots

Use sharp, sterilized scissors or root cutters. Remove all visibly infected roots — brown or black mushy tissue, slime, hollow areas, or obvious fungal growth.
Cut back to firm, healthy-looking root tissue (often white or light tan). When in doubt, cut a bit further; leftover infected tissue lets the fungus spread back.
Important: Sterilize tools with 70% isopropyl alcohol or a 10% bleach solution between cuts so you do not move spores from bad roots to good.
Step 4: Apply a fungicide treatment
After pruning, treat the remaining roots. Options include:
Commercial fungicides
- Copper-based products (e.g., Bordeaux mixture) — broad-spectrum against many root pathogens
- Thiophanate-methyl (e.g., Cleary’s 3336) — systemic; useful for Fusarium and similar soil fungi
- Mancozeb — contact activity; often used for Pythium and Phytophthora
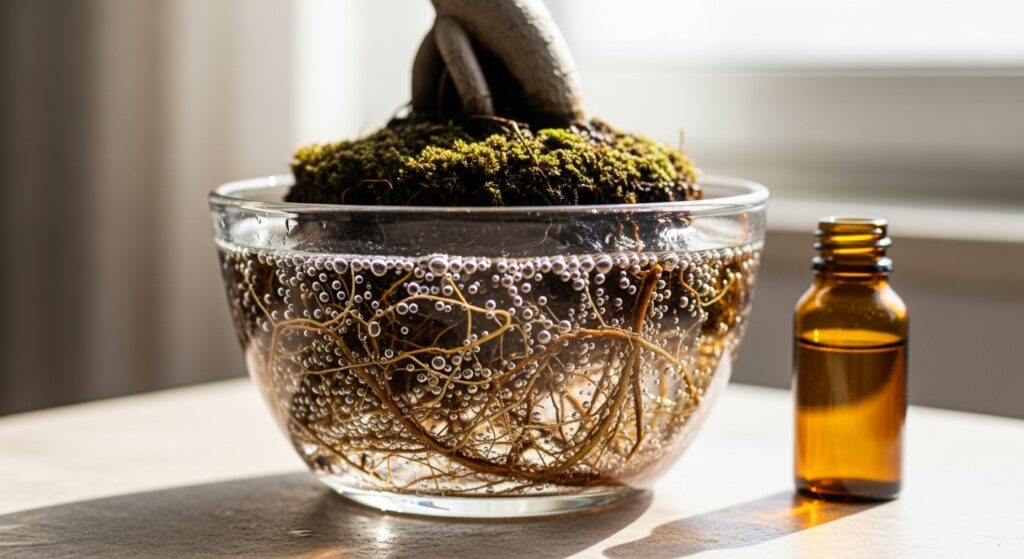
Natural or organic options
- Hydrogen peroxide (3%): mix 1 part H₂O₂ with 4 parts water; soak roots 10–15 minutes to reduce spore load and add oxygen to the zone.
- Cinnamon powder: dust dry cinnamon on cut ends to discourage reinfection at wounds.
- Neem oil drench: neem with water and a drop or two of mild soap; broad activity against many fungi.
- Activated charcoal: a small amount in the new mix can help buffer excess moisture and decay byproducts.
Always follow label rates for any registered product.
Step 5: Let the roots dry briefly
Before you repot again, let trimmed, treated roots sit in shade with airflow for 20–30 minutes so cuts can dry slightly and reinfection risk drops.
Step 6: Disinfect the pot
Do not return the tree to a dirty pot. Scrub with hot water, then sterilize with diluted bleach (1 part bleach to 9 parts water) or 70% alcohol. Rinse well and dry completely.
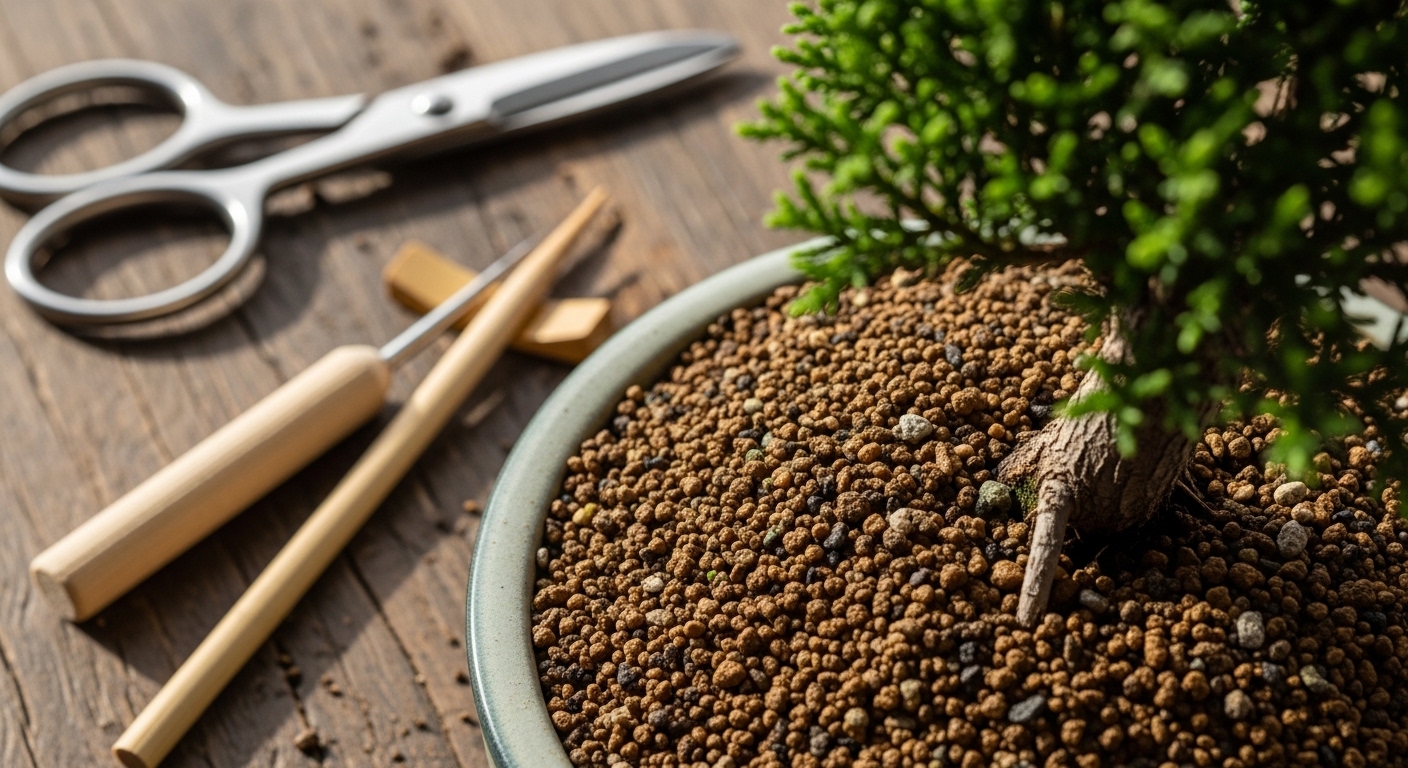
Step 7: Use fresh, well-draining bonsai soil
Discard old soil; it likely holds spores. Repot into a clean, chunky bonsai substrate:
- Akadama — holds and releases water on a useful schedule for roots
- Pumice — drainage and air
- Grit or coarse sand — extra drainage
Avoid heavy peat or generic compost that stays wet and invites root fungus in bonsai after repotting.
Step 8: Repot with correct technique

Cover drainage holes with mesh, set the tree at the right angle, and backfill with fresh mix. Work the soil between roots with a chopstick to remove large air pockets without crushing roots.
Step 9: Water in with a preventive drench
After repotting, water in with a dilute fungicide or a hydrogen peroxide drench at safe dilution. That reduces spores in the new soil layer and supports a cleaner restart after treatment.
Recovery care after treating root fungus in bonsai after repotting
A tree that lost roots to fungus cannot move water like before. Match care to that reality.
Reduce foliage load if needed
If you removed a large share of roots, thin foliage on deciduous species so demand matches supply.
Watering after treatment
- Avoid watering on a fixed calendar; overwatering is the fastest way to get root fungus in bonsai after repotting again.
- Water when the top 1–2 cm of substrate starts to dry, per species needs.
- Use a chopstick or moisture meter: if the stick comes out damp, wait.
- When you water, soak until drainage runs clear, then let the mix approach the next dry cycle.
Placement during recovery
Use bright, indirect light; avoid harsh midday sun until new roots establish. Keep air moving — stagnant humid air favors fungi. Avoid temperature swings until the tree steadies.
Delay fertilizer
Wait at least 4–6 weeks after the emergency repot and treatment. Salts can injure raw roots. Resume with a dilute, balanced feed once you see healthy new growth.
Check weekly
For several weeks, inspect soil surface and, if you can, root condition every 7–10 days. If fuzz or odor returns, repeat a safe drench or apply a labeled systemic per directions.
Preventing root fungus in bonsai after repotting next time
Prevention beats rescue. Stack these habits every time you repot.
Repot at the right season
Late winter or early spring, just before buds move, is ideal for many species; cool conditions and slower fungal activity help. Avoid repotting in peak heat and humidity unless the species demands it and you can control moisture.
Sterilize tools
Clean and sterilize scissors, root cutters, and chopsticks before and after work.
Use proper bonsai substrate
Skip garden soil and heavy bagged mixes that compact and stay wet.
Drainage and pot size
Enough holes and mesh; avoid huge pots that hold wet soil around a small root ball.
Optional: mycorrhizae and cinnamon
A labeled mycorrhizal inoculant can support root health; a light cinnamon dust on cut ends or soil surface is a mild extra step some growers use after repotting.
Frequently asked questions
Can a bonsai recover from root rot after repotting?
Often yes, if you catch it early: remove bad roots, treat, fresh mix, careful watering. When most of the root system is gone, odds drop — but aggressive care still saves some trees.
How fast can root fungus harm a bonsai after repotting?
Warm, wet media can let pathogens like Pythium move in days to a couple of weeks on a stressed tree. Slower infections may take longer to show. Early intervention matters.
Is white fuzz on roots always root fungus in bonsai after repotting?
Not always. Fine, web-like white growth on healthy-looking root tips may be mycorrhizae. Thick cotton on the soil or trunk base, plus soft, dark roots and a bad smell points to harmful fungus.
Should I always use a fungicide when I repot?
A mild preventive (e.g., dilute hydrogen peroxide drench or cinnamon on cuts) is reasonable, especially after past rot, in wet climates, or with moisture-retentive mixes. It is optional when drainage is excellent, and the tree is healthy.
Are standard garden fungicides OK on bonsai?
Many are at label dilution for ornamentals. Copper and thiophanate-methyl are widely used; always read the label for species, rates, and safety.
Summary
Root fungus in bonsai after repotting is common, serious, and fixable if you respond quickly: cut out infected roots, treat and disinfect, repot into clean draining soil, then water and place the tree so the mix dries sensibly between drinks. Prevention on the next repot — timing, tools, substrate, and drainage — keeps the same problem from repeating.