
Last Updated on March 18, 2026 by Indoor Plant Nook
Repotting your bonsai is only half the job. If your tree isn’t properly secured, it will rock in the pot, tearing the delicate new root hairs trying to establish, and your tree will struggle to recover. Wiring a bonsai into its pot after repotting is a simple but critical step that most beginners skip.
This guide walks you through exactly how to do it right, with the right tools, the right technique, and the most common mistakes to avoid.
Why You Need to Wire Your Bonsai Into Its Pot
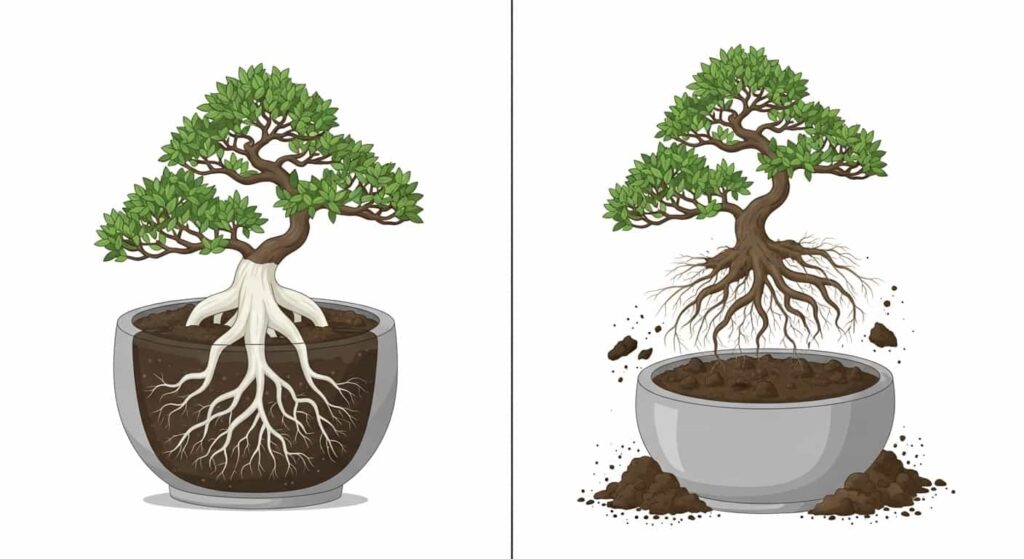
After repotting, a bonsai’s root system is disrupted. The tree relies entirely on new, fine root hairs to absorb water and nutrients. Any movement of the tree — even slight wobbling from wind or watering — will break those fragile roots before they can anchor.
Wiring the tree into the pot:
- Stabilizes the tree during the critical root-establishment period (typically 4–8 weeks)
- Prevents root tearing from wind, handling, or accidental bumps
- Keeps the tree positioned exactly where you placed it for aesthetic balance
- Speeds up recovery by giving new roots a stable environment to grow into
Think of it like a cast on a broken bone — the immobility is what allows healing.
Tools and Materials You’ll Need
Before you start, gather everything so the process is smooth:
| Item | Details |
|---|---|
| Bonsai pot with drainage holes | Most quality pots have 1–3 holes |
| Annealed aluminum or copper wire | 1mm–2mm gauge is typical for tie-down |
| Wire cutters | Sharp bonsai-specific cutters |
| Mesh drainage screens | Plastic or metal, to cover holes before adding soil |
| Chopstick or soil tool | For working soil around roots |
| Fresh bonsai soil mix | Species-appropriate, well-draining |
Wire type tip: Aluminum wire is softer, easier to bend, and ideal for most beginners. Copper wire is stronger but requires more experience to work with without damaging roots.
Step-by-Step: How to Wire a Bonsai Into Its Pot
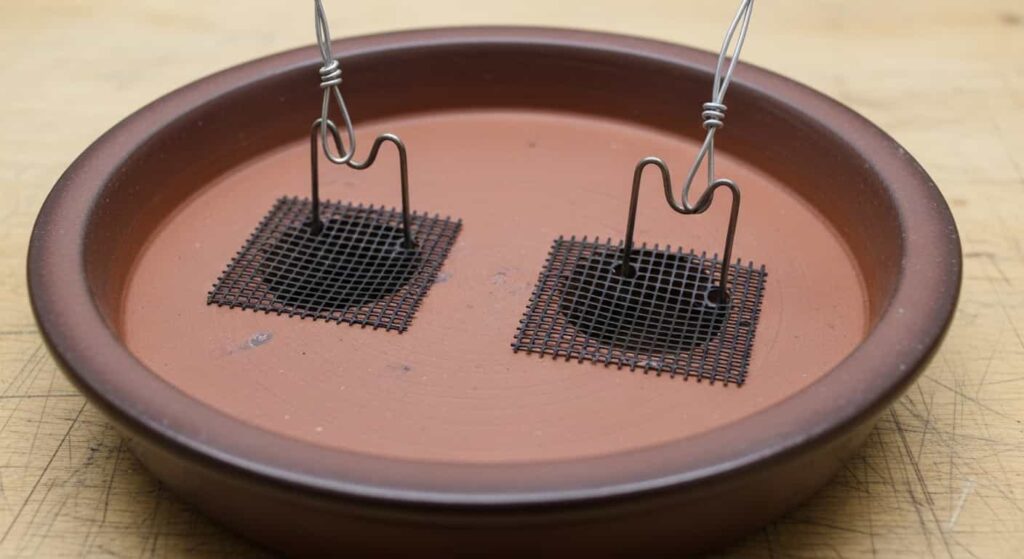
Step 1 — Prepare the Drainage Holes
Before adding any soil, cover each drainage hole with a mesh screen. This keeps soil inside while allowing water and air to flow freely.
Cut two short pieces of wire (roughly 6–8 cm each) and bend them into a U-shape. Push each U-pin through the mesh screen, through the drainage hole, and fold the ends flat against the bottom exterior of the pot to hold the screen in place.
Pro tip: Always prepare your pot before touching your tree. Once roots are exposed, you want to work quickly.
Step 2 — Thread the Tie-Down Wires
Cut two pieces of wire approximately 30–40 cm long — these are your tie-down wires. Thread each wire up through a drainage hole from the outside of the pot, leaving equal lengths extending above the rim of the pot.
If your pot only has one drainage hole, thread both wires through the same hole, side by side.
These wires will later cross over the root ball to anchor the tree.
Step 3 — Add a Base Layer of Soil
Pour a shallow base layer of bonsai soil (about 1–2 cm) into the pot before placing the tree. Mound it slightly in the center where the main root mass will sit. This raises the nebari (the root flare) to a pleasing, natural-looking height and ensures no air gaps form under the main roots.
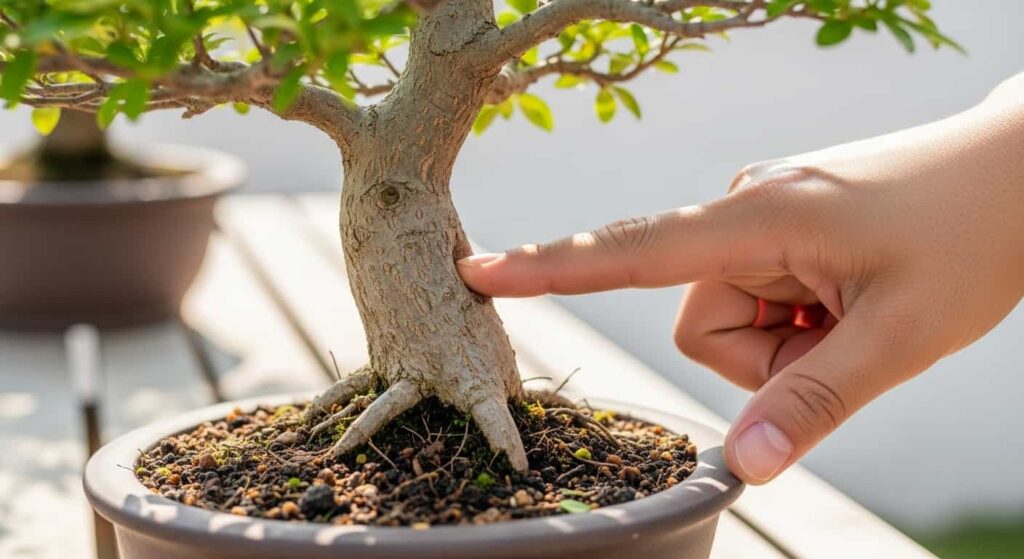
Step 4 — Position the Tree
Place the tree onto the soil mound. Take your time with positioning — once the wire is secured, making large adjustments becomes difficult.
Consider:
- Front-facing angle: Which side shows the best nebari and trunk movement?
- Offset placement: Most bonsai look best positioned slightly off-center in the pot, not dead-center.
- Vertical tilt: A slight forward lean often looks more natural and dynamic.
Hold the tree in position while you proceed to the next step, or have a second person assist.
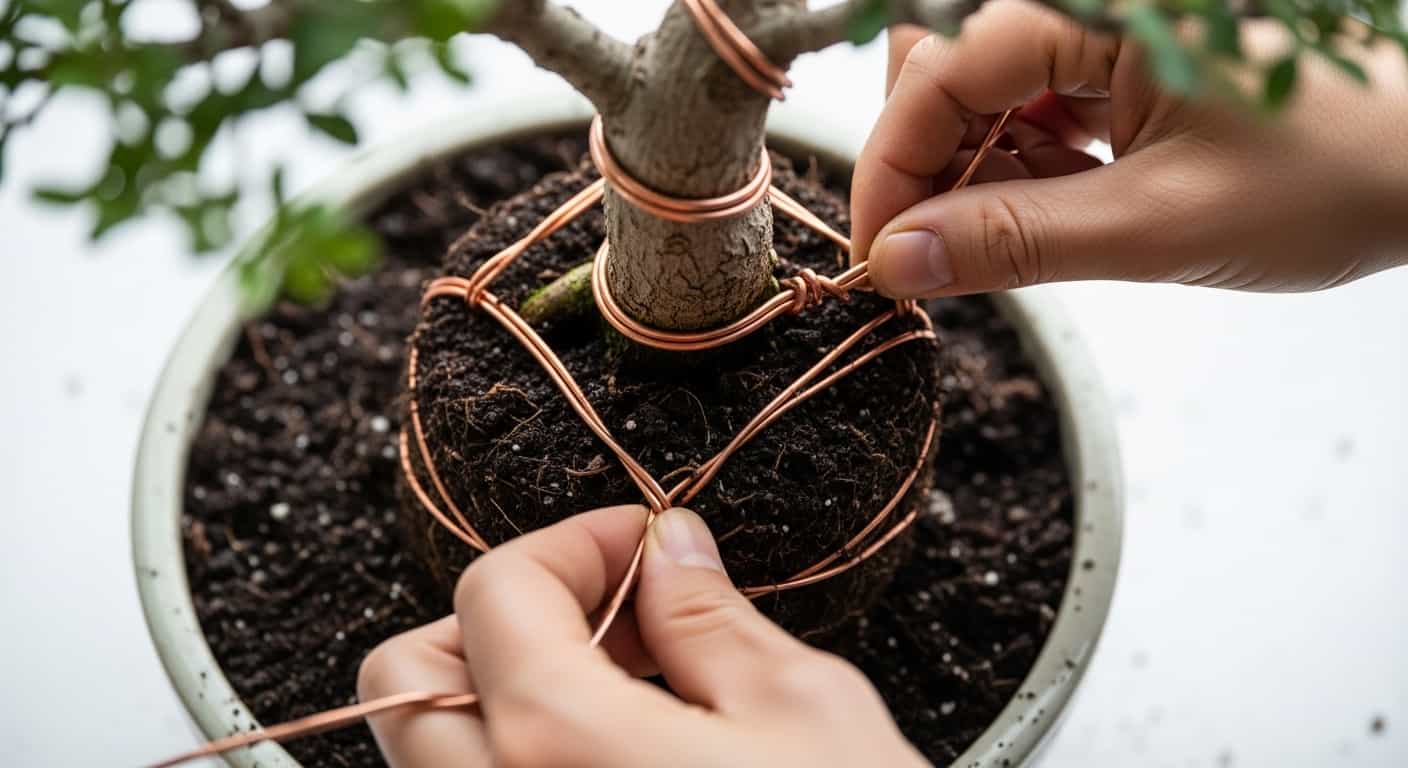
Step 5 — Secure the Tree with Tie-Down Wires
With the tree held in position, bring the two tie-down wires up over the root ball. Cross them over each other, pressing down firmly — but not aggressively — against the root mass.
Twist the two wire ends together tightly using your fingers or pliers, pulling them snug as you twist. The goal is firm, immovable pressure against the roots. The tree should not shift at all when you gently push it sideways.
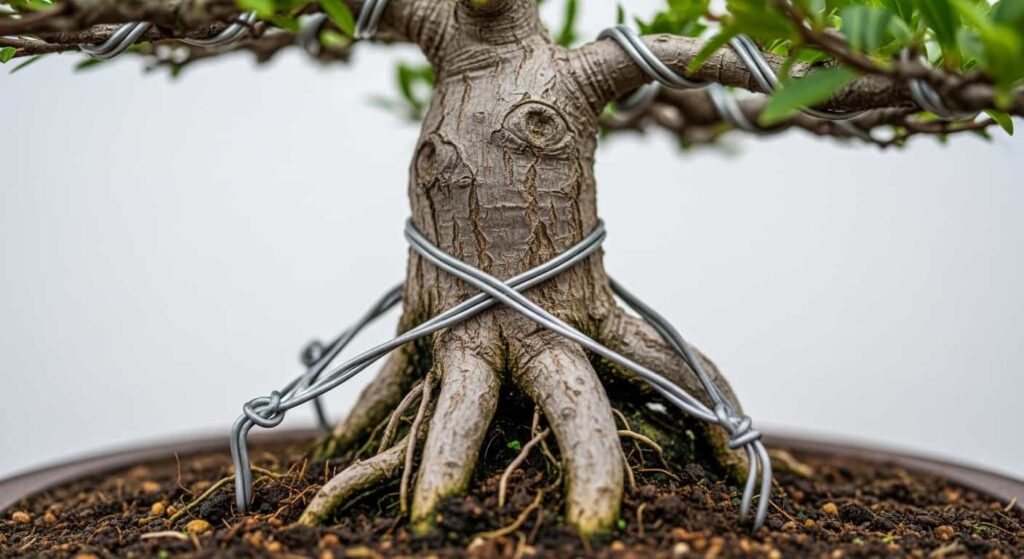
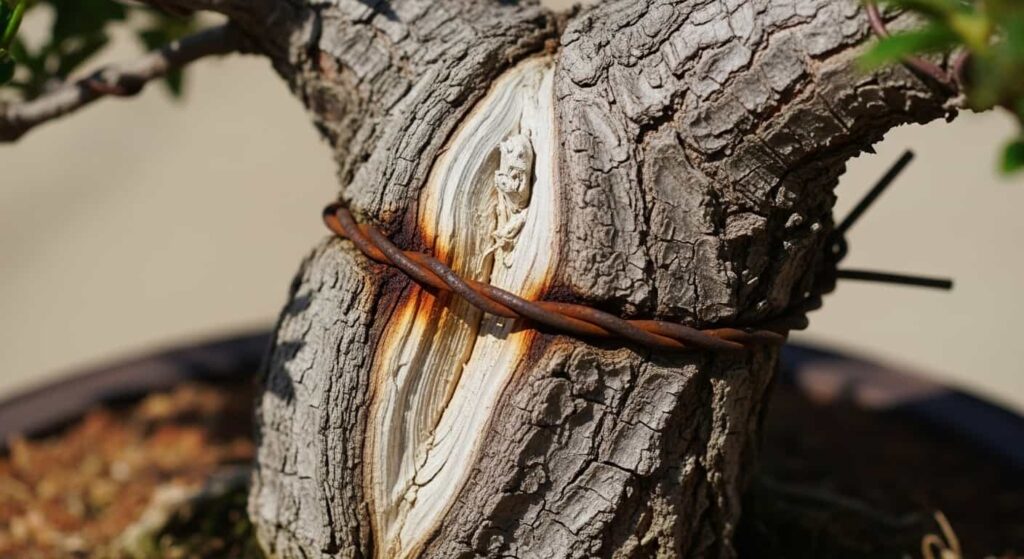
Important: The wire should press against the root ball or a thick surface root — never against the trunk. Cutting into the bark of the trunk can cause serious, permanent damage.
Trim any excess wire with your cutters, leaving a short stub that won’t snag anything.
Step 6 — Work in the Soil
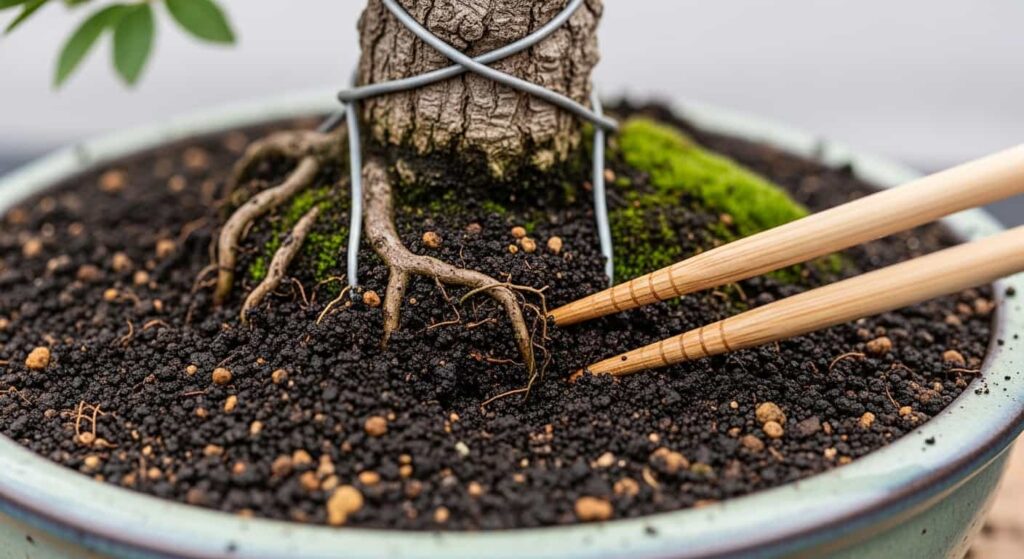
Now fill the pot with fresh bonsai soil, working it carefully around and under the roots with a chopstick. The goal is to eliminate all air pockets — these are death traps for bonsai roots.
Use a gentle jabbing and stirring motion with the chopstick around the perimeter of the root ball, rotating the pot as you go. Add soil gradually, continuing to work it in until the soil is level with the pot rim (or just below it to allow space for watering).
Step 7 — Water Thoroughly
Water the freshly repotted and wired tree thoroughly until water runs freely from the drainage holes. This settles the soil, further eliminating air pockets, and gives the roots their first drink in their new home.
Use a gentle watering can with a fine rose head — not a strong blast that could disturb the soil surface.
How Long Should the Wire Stay In?
Leave the tie-down wires in place for 4 to 8 weeks for most species. Tropical species in warm conditions may establish faster. Conifers and trees repotted in early spring may take longer.
The test: gently hold the pot and try to move the tree with two fingers pressing on the trunk. If it wiggles at all, leave the wire in. When the tree feels solidly anchored — as if it’s part of the pot — the roots have established, and the wire can be removed.
To remove, simply cut the wire with wire cutters and carefully unwrap it. Don’t pull — old wire can be surprisingly embedded.
Common Mistakes to Avoid
1. Skipping the wire entirely. Many beginners think their tree “looks stable” in the pot and skip this step. Even a tree that appears firmly seated can move enough during watering to damage new root growth.
2. Wiring too tightly. The wire should hold the tree firmly, not crush the roots. If you see roots shifting or distorting under heavy wire pressure, loosen it slightly.
3. Running wire against the trunk. This is a serious mistake. Even moderate wire pressure against bark over several weeks can cut into the cambium layer and cause permanent scarring or worse.
4. Leaving the wire in too long. Tie-down wire isn’t like styling wire, but it can still cause problems if left in indefinitely. Check at 6 weeks and remove once the tree is established.
5. Using a single wire through one hole. A single wire gives one axis of stability. Two wires crossing over the root ball (or through two holes) provide far better, multi-directional anchoring.
Wiring Into Different Pot Types
Pots with Two or More Drainage Holes
Thread one wire through each of two holes positioned opposite each other. Cross the wires over the root ball and twist together in the center. This gives excellent stability in all directions.
Pots with One Central Drainage Hole
Thread both wires through the same hole. Once they emerge above the root ball, separate them so they cross in different directions — like an X — before twisting together. This simulates two-point anchoring.
Very Large or Heavy Pots
For large specimen pots, use heavier 2–2.5mm wire or use multiple sets of tie-down wires. A large, heavy tree with a big root ball needs proportionally more anchoring force.
Tips for Specific Bonsai Species
- Junipers: These are slow rooters. Keep wire in for at least 6–8 weeks. Repot in early spring before bud break.
- Maples: Fast growers with vigorous roots. Often established within 4–5 weeks in warm weather.
- Pines: Repot less frequently and are slower to establish. Keep wire in for the full 8 weeks.
- Ficus (tropical): Fastest to establish in warm, humid conditions. Can often be checked at 3–4 weeks.
- Azaleas: Fibrous root system anchors well. Use lighter gauge wire and check at 4–5 weeks.
Aftercare Following Repotting
The wire is just one part of successful repotting recovery:
- Keep the tree out of direct, harsh sun for 2–3 weeks. Bright indirect light is ideal.
- Reduce fertilizing for 4–6 weeks. Fresh soil has nutrients, and over-fertilizing stressed roots can cause root burn.
- Water carefully but consistently. Don’t let the soil dry out completely, but don’t keep it waterlogged.
- Protect from strong wind — even a securely wired tree benefits from shelter while roots establish.
- Delay heavy styling (pruning, branch wiring) until the tree shows healthy new growth — a sign it has recovered.
Final Thoughts
Wiring your bonsai into its pot after repotting is a small step that makes a huge difference in how well your tree survives the transition. The process takes under five minutes once you’re familiar with it, and it gives your bonsai the stability it needs to send out new roots and bounce back healthy and strong.
Take your time with positioning in Step 4 — that’s the one step you can’t easily redo once the wire is tight. Everything else is straightforward with a little practice.
With the right technique and a few weeks of careful aftercare, your bonsai will be firmly anchored, thriving, and ready for its next stage of development.