
Last Updated on March 16, 2026 by Indoor Plant Nook
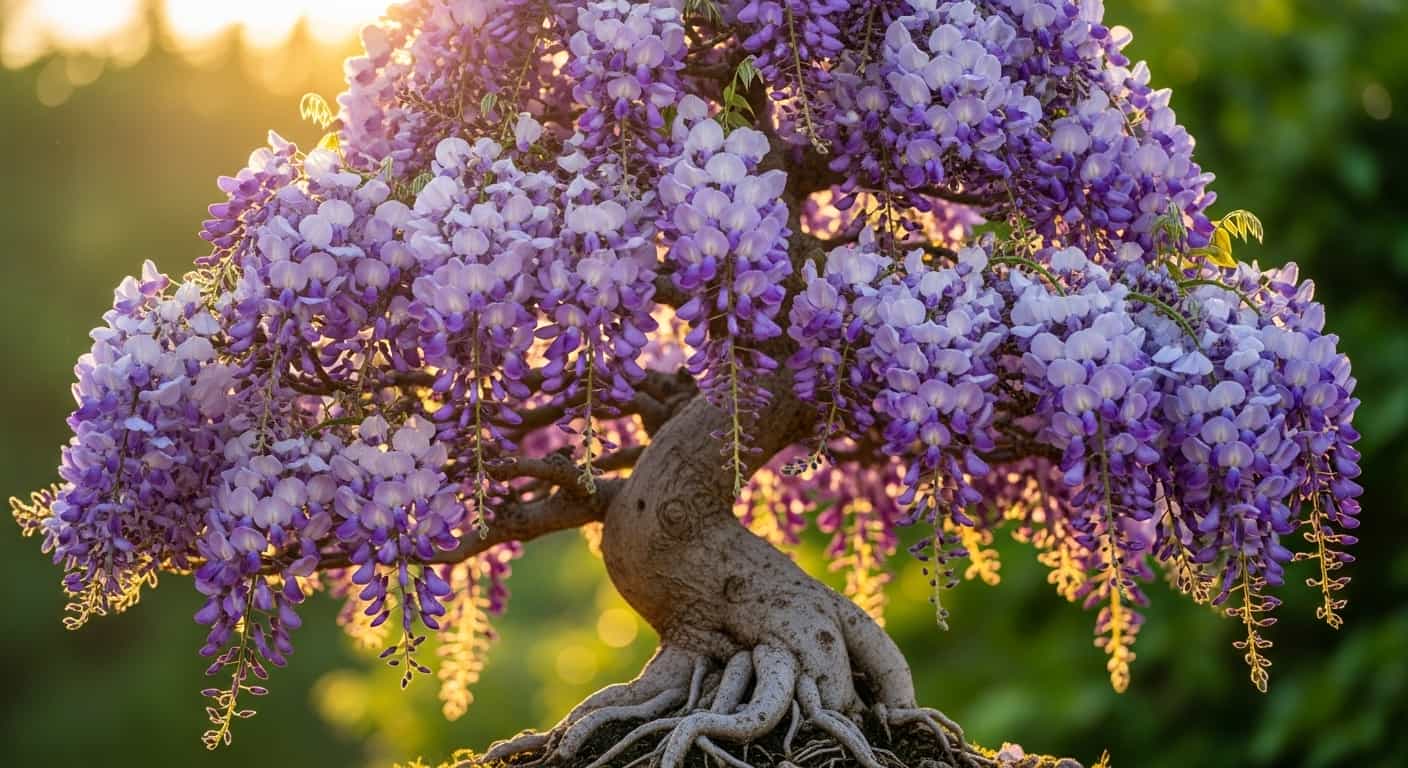
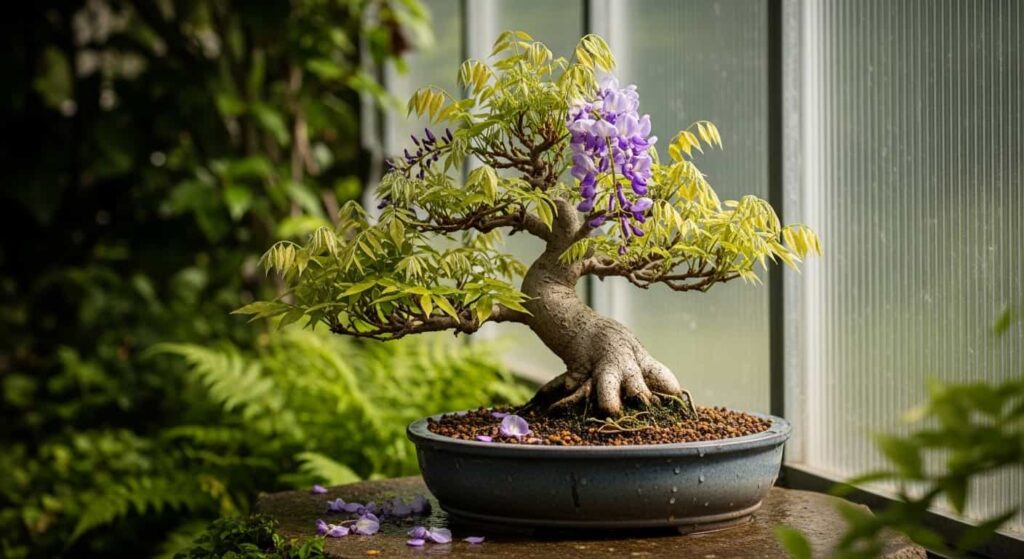
Wisteria bonsai is one of the most breathtaking specimens in the art of bonsai — cascading purple blooms, elegant twisting trunks, and a wild beauty that rewards patient growers. But behind that beauty lies a plant with an aggressive, fast-growing root system that demands your attention. Root pruning is not optional with wisteria; it is essential.
Whether you’re repotting for the first time or struggling to understand why your wisteria stopped blooming, this guide covers everything you need to know about root pruning — the right time, the right technique, and the critical mistakes to avoid.
Why Root Pruning Matters for Wisteria Bonsai
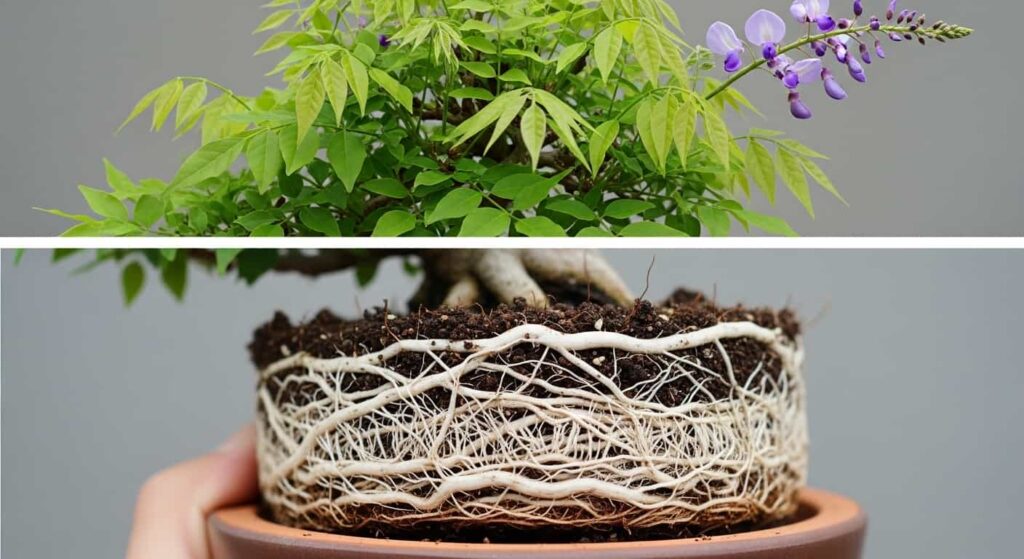
Wisteria (Wisteria sinensis or Wisteria floribunda) is a vigorous, fast-growing woody vine. In nature, its roots spread many meters in every direction. Confined to a bonsai pot, those same roots will spiral, coil, and become root-bound within a surprisingly short time.
When roots become too dense:
- The tree cannot absorb water and nutrients efficiently
- Soil becomes compacted and loses drainage capacity
- Root rot risk increases significantly
- The tree diverts energy to root growth rather than flower production
- The pot can crack from pressure
Root pruning solves all of these problems at once. It refreshes the growing medium, removes unhealthy or circling roots, and stimulates the development of a fine, fibrous root network — the kind that supports strong growth and reliable flowering.
When to Prune Wisteria Bonsai Roots
Timing is perhaps the single most important factor in successful root pruning. Get it right, and your tree will recover quickly and reward you with vigorous growth. Get it wrong, and you risk significant setbacks — or worse.
The Best Time: Early Spring, Before Bud Burst
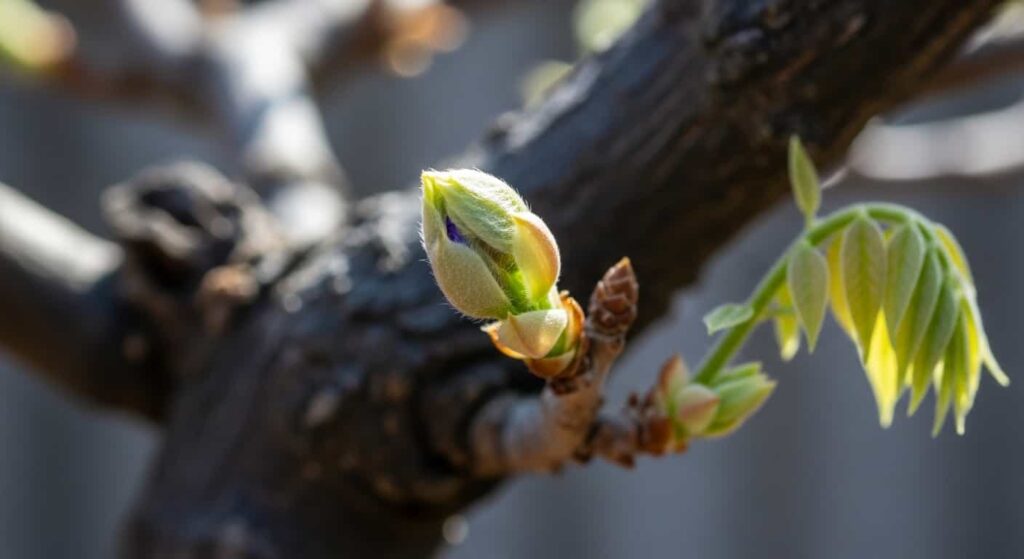
The optimal window for wisteria bonsai root pruning is early spring, just as the buds begin to swell but before they break open into leaves. At this point:
- The tree has stored energy from the previous growing season
- Soil temperatures are beginning to rise, encouraging root regrowth
- The tree’s metabolism is ramping up, speeding recovery
- You can assess bud health while repotting
In most temperate climates, this window falls between late February and early April, depending on your local climate. Watch the tree rather than the calendar — swelling buds are your clearest signal.
Can You Root Prune in Autumn?
Some growers prune roots in early autumn after the leaves begin to drop. This is a secondary option, not a preferred one. Autumn pruning works best in mild climates where winters are not extreme. In colder regions, the tree has less time to establish new root tips before frost, increasing stress going into winter. If you are in USDA Zone 5 or colder, stick to early spring.
How Often Should You Root Prune?
Young, vigorous wisteria bonsai in development may need root pruning every one to two years. Mature, refined trees in smaller pots may only need repotting every two to three years. Always let the tree guide you — if roots are circling the drainage holes or the rootball lifts cleanly out of the pot in a solid mass, it is time.
Tools You Will Need
Before beginning, gather the following:
- Sharp bonsai scissors or root shears — clean cuts heal faster and resist infection
- Root rake or chopstick — for loosening the rootball without tearing
- Bonsai pruning saw — for thick, woody roots
- Isopropyl alcohol (70%) — for sterilising all cutting tools
- Fresh bonsai soil mix — wisteria does well in a mix of akadama, pumice, and lava rock (roughly 60/20/20)
- Cut, paste, or wound sealant — optional but recommended for large root cuts
- Clean bonsai pot — the same pot or a slightly larger one, with adequate drainage holes
Sterilise all cutting tools before and after use. Wisteria is generally robust, but clean cuts always lead to better outcomes.
Step-by-Step: How to Prune Wisteria Bonsai Roots
Step 1: Remove the Tree from Its Pot
Tip the pot gently on its side and ease the tree out. If it is stuck, run a root knife or palette knife around the inner edge to release it. Avoid yanking or twisting — this tears fine feeder roots unnecessarily.
Step 2: Loosen the Rootball
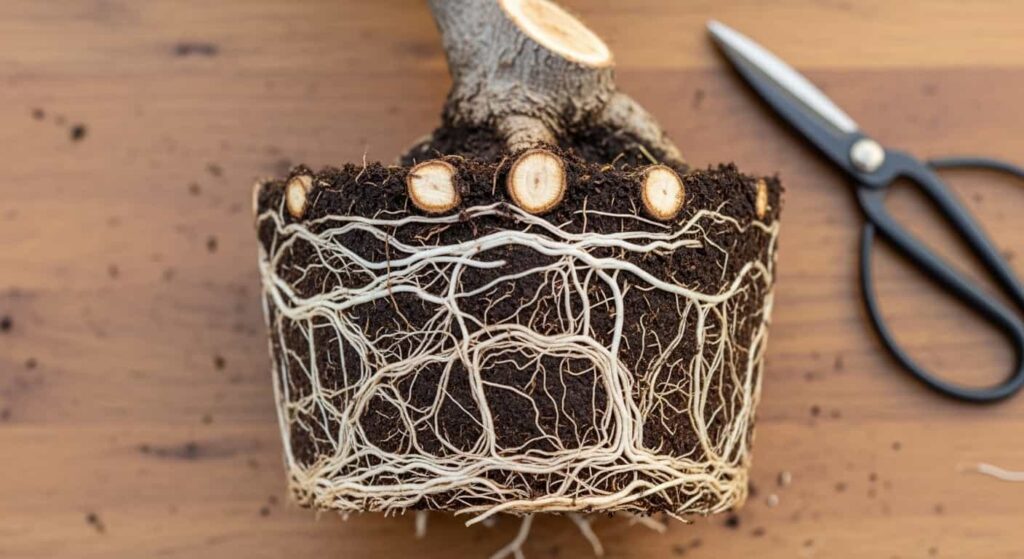
Using a root rake or a chopstick, begin working outward from the base of the trunk to loosen the outer third of the rootball. Remove old soil as you go. Work gently — the goal is to free tangled roots for inspection and pruning, not to strip the tree bare.
For heavily root-bound trees, you may need to soak the rootball briefly in water to soften the mass. Limit this to 15–20 minutes maximum.
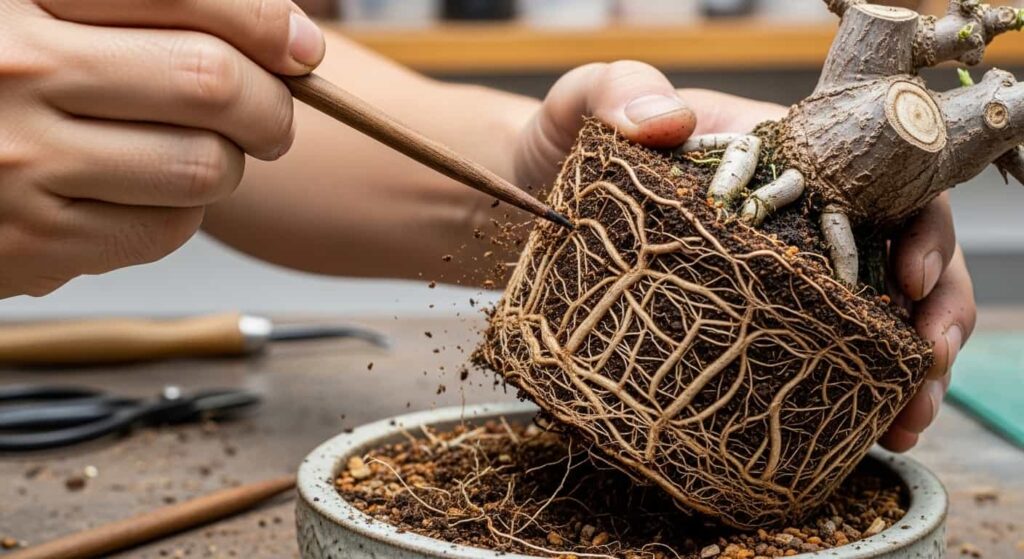
Step 3: Identify What to Remove
With the rootball loosened, inspect the roots carefully:
- Long, coiling surface roots — these should be shortened
- Thick, downward-growing tap roots — shorten significantly; these compete with fine feeder roots
- Dead or mushy roots — remove entirely; these signal rot
- Crossing or strangling roots — remove the weaker one
- Fine white feeder roots — protect these; they are your most valuable roots
As a general rule, never remove more than one-third of the total root mass in a single pruning session. This rule exists to prevent transplant shock and to ensure enough root capacity remains to sustain the canopy.
Step 4: Make Clean Cuts
Use sharp scissors or shears for roots up to pencil thickness, and a pruning saw for thicker roots. Cut with a single, clean motion — sawing back and forth or crushing the root with dull tools leaves ragged wounds that invite infection.
Cut back to a healthy lateral root wherever possible. This redirects growth into the finer root network rather than re-extending the same long root.
Step 5: Prepare the Pot
Clean the pot thoroughly with hot water. If reusing the same pot, scrub off any mineral deposits or algae. Ensure drainage holes are clear.
Add a drainage layer of coarse lava rock or pumice at the base (about 1 cm deep). Then add a thin layer of your prepared bonsai soil mix.
Step 6: Position and Repot
Place the tree in its intended position — slightly off-centre is traditional in bonsai composition. Work fresh soil around and through the rootball, using a chopstick to eliminate air pockets. Air pockets near the roots will cause those roots to die back.
Pack the soil firmly but not compactly — good drainage must be maintained.
Step 7: Water Thoroughly

After repotting, water the tree deeply until water drains freely from the bottom. This settles the soil, eliminates remaining air pockets, and provides essential moisture as the tree begins to re-establish.
Post-Pruning Care: The Critical Recovery Period
The weeks following root pruning are a vulnerable time for your wisteria bonsai. Follow these guidelines carefully:
Placement and Light
Keep the tree in a sheltered location — out of direct midday sun and away from strong wind — for two to four weeks after repotting. A shaded greenhouse or cold frame is ideal. Once new leaves begin to extend, you can gradually reintroduce the tree to full sun.
Watering After Root Pruning
Water carefully — not too much, not too little. The tree has fewer roots to absorb water, so overwatering now can waterlog the soil and promote rot. Check soil moisture daily by pressing a finger or a wooden skewer an inch into the soil. Water the soil when it is approaching dryness, but before it dries out completely.
Do Not Fertilise Immediately
Wait at least four to six weeks before fertilising after root pruning. The root system needs time to recover before it can efficiently process nutrients. Fertilising too early can actually burn the tender new root tips. Once new growth is actively extending, begin with a diluted balanced fertiliser and increase gradually.
Avoid Major Pruning at the Same Time
Do not perform heavy branch or canopy pruning at the same time as root pruning. The tree is already under significant stress. If branch pruning is needed, do it in the weeks before repotting, or wait until the tree has clearly recovered — typically six to eight weeks after repotting.
Common Mistakes to Avoid
Pruning at the Wrong Time of Year
Pruning wisteria roots in mid-summer or mid-winter is a serious mistake. Summer pruning disrupts an actively growing tree, and winter pruning exposes damaged roots to frost with no time to recover. Always work in early spring.
Removing Too Many Roots at Once
The temptation to clean up an overgrown rootball entirely in one session is understandable — but dangerous. Removing more than one-third of the root mass in one repotting puts the canopy at serious risk. If the rootball is severely congested, spread the work across two repotting cycles over two years.
Using Dull Tools
Dull scissors crush and tear roots rather than cutting them cleanly. Crushed root ends are slower to callus and significantly more susceptible to rot and fungal infection. Sharpen or replace your tools regularly.
Neglecting to Sterilise Tools
Bonsai tools carry soil-borne pathogens from tree to tree. Always sterilise between uses — especially if you have ever encountered root rot or fungal disease in your collection.
Repotting into Overly Large Pots
It is tempting to “give the roots room” by moving to a much larger pot. In practice, excess soil around the rootball retains moisture that the fine roots cannot absorb, leading to root rot. Match pot size closely to the rootball, or go up by no more than one size at a time.
Wisteria Root Pruning and Flowering: The Direct Connection
This is a question many growers ask: Will root pruning affect my wisteria’s blooms?
The answer is nuanced. Done correctly, root pruning supports blooming by reducing the tree’s urge to channel all energy into rampant vegetative growth. Wisteria blooms most reliably when it is slightly constrained — not stressed, but not in unlimited-growth mode either.
However, root pruning does temporarily set back the tree. If you repot in early spring, right before the bloom window, the flowers that year may be fewer or smaller as the tree redirects energy to root recovery. Many experienced growers repot immediately after flowering, in late spring, as a compromise that refreshes the roots while letting that year’s bloom cycle complete.
Experiment and observe your individual tree — wisteria rewards growers who pay close attention to its signals.
Special Considerations for Wisteria Root Structure
Surface Roots (Nebari)
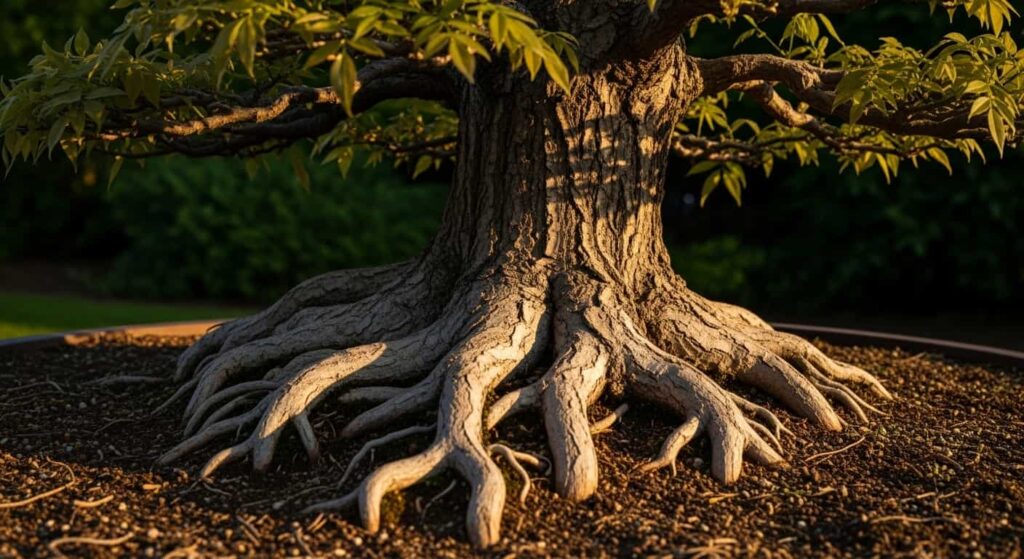
Wisteria can develop impressive surface roots over time. When root pruning, take care to preserve and encourage radial surface roots — those that extend outward from the base in all directions. These are both aesthetically valuable and practically important for stability and water uptake.
Avoid removing surface roots unless they are crossing, growing back into the trunk, or significantly disrupting the composition.
Tap Roots
Young wisteria bonsai often have a dominant tap root from their nursery stock origins. This thick, downward-diving root contributes little to the fine feeder root network and takes up valuable pot space. Gradually reduce it over several repotting cycles — cutting it back by a third to half each time — until it is eliminated or reduced to a stub.
Quick Reference: Wisteria Bonsai Root Pruning Summary
| Factor | Recommendation |
|---|---|
| Best timing | Early spring, before bud burst |
| Secondary timing | Early autumn (mild climates only) |
| Frequency (young trees) | Every 1–2 years |
| Frequency (mature trees) | Every 2–3 years |
| Maximum root removal | No more than 1/3 of root mass |
| Soil mix | Akadama / pumice / lava rock |
| Post-pruning fertilizing | Wait 4–6 weeks |
| Post-pruning sun exposure | Shade/shelter for 2–4 weeks |
Final Thoughts
Root pruning is one of the most intimate and consequential acts in bonsai care. Done with good timing, clean tools, and a respect for the tree’s limits, it is transformative — turning a root-bound, struggling specimen into a vigorous, blooming showpiece.
Wisteria is a resilient plant that tolerates careful root work remarkably well. Trust the process, follow the timing, and resist the urge to overdo it in any single session. The tree will reward your patience.