

So, you’ve brought home a beautiful orchid. Its graceful stem and perfect, exotic flowers look stunning on your counter. But as soon as you set it down, a quiet panic begins to set in. How do you keep this delicate-looking plant from meeting a swift demise? It’s a common fear, but the truth is that orchids are far tougher than they look. Their care isn’t complicated, just different from other houseplants.
This is your simple, no-fuss manual on how to keep an orchid alive for dummies. We’re throwing the complicated jargon out the window and focusing on basic, actionable orchid survival tips. Forget everything you think you know about watering and soil. By the end of this beginner orchid care guide, you’ll have the confidence to help your new plant not just survive, but truly thrive.
Rule #1: Don’t Treat It Like a Normal Plant
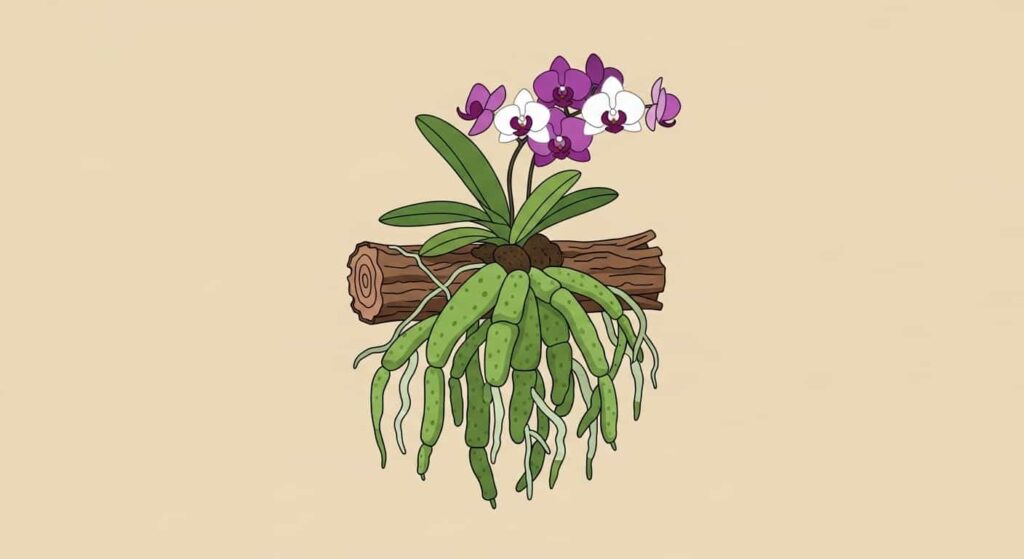
The single biggest secret to orchid success is understanding that most common orchids, like the Phalaenopsis (Moth Orchid), are not “normal” plants. In the wild, they are epiphytes, which means they grow on the sides of trees, not in the dirt.
Their roots are not designed to be buried in soil. Instead, they are like little green sponges, made to cling to bark, soak up rainwater, and then dry out quickly in the open air. If you try to care for an orchid the same way you care for a fern or a pothos, you will run into trouble. The key is to mimic its natural treetop environment.
Rule #2: Watering—Less is Always More
Overwatering is the number one cause of orchid death. Full stop. New plant parents often kill their orchids with kindness, thinking more water is better. For orchids, the opposite is true.
When to Water
Do not water on a weekly schedule. Your orchid’s watering needs will change with the seasons, temperature, and humidity in your home. Instead, let the plant tell you when it’s thirsty.
- Look at the Roots: If your orchid is in a clear plastic pot, look at the roots. If they are silvery or light green, it’s time to water. If they are bright, vibrant green, they are still hydrated. Wait a few more days.
- Check the Weight: Lift the pot. A dry orchid will feel surprisingly lightweight. A well-watered one will have some heft to it.
- The Skewer Test: For opaque pots, gently stick a wooden skewer or chopstick into the middle of the pot, being careful to avoid roots. Pull it out after a few minutes. If it comes out dark and damp, do not water. If it comes out dry, it’s time for a drink.
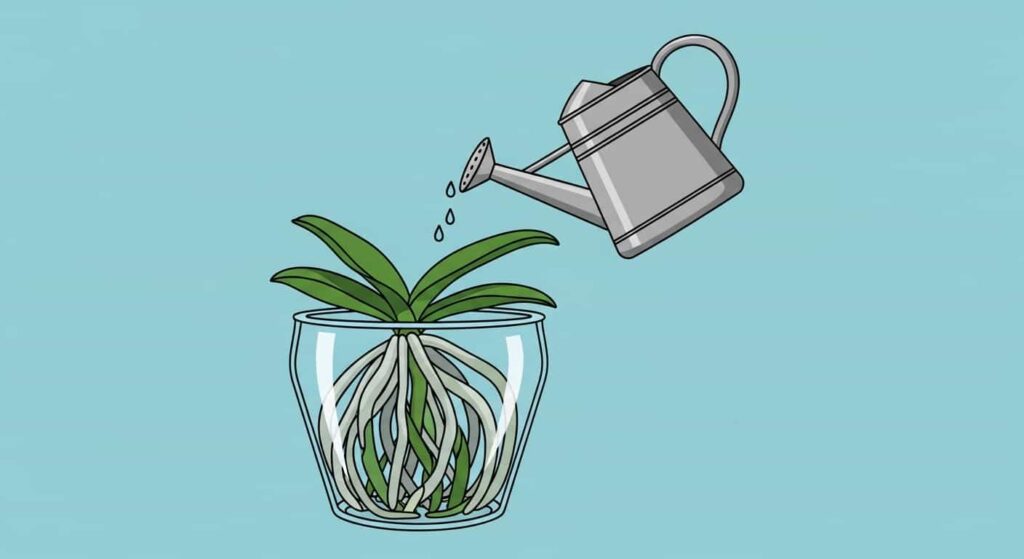
How to Water
When it’s time to water, give your orchid a good soak. Take it to the sink and let lukewarm water run through the potting mix for about 30 seconds. Let the water flow freely out of the drainage holes. Then, and this is crucial, let it drain completely. Never let your orchid sit in a saucer of standing water.
Rule #3: Give It the Right Light

Orchids need light to create food and flowers, but the wrong kind of light can be harmful. They don’t want to bake in the hot, direct sun.
Finding the Perfect Spot
Think “bright, but not direct.” The ideal location gets plenty of light, but is shielded from the sun’s harshest rays.
- East-Facing Windows: These are perfect. They provide gentle, bright morning sun.
- South- or West-Facing Windows: These windows get very intense sun. Place your orchid several feet back from the glass or use a sheer curtain to filter the light.
- Check the Leaves: Your plant’s leaves are a great light meter. They should be a healthy, bright olive green. If they are very dark green, the plant needs more light to bloom. If they are turning yellow or have reddish edges, it’s getting sunburned.
Rule #4: Use the Right Home (Pot and Mix)
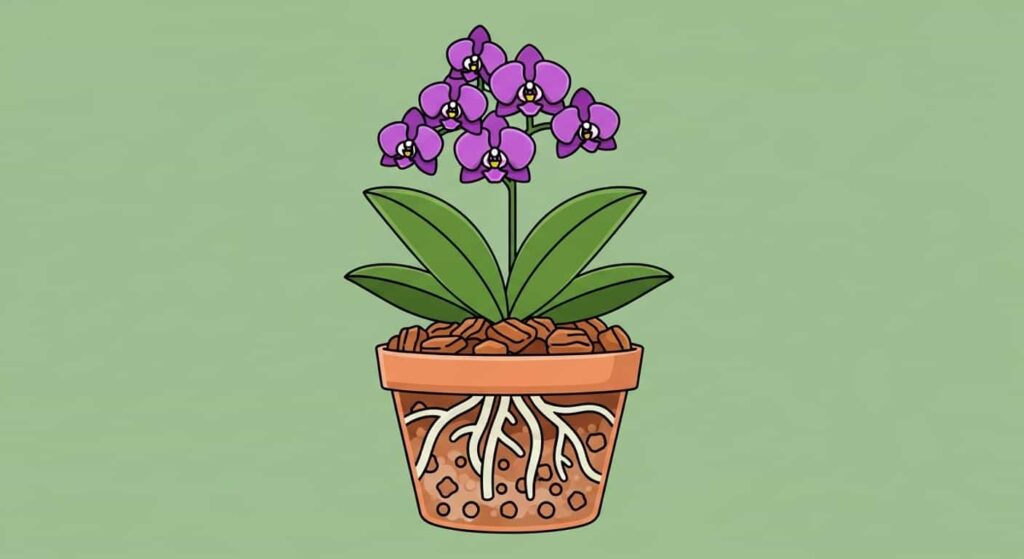
You cannot plant an orchid in regular potting soil. It’s too dense and will suffocate the roots. Orchids need a special, chunky mix that allows for plenty of airflow.
The Potting Mix
When you buy an orchid, it should already be in a proper mix, which usually consists of bark chips, charcoal, or perlite. When it’s time to repot (usually every 1-2 years), make sure you buy a bag labeled “Orchid Mix.”
The Pot
- Drainage is Everything: The pot must have drainage holes. No exceptions. Decorative pots without holes are fine to use as a “cachepot”—just place the orchid in its plastic liner pot inside the decorative one. Remove it for watering.
- Keep it Snug: Orchids like to be tight in their pots. When you repot, only go up one inch in pot size. A pot that is too big will hold too much moisture and lead to root rot.
Rule #5: Know What to Do After the Flowers Fall

It’s sad when the last beautiful flower wilts, but this is a normal part of the orchid’s life cycle. It doesn’t mean the plant is dead! This is when the orchid rests and gathers energy to bloom again.
Tending to the Spike
The flower spike is the stem the blooms grow. After the flowers fall, look at the spike.
- If it turns brown or yellow: It’s finished. Use clean scissors to cut it all the way down to the base of the plant.
- If it stays green: You have a choice. You can cut it back to about an inch above a node (the little triangular bumps on the stem), and it might send out a new branch of flowers. Or, you can cut it all the way back to let the plant focus its energy on growing stronger roots and leaves for a bigger bloom next time. Both methods work.
A Summary of Simple Orchid Survival Tips
Feeling overwhelmed? Don’t be. Here is the entire guide in a few simple bullet points.
- Water only when dry. Check the roots or use a skewer.
- Give it bright, indirect light. No direct sunbeams.
- Use orchid bark, not soil. Roots need to breathe.
- Let it be snug in its pot. Don’t go too big when repotting.
- Cut the spike after blooming. Cut it down if it turns brown.
That’s it. By following these basic rules, you’ll demystify orchid care and discover how resilient and rewarding these plants can be. You have everything you need to keep your orchid alive and watch it rebloom year after year.