Want to try growing orchids from seeds?
Orchids are stunning flowers that show elegance and patience.
They’re not like regular plants you just toss in the soil.
Growing orchids from seeds takes time and care.
It’s tricky, but watching them grow is super rewarding.
If you’re ready for a fun challenge, this is for you!
You may also like: Why Are My Orchid Leaves Turning Yellow? Causes, Fixes & Prevention
Orchid seeds are tiny—almost like dust.
Unlike tomato or marigold seeds, they don’t have any food stored inside.
This means they need special care and the right nutrients to grow.
That’s why it’s super important to know how to plant them the right way.
In this guide, you’ll learn:
- What makes orchid seeds so unique.
- Easy steps to help them start growing.
- Tips to keep away mold and mistakes.
- How to care for them so they bloom beautifully.
Whether you just like gardening or love orchids, this guide will help you get started with confidence.
Why Learning How to Plant Orchid Seeds Matters
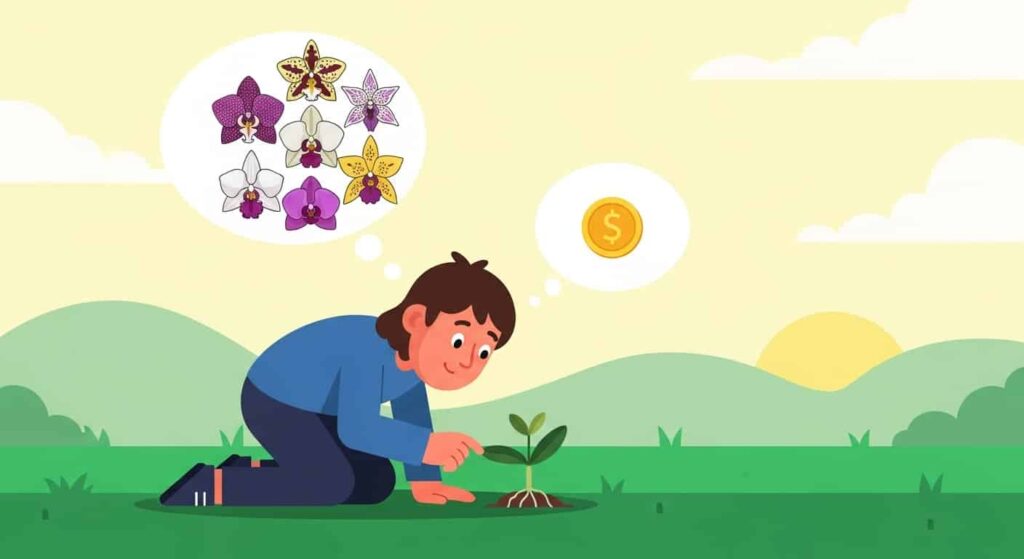
Wondering why you should learn to grow orchids from seeds instead of just buying a grown plant?
Here’s the deal:
Growing orchids from tiny seeds helps you connect with nature in a deeper way.
You watch something so small turn into a beautiful flower, and that teaches patience.
You can also get rare types of orchids that you won’t find in stores.
Some of these special seeds are even available online.
Plus, buying seeds usually costs less than buying a full-grown orchid.
And honestly, nothing beats the feeling of seeing a flower bloom that you raised from scratch.
It’s a proud moment you won’t forget.
Understanding Orchid Seeds: What Makes Them Unique
Before you start planting orchid seeds, you should know what makes them special.
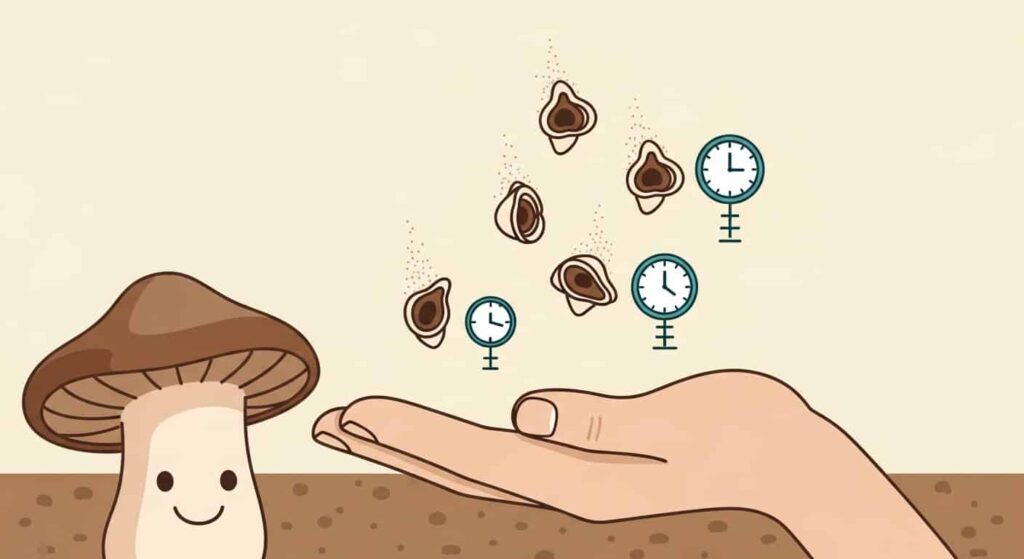
First, they’re super tiny—like tiny dust particles.
Second, unlike beans or peas, orchid seeds don’t have any food stored inside.
In nature, they need fungi to help feed them.
And here’s the kicker—it can take 3 to 7 years for your orchid to bloom after the seed starts growing.
That’s why growing orchids from seeds is called a “patient gardener’s project.”
If you’re up for the wait, it’s totally worth it!
Step-by-Step Guide: How to Plant Orchid Seeds
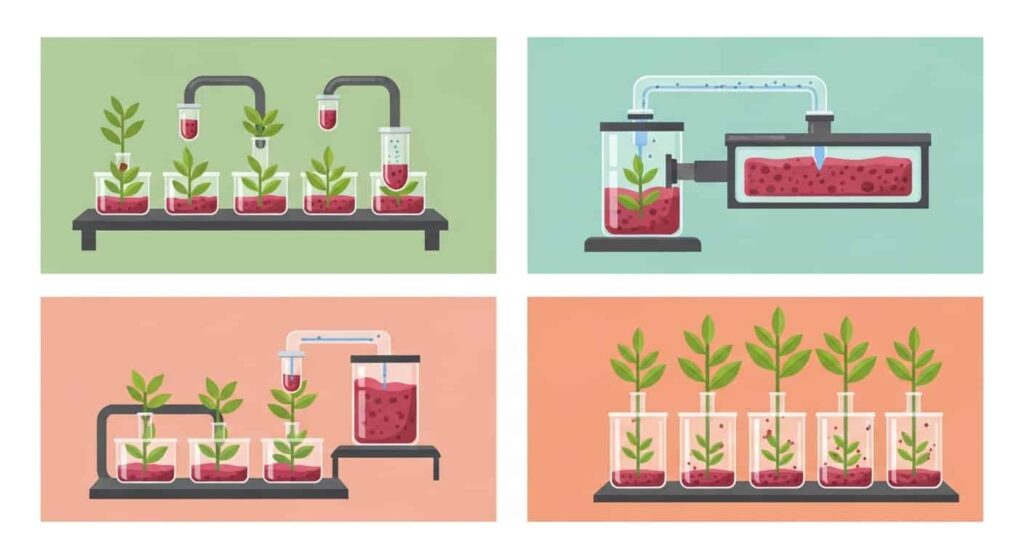
Ready to start planting orchid seeds?
Here’s what you need to do step-by-step.
1. Sterilize Your Tools and Work Area
Cleanliness is super important.
Orchid seeds are very sensitive to bacteria, mold, and bad fungi.
Use boiling water or a pressure cooker to sterilize jars, tweezers, and other tools.
Work in a clean area like a glove box or a still-air box to keep germs away.
Wash your hands well or wear gloves before touching anything.
2. Choose the Germination Method
There are two main ways to grow orchid seeds.
Symbiotic Germination means planting seeds with orchid fungi, like in nature.
This method is less predictable and harder to control.
Asymbiotic Germination uses a nutrient-rich gel or agar instead.
This way is easier and better for beginners.
You’ll need sterile flasks and the right nutrient mix.
If you’re new, go with asymbiotic germination.
3. Prepare the Growing Medium
The medium gives seeds the food they don’t have inside.
It has sugars, minerals, and vitamins.
You can buy ready-made kits or make your own medium.
Sterilize it well in sealed jars or flasks before using.
Let it cool down before planting seeds on it.
4. Sowing the Orchid Seeds
This part needs a steady hand.
Sprinkle the seeds gently onto the sterile medium.
Don’t touch seeds with your hands—use clean tools.
Seal the container tightly with parafilm or plastic wrap.
This keeps everything clean and stops germs.
5. Provide Proper Conditions
Give your seeds indirect light for about 12 to 14 hours a day.
Keep the temperature between 70 and 80°F (21–27°C).
Humidity should be moderate, but sealed flasks keep it steady.
6. Watch for Germination Stages
Be patient—seeds don’t sprout fast.
First, seeds swell and tiny green spots appear.
Then little blobs called protocorms show up.
Finally, leaves and roots start growing.
This can take weeks or even months, depending on the orchid type.
7. Transfer Seedlings Carefully
When seedlings have roots and leaves, it’s time to move them.
Put them on fresh sterile medium (called replating).
When bigger, transfer them to moss-based potting mix.
Give them gentle light and keep humidity high while they adjust.
8. Growing Orchids to Maturity
Even after germination, you need to keep caring for them.
Keep orchids in a controlled place.
Water them carefully but regularly.
Use orchid fertilizer lightly.
Repot when they outgrow their pots.
It takes 3 to 7 years for flowers to appear.
Yes, it’s a long wait, but totally worth it!
If you stick with it, you’ll have amazing orchids you grew yourself.
Expert Tips for Success in Planting Orchid Seeds
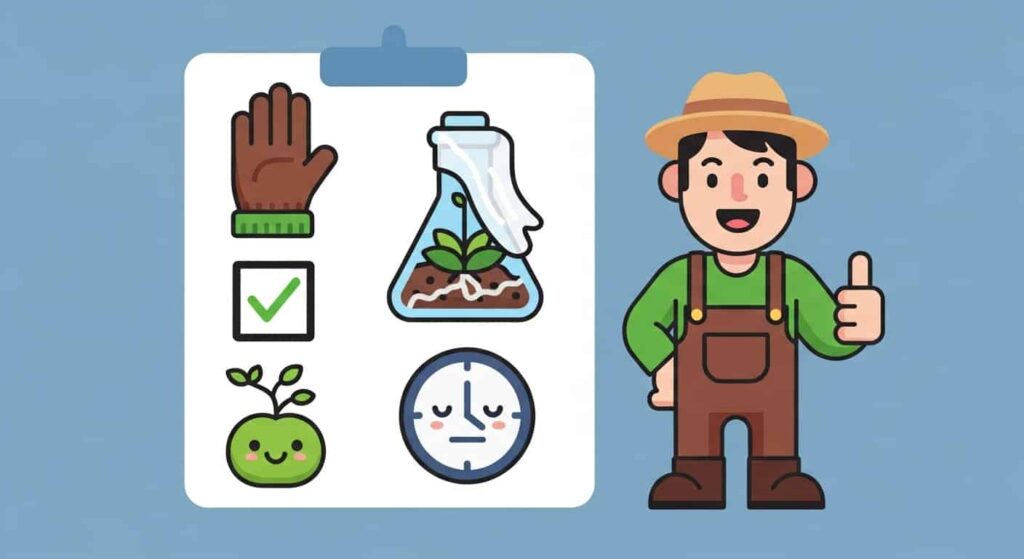
Here are some quick tips to keep your orchid seeds safe and happy.
Always work sterile.
Even one tiny mold spore can ruin everything.
Label your flasks.
Different orchid types grow at different speeds.
Don’t rush things.
Try not to open the flasks too early.
Start small.
Grow one batch of seeds before trying lots of different kinds.
Most importantly, stay patient.
Growing orchids takes time—it’s a marathon, not a race.
Stick with it, and you’ll be rewarded!
Common Mistakes to Avoid
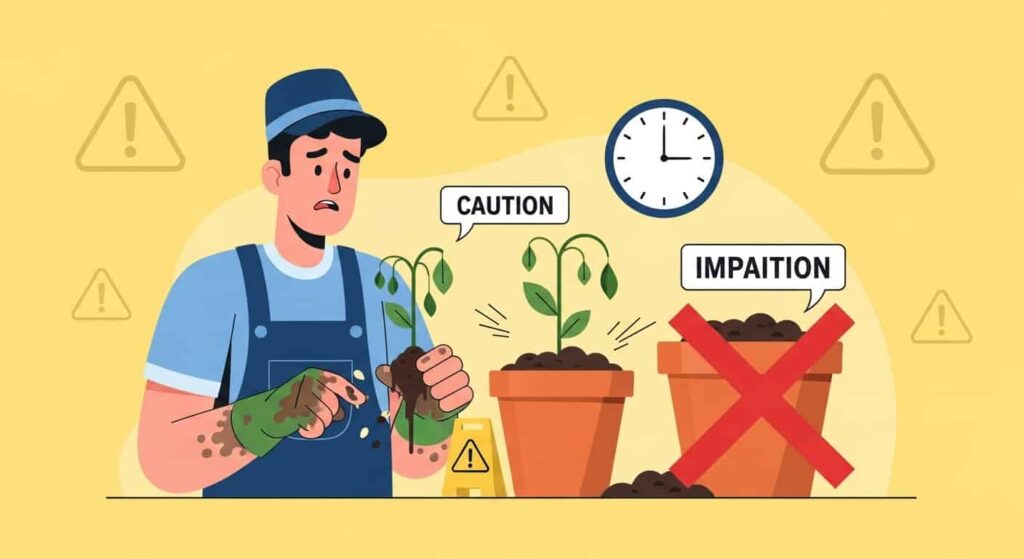
If you’re new to planting orchid seeds, watch out for these common mistakes.
Using regular soil instead of a special nutrient medium.
Touching seeds or tools without cleaning them first.
Thinking your orchids will flower within a year.
Giving seedlings too much water after you move them.
Remember, making mistakes is normal when you’re learning.
But avoiding these will save you a lot of time and hassle.
Keep going—you’ve got this!
Long-Term Orchid Care After Germination
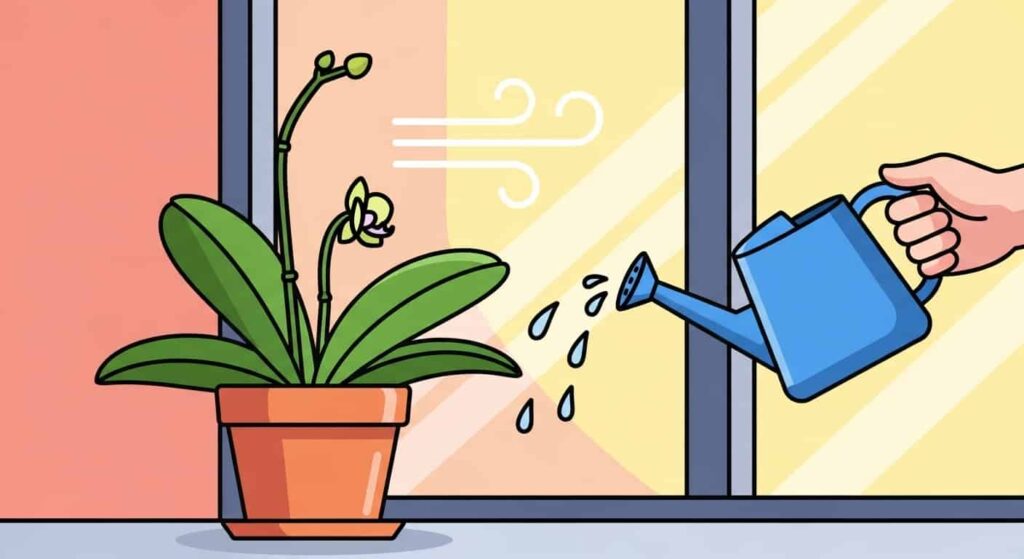
Growing orchids from seeds is just the start.
Taking care of them long-term is what really matters.
Give them bright, but indirect sunlight.
Let the potting mix dry out a little before watering again.
Make sure there’s good air flow to stop mold and fungus.
Repot your orchids every 1 to 2 years to keep the soil fresh.
Stick with these steps, and your orchids will stay healthy and happy.
Conclusion
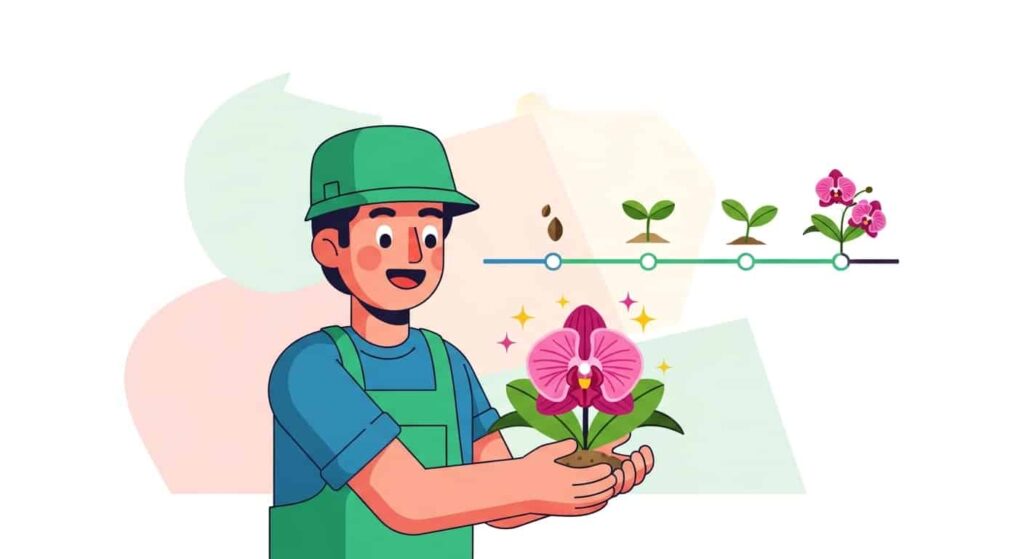
Growing orchids from seeds is both a science and an art.
It takes patience, cleanliness, and dedication.
But the result is one of the most satisfying gardening experiences.
With the right setup, even beginners can grow orchids from seeds.
And then enjoy their beautiful, exotic flowers.
The secret? Patience.
Orchids will test how committed you are.
But when they finally bloom, it’s an amazing feeling.
So, get your tools ready and sterilize them.
Grab your orchid seeds.
And start your rewarding journey today!
Frequently Asked Questions (FAQs)
How to plant orchid seeds without a lab?
It’s possible but challenging. You’ll need a sterile glove box and pre-made nutrient medium to reduce contamination risks.
Can orchid seeds grow in regular soil?
No. Orchid seeds lack nutrients to grow in soil; they need fungi or artificial media.
How long does it take for orchid seeds to germinate?
Anywhere from a few weeks to several months. Flowering can take several years.
Is growing orchids from seeds expensive?
It requires some investment in flasks, media, and sterilization equipment, but seeds themselves are inexpensive.
What’s the easiest orchid for beginners to grow from seeds?
Phalaenopsis orchids are often considered the most beginner-friendly variety.
