
The Phalaenopsis, or Moth Orchid, is often the first orchid people welcome into their homes. With its elegant arch of stunning, long-lasting blooms, it’s easy to see why. Yet, many new owners feel a sense of dread as soon as the last flower falls. Don’t worry—caring for these beautiful plants is much simpler than you might think. They are hardy, forgiving, and eager to rebloom with the right attention.
This guide is your complete resource for Phalaenopsis orchid care for beginners. We will walk you through the essential elements of light, water, and humidity. You’ll also learn how to choose the right potting mix, what to do after the flowers fade, and how to repot your plant for long-term health. Get ready to turn your thumb green and enjoy these magnificent orchids for years to come.
Understanding Your Phalaenopsis Orchid
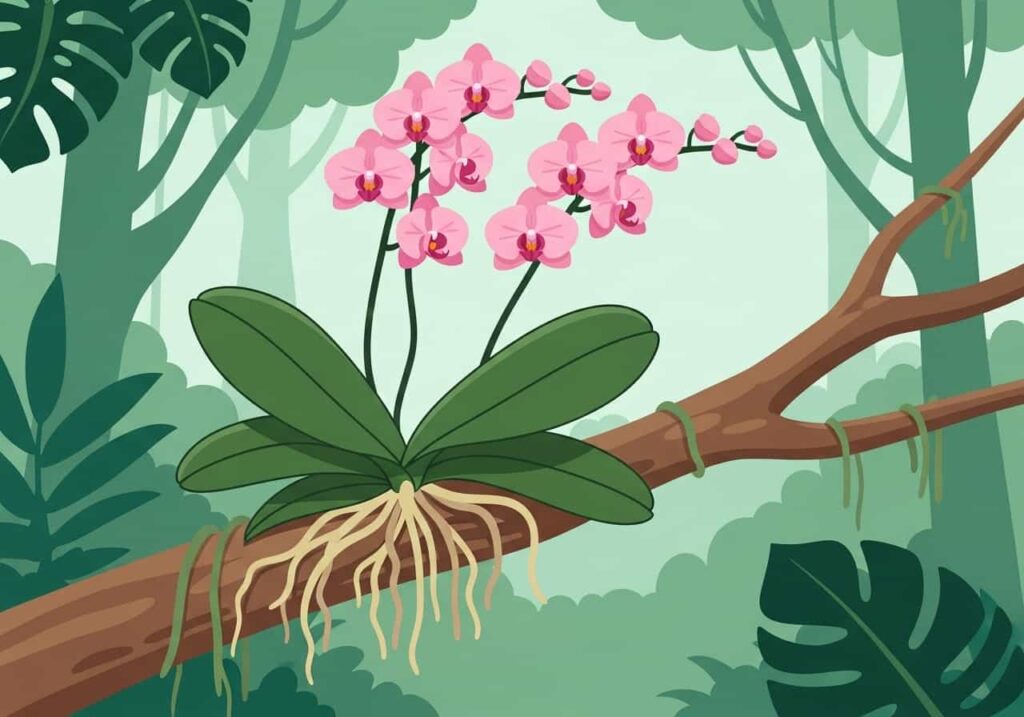
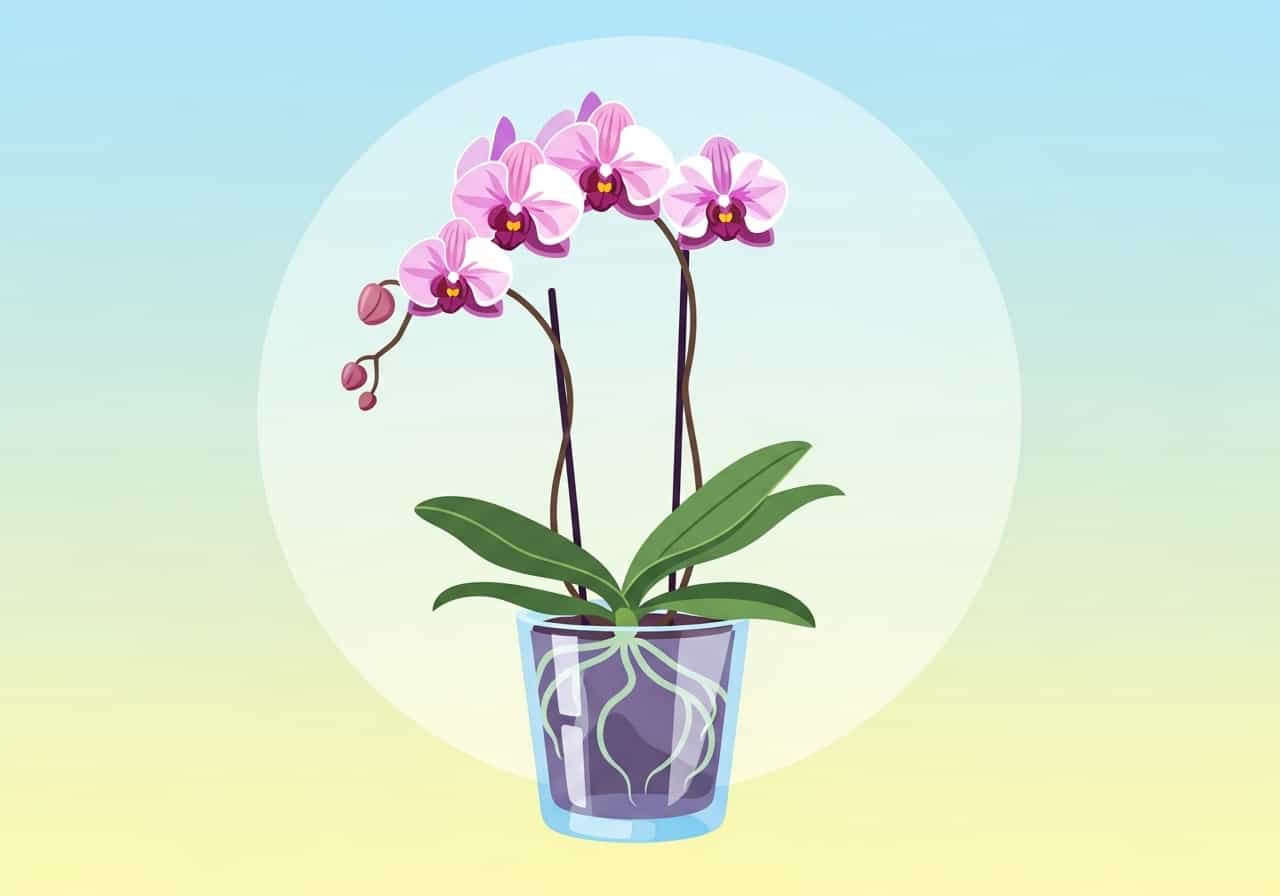
Before diving into care specifics, it helps to understand how Phalaenopsis orchids grow in their natural habitat. In the wild, they are epiphytes, which means they grow on trees, not in soil. Their roots anchor them to tree bark, absorbing moisture from the humid air and nutrients from rainwater and decaying debris.
This is the most critical piece of information for any new orchid owner. You cannot treat a Phalaenopsis like a typical houseplant. Its roots are designed for air circulation and a wet-dry cycle, not for sitting in dense, moist soil. By recreating these conditions in your home, you set the stage for a healthy, thriving plant.
The Essentials of Phalaenopsis Care
Mastering the care of your Moth Orchid comes down to balancing a few key environmental factors. These plants are adaptable and will often forgive minor mistakes, making them perfect for learning.
Light: Bright, but Not Direct

Phalaenopsis orchids thrive in bright, indirect light. Think of the filtered sunlight they would receive under a tropical forest canopy. Placing your orchid in the right spot is crucial for its overall health and ability to produce new flowers.
- Ideal Location: An east-facing window is perfect. It provides gentle morning sun that isn’t strong enough to cause damage. A spot a few feet away from a south- or west-facing window also works well.
- Leaf Color as an Indicator: Your orchid’s leaves are an excellent guide. Healthy leaves should be a bright, olive green. If the leaves are a very dark forest green, the plant probably needs more light. If they turn yellowish or develop reddish edges, it’s getting too much direct sun, which can scorch the leaves.
- What to Avoid: Never place your Phalaenopsis in direct, intense sunlight. This will burn the foliage, leaving behind unsightly brown or black patches.
Watering: The Golden Rule is “Less is More”
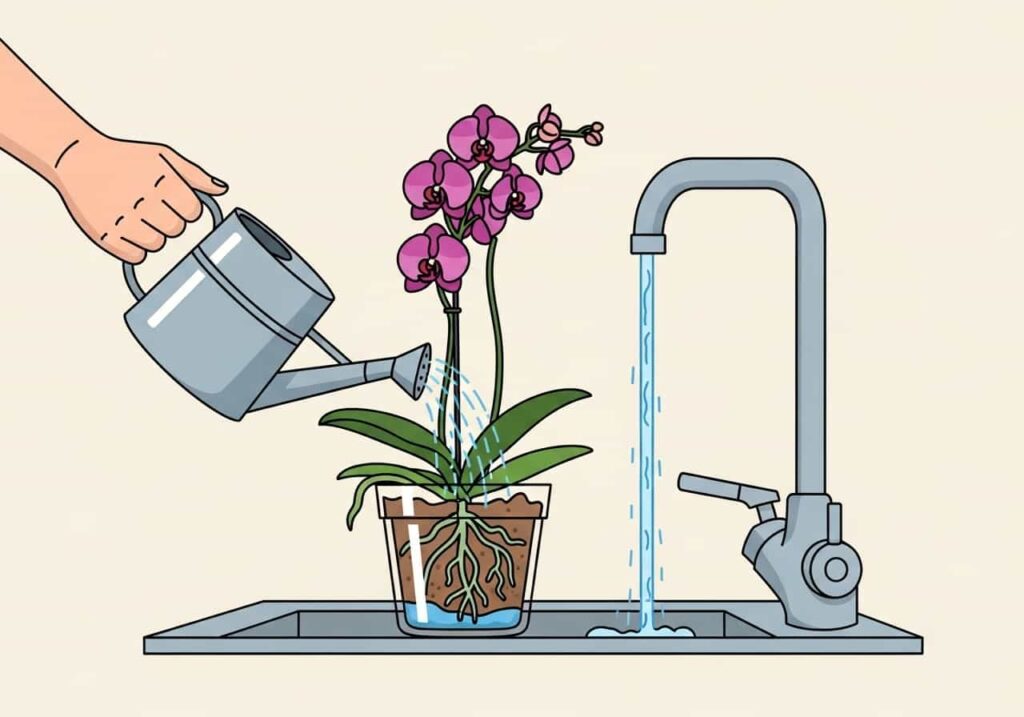
Overwatering is the most common reason beginner orchids fail. The roots of a Phalaenopsis need to breathe and must be allowed to dry out between waterings to prevent rot.
- When to Water: The best way to know if it’s time to water is to look at the roots. In many store-bought orchids that come in clear plastic pots, you can easily see them. Silvery-green roots indicate the plant is dry and ready for a drink. After watering, healthy roots will turn a vibrant, plump green. If the roots are already green, wait a few more days.
- How to Water: Take the plant to a sink. Water the potting medium thoroughly for about 15-20 seconds, allowing lukewarm water to flush through the pot and drain completely out of the bottom holes. This method mimics a tropical downpour.
- Important Precautions: Avoid getting water in the crown of the plant, which is the central point where new leaves emerge. Water trapped here can lead to crown rot, a fatal condition. If you do splash water in the crown, use the corner of a paper towel to blot it dry. Never let your orchid’s pot sit in a saucer of standing water.
Humidity: Creating a Comfortable Environment
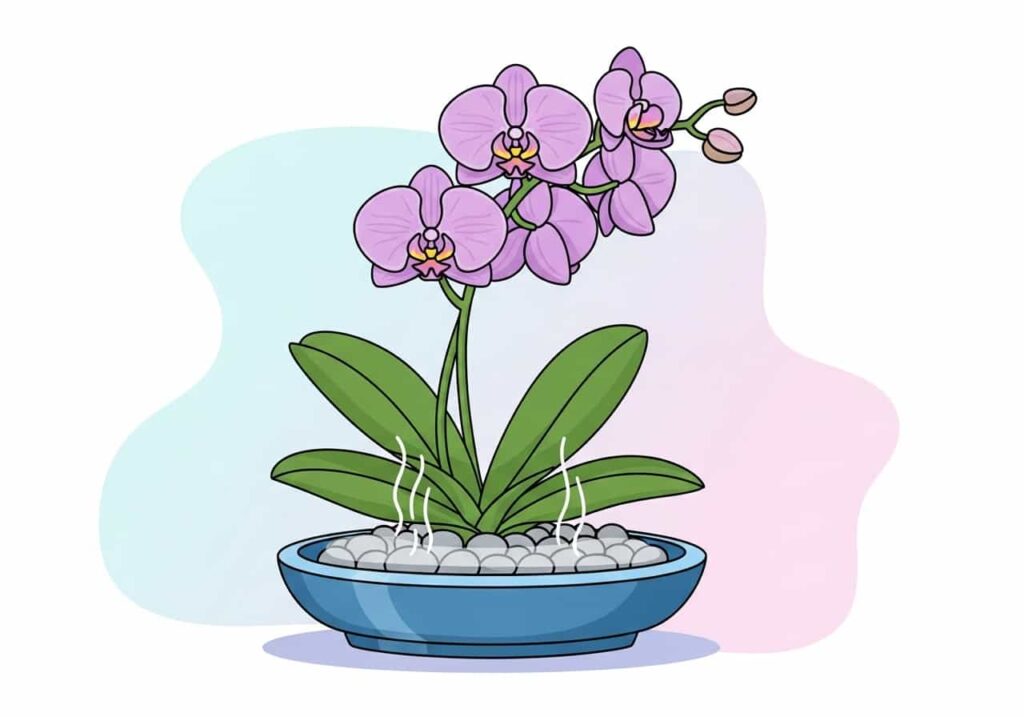
Moth Orchids are native to humid, tropical regions and prefer humidity levels between 40% and 70%. Most homes are on the drier side, especially during winter when heating systems are running.
- Simple Ways to Increase Humidity: Place your orchid on a humidity tray. This is a shallow tray filled with pebbles and water. The pot sits on top of the pebbles, above the water line, allowing moisture to evaporate around the plant.
- Grouping Plants: Grouping several houseplants can create a small pocket of higher humidity as they all release moisture through transpiration.
- Using a Humidifier: If you have several orchids or live in a very dry climate, a small room humidifier is an excellent investment.
Choosing a Potting Medium and Repotting
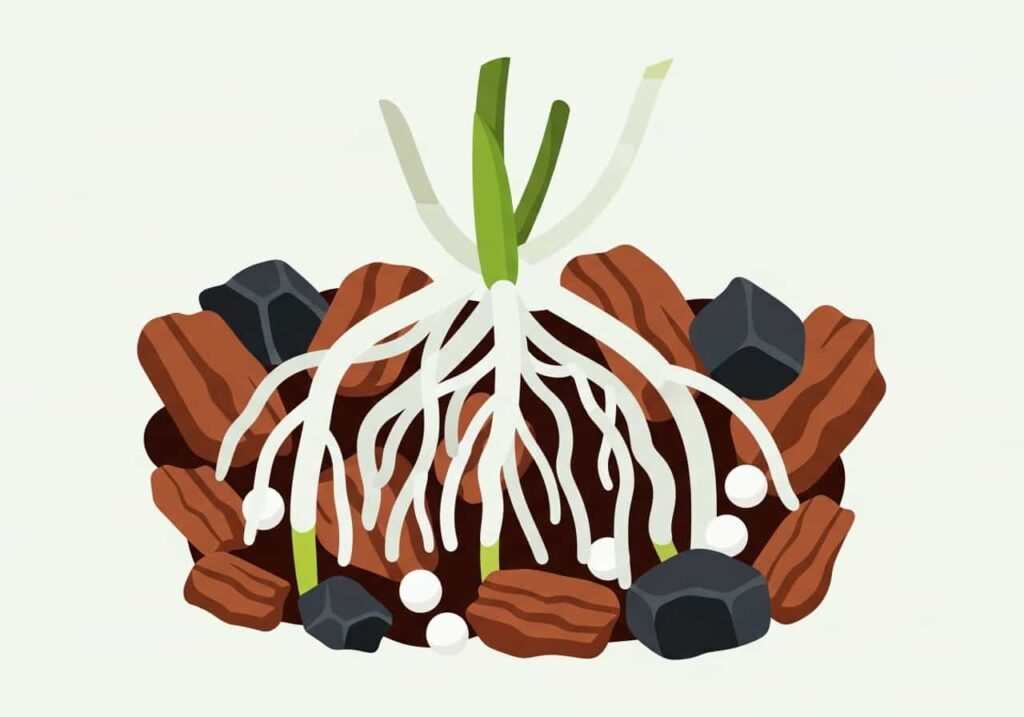
Unlike other houseplants, Phalaenopsis orchids do not grow in soil. They need a special mix that provides excellent aeration and drainage for their epiphytic roots.
What is the best orchid mix for Phalaenopsis for beginners?
A high-quality, bark-based mix is the top choice. These mixes are specifically designed to provide the airy environment that Moth Orchid roots crave. Look for a mix that contains ingredients like:
- Fir Bark: This is the primary component, providing structure and allowing air to flow freely.
- Charcoal: Horticultural charcoal helps to keep the mix fresh and filters impurities from the water.
- Perlite or Spongerock: These lightweight volcanic materials help retain a small amount of moisture while keeping the mix from compacting.
Avoid standard potting soil or any mix that looks dense and soil-like. These will hold too much water and quickly suffocate your orchid’s roots.
When and How to Repot Your Orchid
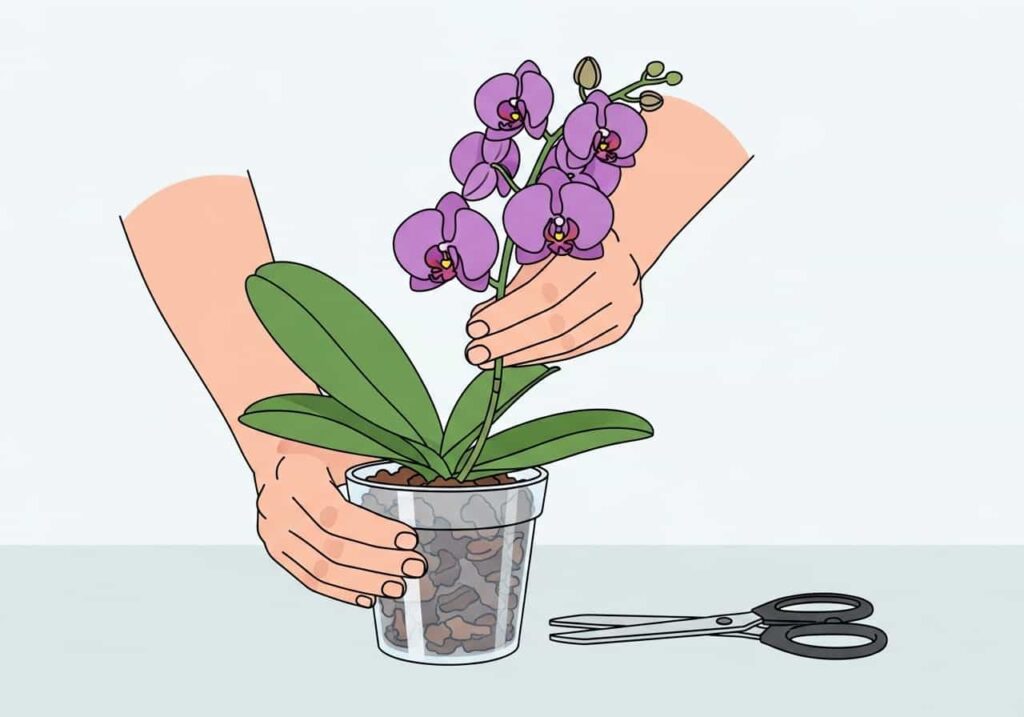
Repotting is a necessary step to ensure the long-term health of your Phalaenopsis. You should plan to repot every one to two years, or when you notice the following signs:
- The bark in the potting mix has broken down into fine, soil-like particles.
- The roots are heavily crowded and spilling far over the pot’s edge.
- The plant has become top-heavy and is unstable in its current pot.
The best time to repot is just after the plant has finished blooming, ideally when it is starting to show signs of new root or leaf growth.
Step-by-Step Repotting Guide:
- Gather Your Supplies: You will need a new clear plastic orchid pot (only 1-2 inches larger than the current one), fresh orchid mix, and sterilized scissors or pruning shears.
- Soak the Mix: It’s helpful to pre-soak your new orchid bark mix in water for a few hours or overnight. This helps it retain a little moisture initially.
- Remove the Orchid: Gently squeeze the sides of the old pot to loosen the roots and carefully pull the entire plant out.
- Clean the Roots: Delicately untangle the roots and remove all the old potting medium. Use your sterilized scissors to trim away any dead roots. Healthy roots are firm and either green or white/silvery. Dead roots will be mushy, brown, or papery and hollow.
- Place in the New Pot: Place a small amount of the new, damp mix in the bottom of the pot. Hold the orchid in the center of the pot and gently fill in around the roots with the new mix, tapping the pot to help the bark settle. The base of the plant should be level with the rim of the pot.
- Settle and Wait: Do not water the newly repotted orchid for about a week. This allows any damaged roots to heal and callous over, preventing rot.
Phalaenopsis Orchid Care After Flowering
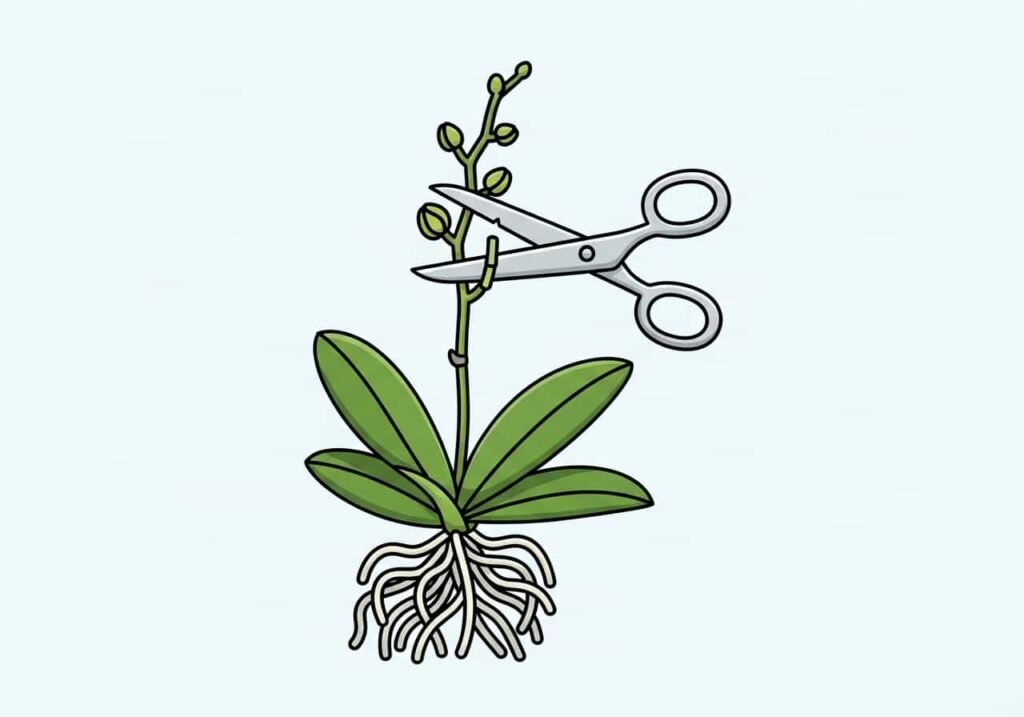
One of the most common questions from new owners is what to do with the flower spike once the blooms have faded. You have a few choices, and the right one depends on the condition of the spike.
- If the Spike Stays Green: A healthy, green spike may still have energy. You can try to encourage a secondary bloom by finding a small, triangular “node” below the lowest flower. Cut the spike about one inch above this node. With luck, a new branch with more flowers will emerge from that node in several weeks.
- If the Spike Turns Yellow or Brown: A browning spike is spent and will not produce more flowers. Use a sterile blade to cut it all the way down at the base of the plant. This allows the orchid to conserve energy and focus on growing strong new leaves and roots, which will support the next major bloom cycle.
- Leave it Alone: You can also simply leave the spike as is. If it’s meant to rebloom, it will. If it’s meant to die back, it will do so naturally.
After flowering is a period of rest and growth for your orchid. Continue your regular care routine, and consider giving it a balanced orchid fertilizer every other watering to help it build up strength for its next magnificent display.
Your Path to Orchid Success

Growing Phalaenopsis orchids is a wonderfully rewarding hobby. These plants bring a touch of elegance and natural beauty into any space, and their resilience makes them the perfect starting point for any aspiring plant enthusiast. By providing the right light, mastering the art of watering, and understanding their basic needs, you can easily keep your Moth Orchid healthy and happy.
Don’t be intimidated by their exotic reputation. With the knowledge from this guide, you are fully equipped to provide excellent care, from the first bloom to repotting and beyond. Enjoy the journey and watch as your confidence—and your orchid collection—grows.