
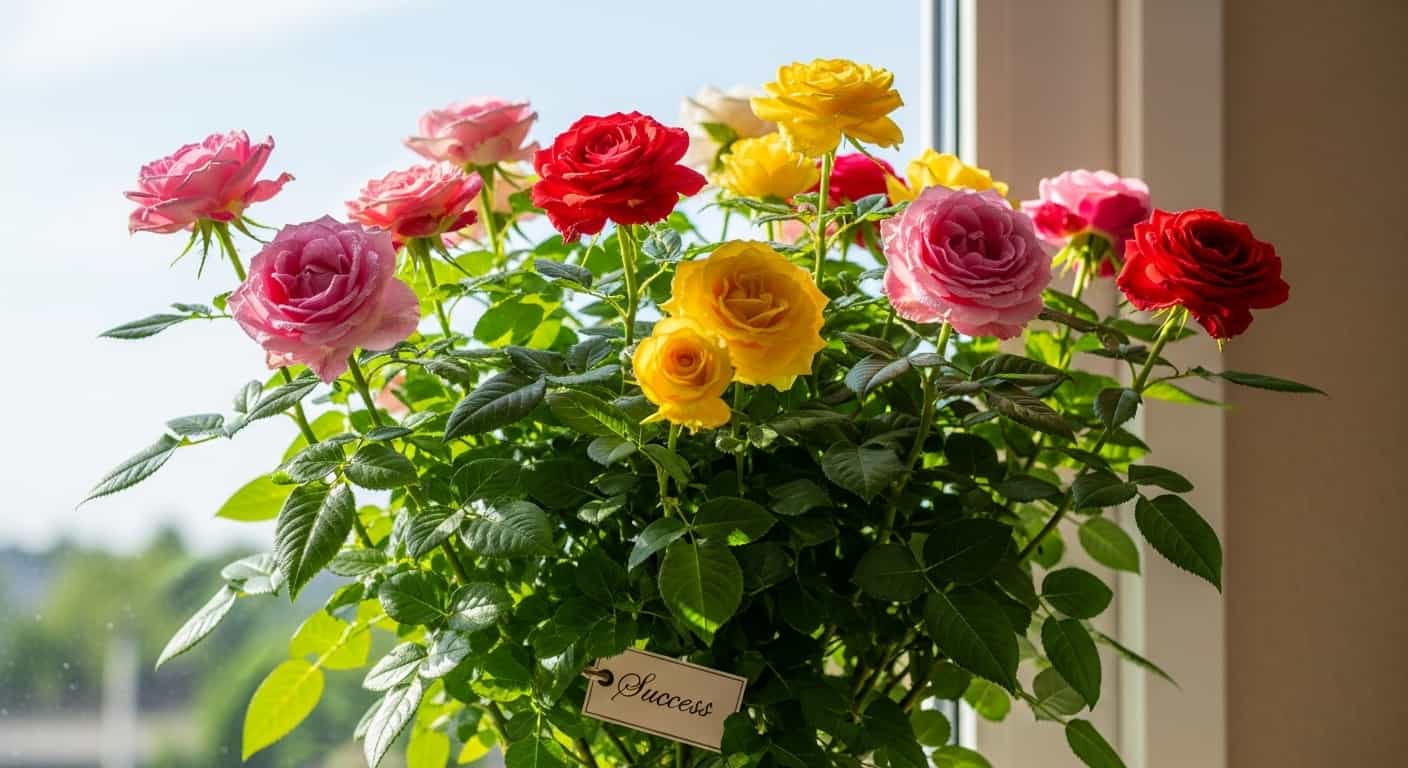
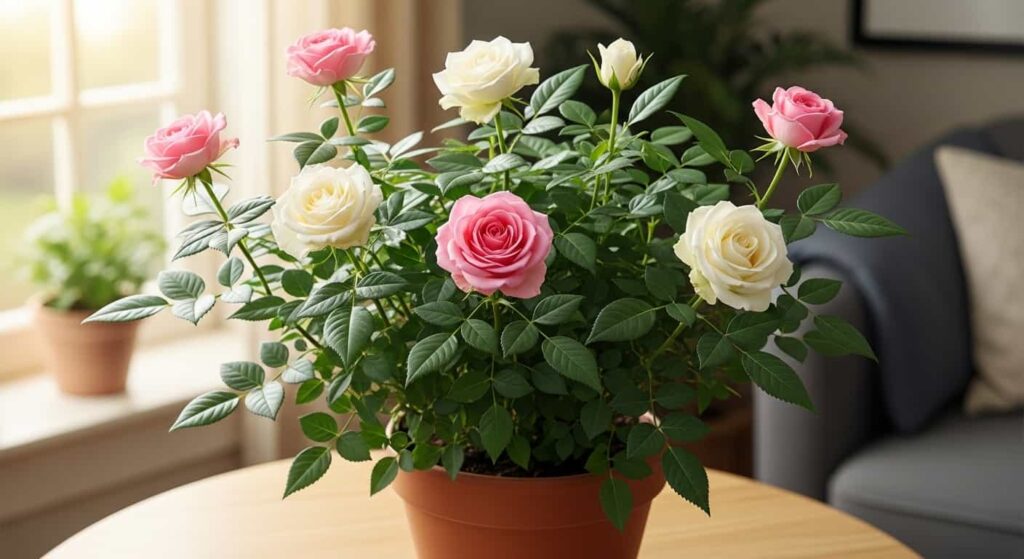
The sight of a blooming rose can transform any indoor space, offering a touch of classic elegance and natural beauty. Yet, many who bring these stunning plants into their homes find themselves wondering why the initial burst of flowers fades, never to return with the same vigor. The secret to a lush, continuously blooming indoor rose plant often lies in one crucial, and sometimes intimidating, task: pruning. Far from being a mere chore, proper pruning is an art that stimulates growth, encourages flowering, and maintains the plant’s health and shape.
This guide will demystify the process of pruning indoor roses. We will explore why it’s so vital for maximizing blooms, the essential tools you’ll need, and the best times of year to make your cuts. You will learn step-by-step techniques for different types of pruning—from gentle deadheading to a more significant annual trim—and discover the common mistakes to avoid. By the end, you’ll have the confidence to pick up your shears and sculpt your indoor rose into a vibrant, flower-producing powerhouse.
Why Pruning Is Essential for Indoor Roses
Before we dive into the “how,” let’s understand the “why.” Pruning isn’t about harming your plant; it’s a strategic process that directs its energy toward what you want most: beautiful flowers. For indoor roses, which live in a more controlled and often less-than-ideal environment compared to their outdoor cousins, pruning is even more critical.
1. Encourages New Growth and More Flowers
The fundamental principle behind pruning for blooms is that most roses, especially modern varieties, flower on new growth. When you prune an old cane (stem), you stimulate the plant to send out new shoots from the buds below the cut. These new shoots are the ones that will produce the next wave of flowers. Without pruning, the plant continues to support older, less productive wood, resulting in fewer and smaller blooms over time. It’s a clear case of addition by subtraction.
2. Improves Plant Health and Vigor
A dense, overgrown rose plant is a breeding ground for problems. Poor air circulation through tangled branches creates a humid microclimate perfect for fungal diseases like powdery mildew and black spot. Pruning opens up the center of the plant, allowing air to move freely and leaves to dry more quickly, significantly reducing disease risk. Furthermore, removing dead, damaged, or weak canes eliminates potential entry points for pests and diseases, and it stops the plant from wasting precious resources on parts that are no longer contributing to its health.
3. Maintains an Attractive Shape and Size
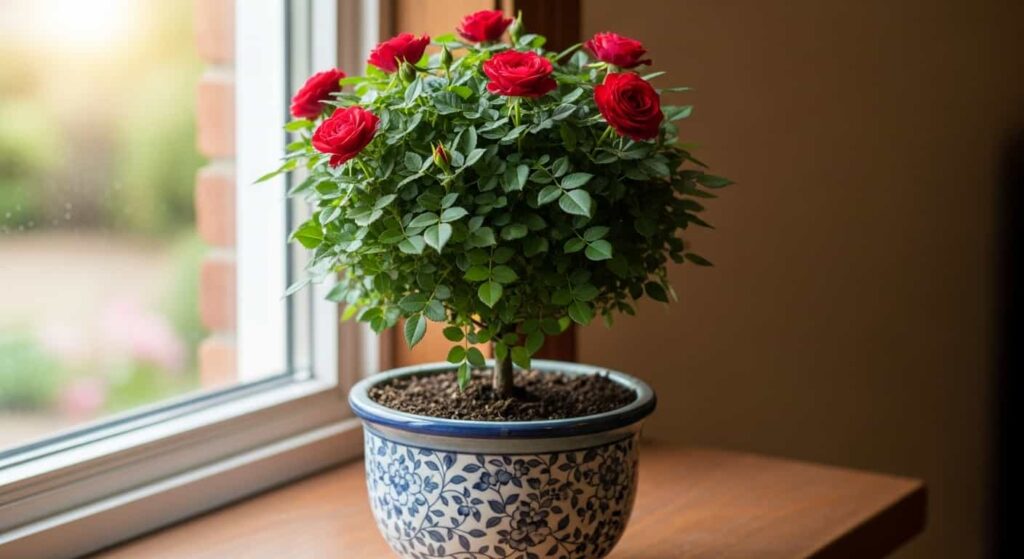
Indoor roses are typically miniature or compact varieties, but even they can become leggy, lopsided, or simply too large for their space over time. Strategic pruning allows you to control the plant’s size and shape. You can encourage a fuller, bushier form or maintain a more compact structure suitable for a windowsill or tabletop. This shaping ensures the plant not only performs well but also looks aesthetically pleasing in your home.
4. Directs the Plant’s Energy
A rose plant has a finite amount of energy derived from sunlight, water, and nutrients. Every leaf, stem, and flower draws from this energy reserve. By removing spent flowers (deadheading) and cutting back non-productive canes, you are effectively redirecting that energy. Instead of forming seeds in an old bloom or sustaining a weak branch, the plant can channel its resources into producing strong new canes and, consequently, more magnificent flowers.
The Essential Toolkit for Pruning Indoor Roses

You don’t need an extensive arsenal of tools to prune indoor roses effectively. In fact, quality over quantity is the key. Using the right tool for the job ensures clean cuts that heal quickly, minimizing stress on the plant.
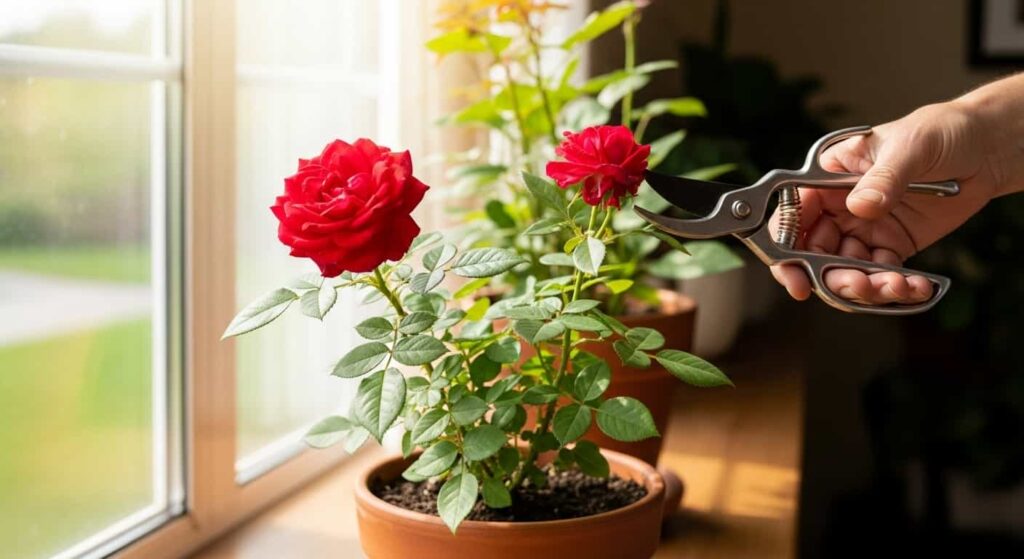
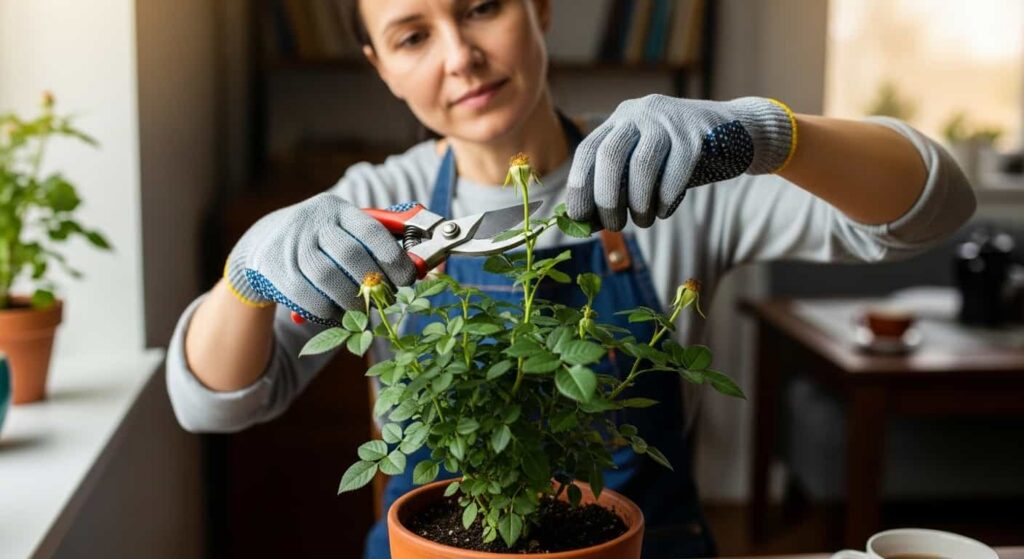
- Bypass Pruners: This is your most important tool. Bypass pruners work like a pair of scissors, with two curved blades that pass by each other to make a clean, sharp cut. This is crucial for preventing crushed stems, which can damage the plant’s vascular system and invite disease. Avoid anvil pruners, which have a single blade that crushes the stem against a flat surface. For smaller indoor roses, a pair of floral snips or micro-tip pruning shears can also work well.
- Gardening Gloves: While not strictly for cutting, a good pair of gloves is indispensable. Even miniature roses have thorns that can be surprisingly sharp. A pair of sturdy, thorn-resistant gloves will protect your hands and make the process much more comfortable.
- Rubbing Alcohol or Disinfectant Wipes: Sterilizing your tools is a non-negotiable step. Diseases can easily be transferred from one plant to another, or even from one part of a plant to another, on dirty blades. Before you start pruning and after cutting any diseased wood, wipe your pruner blades thoroughly with rubbing alcohol.
When to Prune: Timing Is Everything

Pruning at the right time of year works with the plant’s natural growth cycle, while pruning at the wrong time can stress the plant and inhibit flowering. The main pruning activities can be broken down into two categories: ongoing maintenance and the annual hard prune.
Ongoing Maintenance: Deadheading
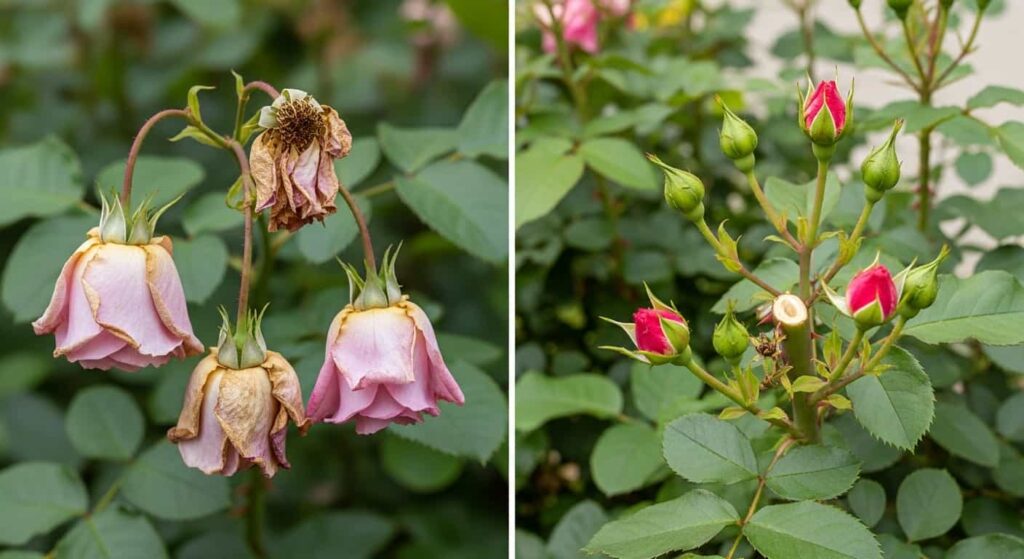
Deadheading is the simple act of removing spent flowers. This is a task you should perform continuously throughout the growing season (spring and summer).
- Why Deadhead? Once a rose flower fades, the plant’s natural instinct is to develop a seed pod (rose hip). This process consumes a significant amount of energy. By snipping off the old flower, you stop seed production and signal the plant to use that energy to create more blooms instead.
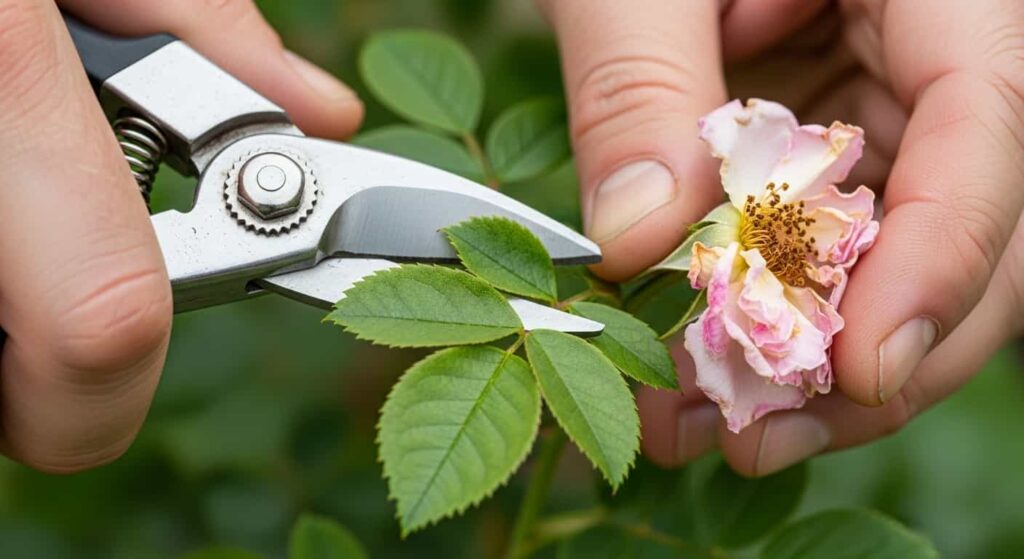
- How to Deadhead: Follow the stem of the faded flower down to the first leaf set that has five leaflets. Just above this five-leaflet leaf, you’ll see a small bud in the leaf axil. Using your bypass pruners or fingers, make a clean cut about ¼ inch above this junction at a 45-degree angle. A new, flower-bearing shoot will often grow from this point.
The Annual Hard Prune: Late Winter/Early Spring
The most significant structural pruning should be done once a year. For indoor roses, the ideal time is in late winter or very early spring, just as the plant is beginning to emerge from its winter dormancy but before it puts on a significant amount of new growth. This is typically six to eight weeks before you expect the plant to enter its active spring growth phase.
Pruning at this time allows you to:
- See the plant’s structure clearly without a full canopy of leaves.
- Remove any damage or dieback that occurred over the winter.
- Shape the plant and set the framework for the upcoming growing season.
- Stimulate a strong burst of new growth as the days get longer and the plant’s energy surges.
Step-by-Step Guide to Pruning Indoor Roses
With your clean tools and gloves ready, it’s time to begin the annual prune. The goal is to create an open, vase-like shape that allows light and air to reach all parts of the plant.
Step 1: Assess Your Plant
Before you make a single cut, take a moment to look at your rose from all sides. Identify its strongest, healthiest canes—these will form the main structure of the plant. Note any branches that are crossing over each other, growing toward the center of the plant, or look weak, spindly, or discolored. Visualize the shape you want to achieve.
Step 2: The Four D’s – Remove the Obvious Problems
Start with the easiest decisions. Your first priority is to remove any wood that is Dead, Damaged, Diseased, or Dysfunctional.
- Dead Wood: Dead canes will be brown, grey, or black, and they will feel dry and brittle. Cut them back all the way to the base of the plant or to a point where they meet healthy, green wood.
- Damaged Wood: Canes that are broken or have been scraped should be cut back to just below the damaged area.
- Diseased Wood: Any canes showing signs of disease like black spot or canker should be removed completely. Make your cut well into healthy tissue below the diseased section and be sure to sterilize your pruners immediately afterward.
- Dysfunctional Wood: This includes weak, spindly canes that are thinner than a pencil, as they are unlikely to produce strong blooms. Also, remove any canes that are rubbing against or crossing over stronger canes, as this can create wounds and poor airflow. When two canes cross, typically you should remove the weaker of the two.
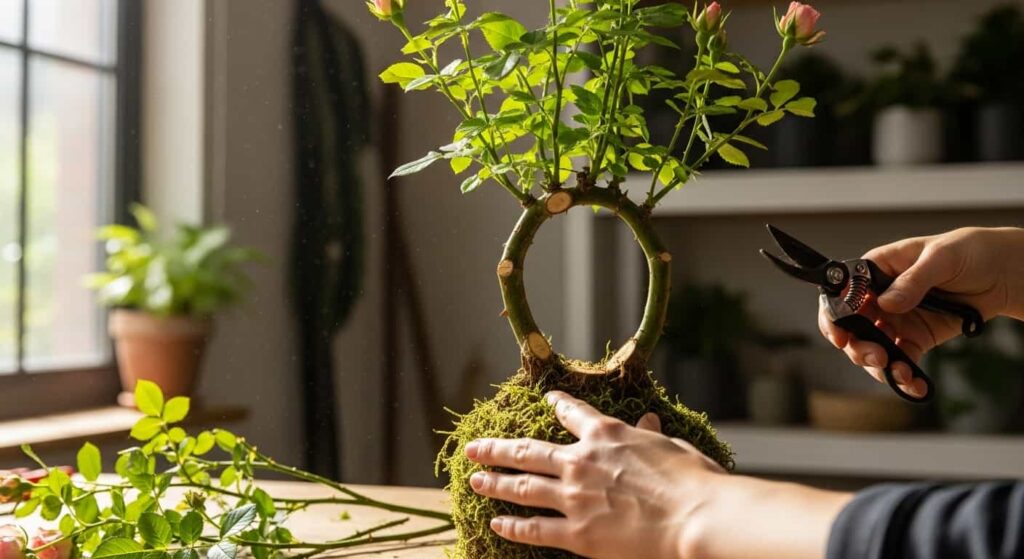
Step 3: Open Up the Center
After cleaning up the problem wood, your next goal is to improve air circulation. Look for any canes that are growing inward toward the center of the plant. Prune these back to an outward-facing bud to encourage growth away from the plant’s congested core. The ideal final shape is often described as a vase or an open bowl, with the main canes radiating up and out.
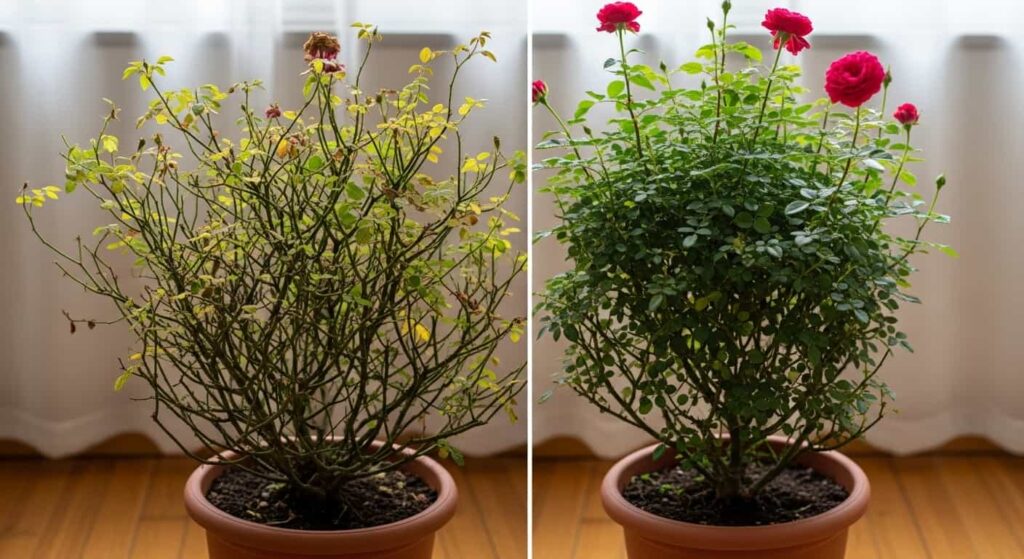
Step 4: The Main Structural Pruning
Now it’s time for the major cuts that will shape the plant and encourage vigorous blooming. This step often feels the most dramatic, but it’s essential to maximize rose blooms.
- Reduce Height: For most indoor roses, you will want to reduce the overall height of the plant by about one-third to one-half. This might seem drastic, but it encourages the plant to produce strong new shoots from its base.
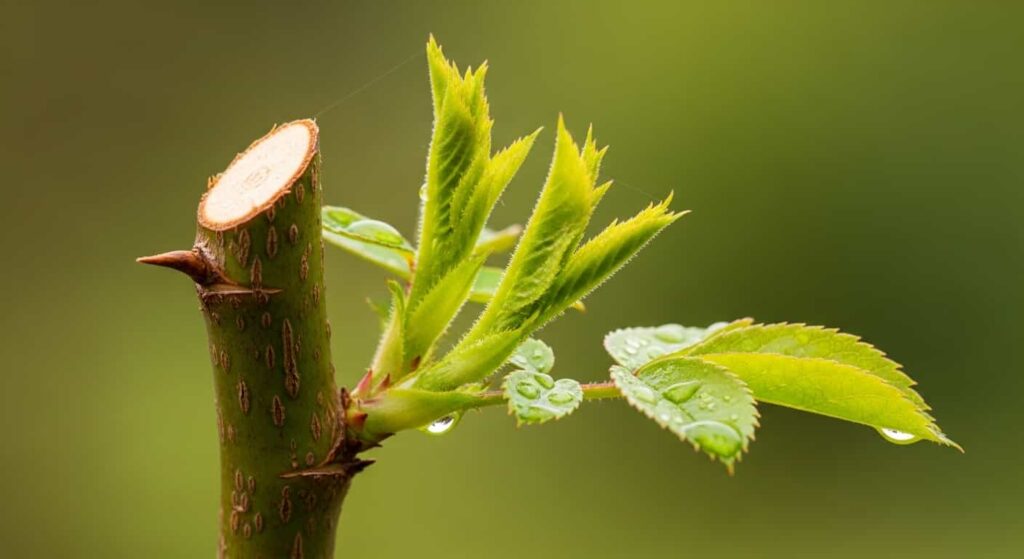
- Find the Right Bud: The key to a good pruning cut is its placement. You want to make your cut about ¼ inch above a healthy, outward-facing bud. A bud is a small swelling on the cane, often located where a leaf meets the stem. Choosing an outward-facing bud directs the new growth up and away from the center of the plant.
- Make the Cut: Your cut should be at a 45-degree angle, slanting away from the bud. This allows water to run off the cut surface, preventing rot from setting in. The cut surface should be clean and white or light green in the center; if it’s brown, you’ve cut into dead wood and should make another cut lower down on the cane until you find healthy tissue.
- How Many Canes to Keep? On a healthy, mature indoor rose, you might aim to leave between three and five of the strongest, most well-spaced canes. For a very small or young plant, you might only leave two or three.
Step 5: Final Tidy-Up and Aftercare
Once you’ve finished pruning, clean up all the clippings from the soil surface to prevent the spread of disease. This is also an excellent time to remove any remaining old leaves from the plant, as they can harbor fungal spores. After this hard prune, as the plant begins to push out new growth, you can start your spring watering and fertilizing routine to support its recovery and fuel the upcoming bloom cycle.
Common Pruning Mistakes to Avoid
Knowing what not to do is just as important as knowing what to do. Here are some frequent errors that can hinder your indoor rose care efforts.
- Using Dull or Dirty Tools: This is the most common mistake. Dull blades crush stems, and dirty blades spread disease. Always start with sharp, sterilized pruners.
- Pruning Too Timidly: Many people are afraid of hurting their plant and only snip off the very tips. This “tip pruning” often results in weak, spindly growth at the top of the plant and does little to encourage strong new canes from the base. Be bold with your annual prune.
- Cutting at the Wrong Angle or Place: A flat cut can collect water and lead to rot, while a cut too close to a bud can kill it. Always make a clean, 45-degree angled cut about ¼ inch above an outward-facing bud.
- Leaving Stubs: Don’t leave long, non-productive stubs of wood above your pruning cut. These stubs will eventually die back and can become entry points for disease.
- Forgetting to Deadhead: Failing to remove spent blooms throughout the summer is a missed opportunity. It tells the plant to stop flowering and start making seeds, resulting in a much shorter blooming season. Consistent deadheading is a key rose pruning tip for continuous flowers.
- Pruning at the Wrong Time: A hard prune in the middle of summer will remove flower buds and stress the plant. Pruning heavily in the fall can encourage tender new growth that won’t survive the winter rest period. Stick to the late winter/early spring schedule for your main prune.
By mastering these pruning techniques, you transform from a passive plant owner into an active gardener, guiding your rose’s growth and unlocking its full flowering potential. Pruning is the dialogue you have with your plant, a conversation that, when done correctly, results in a season-long display of breathtaking blooms.