
Last Updated on April 13, 2026 by Indoor Plant Nook
TL;DR
Underwater bonsai root trimming means pruning a bonsai’s roots while the root ball stays fully submerged in clean water, usually during repotting.
The main reason growers use it is to lower the risk of air entering the xylem after a cut—a problem that can contribute to fatal air embolism in sensitive trees.
It fits best for delicate tropical and sub-tropical species such as Ficus, Carmona, and Chinese Elm, especially when you are doing major root work.
Most conifers and hardy temperate trees are fine with traditional dry pruning unless you have a strong reason and solid experience.
Never soak roots for hours, add soap or chemicals to the water, or strip away fine feeder roots. Plan for humid, gentle aftercare as soon as the tree is potted.
Repotting a prized bonsai can feel high stakes: one rushed cut or dried-out root ball can set a tree back for months. Trimming bonsai roots underwater targets a specific risk—air being pulled into cut vessels—while you shorten and rearrange the root ball.
This guide covers what the method is, how it compares to dry pruning, which species benefit most, and a practical workflow in about 10–20 minutes. You will also see common mistakes and how to support recovery in the weeks that follow.
What is underwater bonsai root trimming? (Science, not myth)
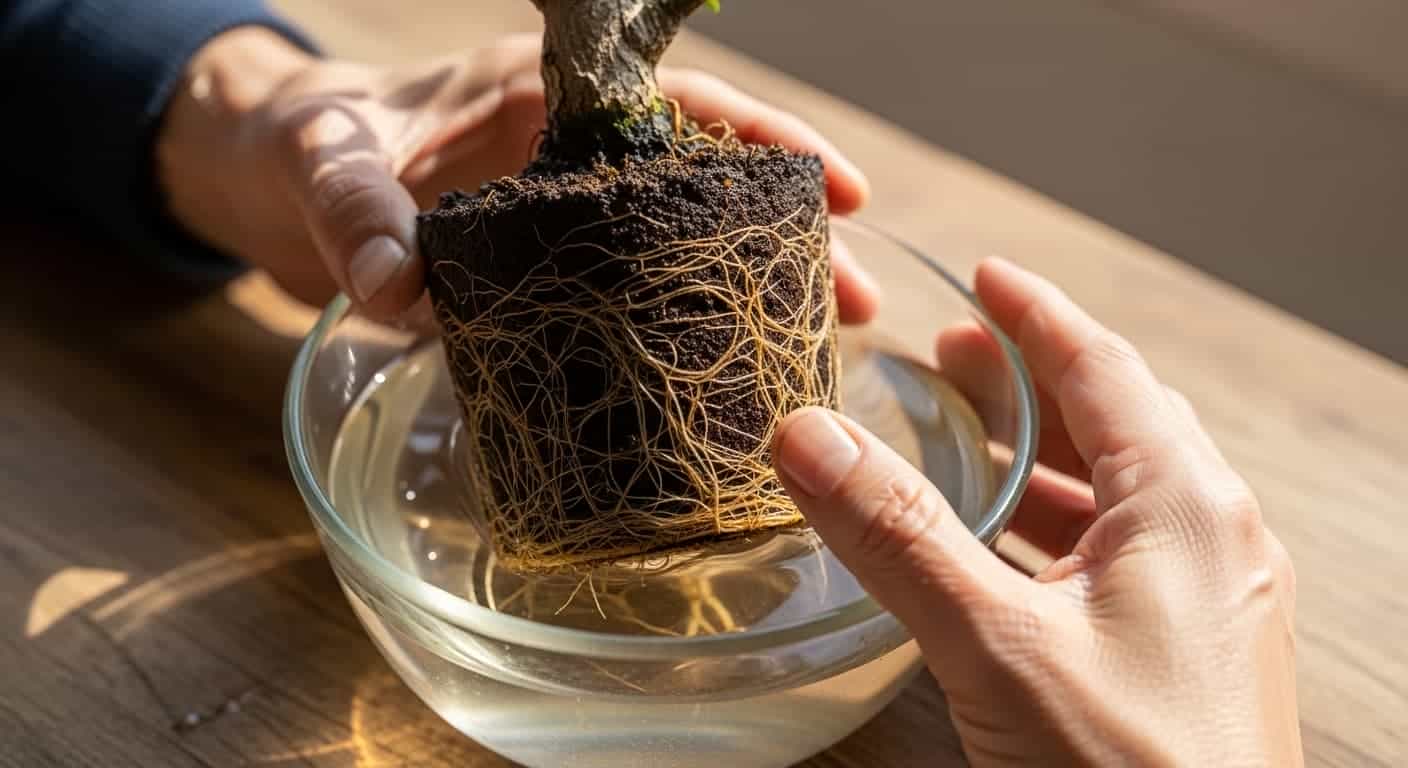
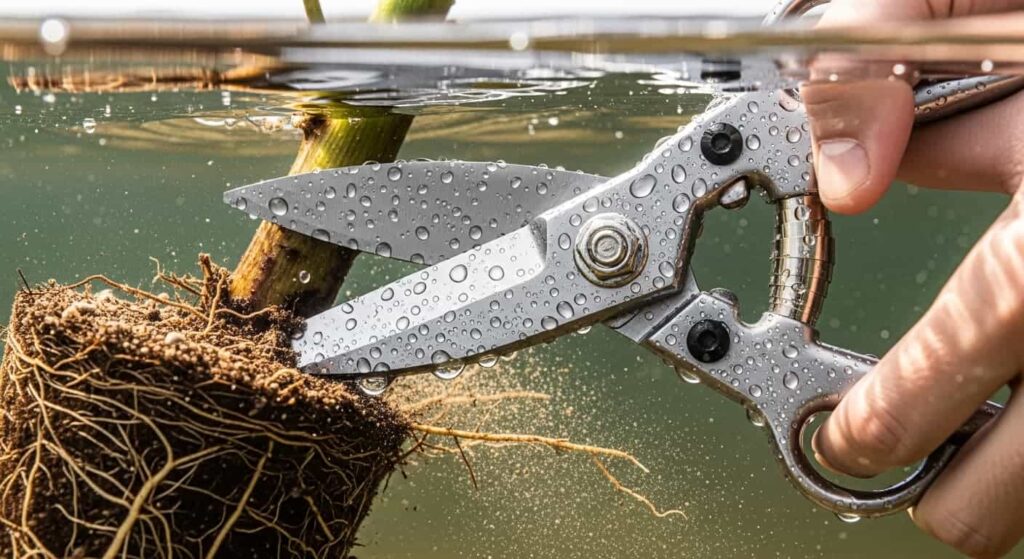
Underwater bonsai root trimming is pruning the roots while the root ball sits under water in a basin or tub. Growers use it during repotting when they want cuts to happen in a wet environment instead of open air.
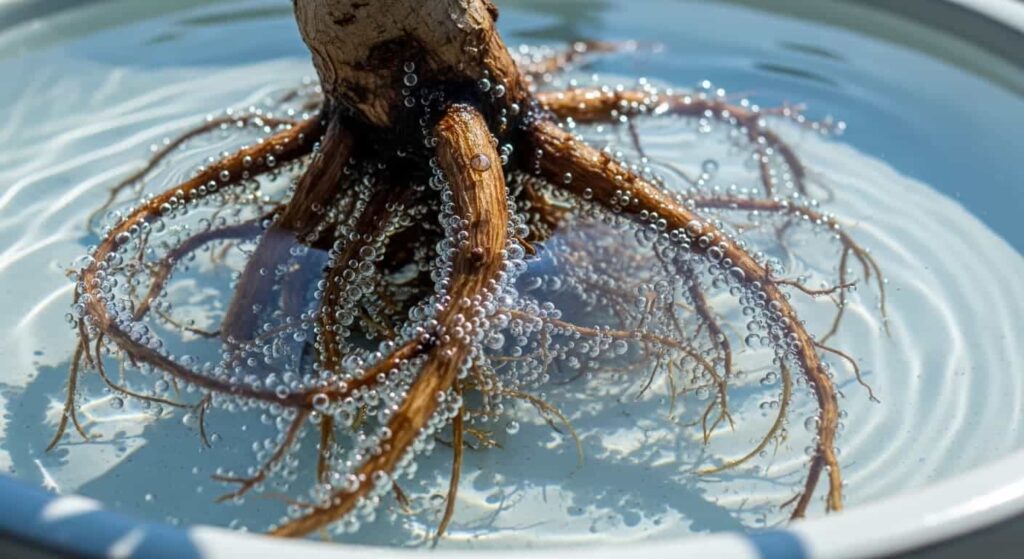
Roots move water through xylem tissue. In some species, a fresh cut in air can allow a small air pocket to enter the conducting vessels and interrupt flow. Working underwater encourages water, not air, to contact cut surfaces right away, which is why the approach shows up most often for species with finer or more water-sensitive root systems.
You get the most value when you are doing substantial root reduction, working on a stressed plant, or handling a tropical or sub-tropical tree that dries out quickly once exposed. For a light tidy on a vigorous tree, dry pruning may be enough.
Underwater trimming vs. dry root pruning
Dry root pruning has a long track record in bonsai. Trimming underwater is not meant to replace it everywhere—it is a situational option when embolism risk and desiccation matter more than maximum visibility.
| Feature | Underwater trimming | Dry pruning |
|---|---|---|
| Air embolism risk | Much lower while submerged | Present at cut surfaces in air |
| Visibility of roots | Worse once soil clouds the water | Usually clearer |
| Mess | Basin, spillage, dirty water | Often simpler over a tarp |
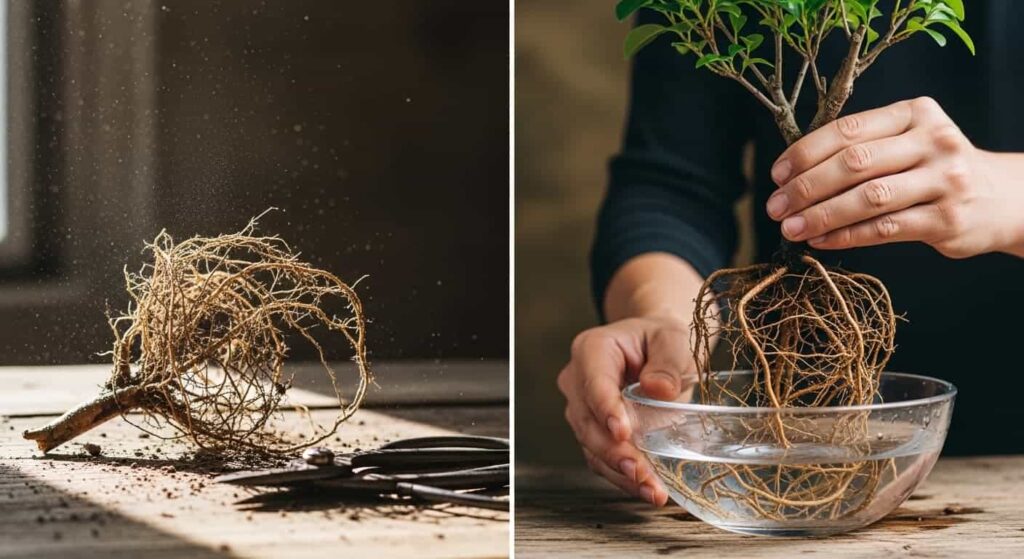
| Root desiccation | Roots stay wet during cuts | Exposed roots can dry if work drags |
| Recovery (sensitive species) | Often favored when timing is tight | Standard for many hardy trees |
Choose the wet method when the tree’s biology and the scale of the job justify the extra setup.
Which trees suit this technique?
Not every species needs it. Misapplied wet trimming adds time and water-handling without much payoff if the tree tolerates dry work easily.
Tropical and sub-tropical (strong candidates)
These types often have faster metabolism and roots that suffer if they sit in open air too long. Larger xylem vessels in some tropical lineages can also make air entry at cuts a bigger concern than in many temperate hardwoods—another reason you see underwater bonsai root trimming discussed for Ficus, Carmona, and similar material.
- Ficus (all common bonsai types)
- Carmona (Fukien Tea)
- Chinese Elm
- Serissa
- Schefflera
- Premna
For a heavy trim or aggressive reduction on these, working in water can improve the odds of a smooth transition into fresh soil.
Temperate trees and conifers (usually dry prune)
Most maples, elms in temperate climates, pines, junipers, and similar stock are routinely repotted dry. The wet approach is rarely required for a routine spring repot on a healthy Japanese maple.
Consider it on temperate material only when you have a clear reason—very heavy root reduction on valuable stock, compromised roots after collection, or a documented sensitivity—and you are comfortable managing the workflow and quick potting that follow.
When the wet method is worth considering
- Tropical or sub-tropical species during active growth when you are opening the root ball substantially
- Visible stress (wilting, leaf drop) where you want to minimize extra shock during root work
- Heavy structural root cuts on a sensitive specimen
- High-value trees where you want every reasonable safeguard during the trim
How to trim bonsai roots underwater (step by step)
Aim to finish in roughly 10–20 minutes from submerge to potting. Long soaks steal oxygen from roots and defeat the purpose of a quick, protected trim.
Step 1: Gather tools
- Clean root shears or sharp scissors (wipe with rubbing alcohol first)
- Root hook or rake (chopstick works)
- Tub or basin that fully covers the root ball
- New pot with drainage mesh in place
- Rooting hormone powder or gel (optional but useful after the bath)
- Fresh bonsai soil within reach
Step 2: Fill the bath
Use clean, room-temperature water. Cold or hot water adds shock. Depth should cover the entire root ball once the tree is in the basin.
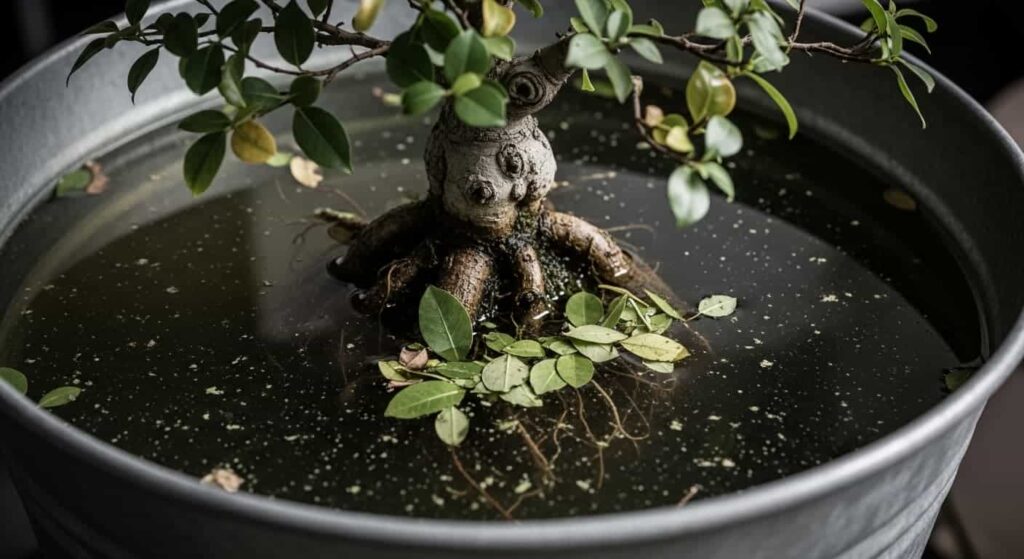
Step 3: Submerge the root ball
Lift the tree from its pot and lower the root ball into the water so nothing sticks out above the surface. Give it a minute or two for water to penetrate and old soil to loosen.
Step 4: Trim underwater
Keep the work deliberate and fast. Tease the outer and bottom roots with the hook so soil releases without ripping fine roots. You do not need bare roots everywhere—roughly half to two-thirds of the mass cleared enough to see structure is a common target.
Shorten thick woody roots that dictate pot depth and remove circling or damaged roots. As a rule, avoid removing more than about one-third of total root mass in one session.
Preserve fibrous feeder roots whenever possible; they drive uptake after repotting.
Step 5: Root hormone after the water
Apply rooting hormone after you lift the tree out and before soil goes on. Hormone will not adhere properly underwater.
Step 6: Pot immediately
Layer soil, set the tree at the right angle and height, work mix in with a chopstick to remove large air voids, then water thoroughly to settle.
Mistakes that ruin a wet root trim
Problems afterward usually come from time in water, water quality, or how much fine root was removed—not from the idea of cutting under water itself.
Soaking too long
Leaving the ball submerged for hours or overnight limits oxygen exchange at the roots. Treat the session as a short procedure, not a soak.
Soap, fertilizer, or additives
Plain water only. Detergents and chemicals can damage root surfaces and the soil life you want to keep.
Over-trimming feeders
Structural cuts are the focus; stripping hair roots overloads the canopy relative to what the plant can absorb.
Slow, unfocused work
Dragging the session out increases stress even in water. Stage tools and soil so you can move from bath to pot without pauses.
Unsterilized tools
Sterilize shears and hooks before you start so pathogens are not pushed into fresh cuts.
Aftercare for the first month
The first weeks decide how well the tree translates root work into new growth.
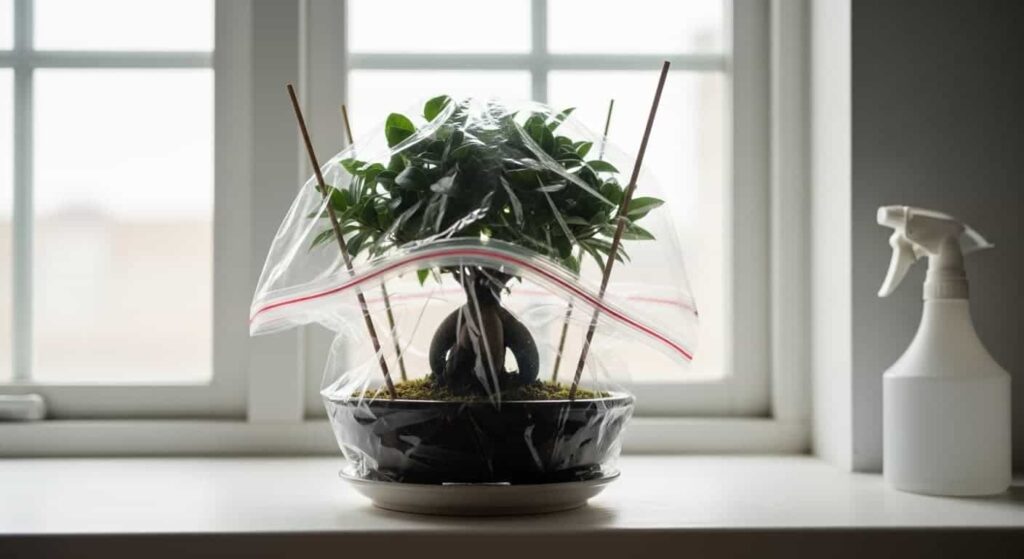
Week 1: Humidity support
Keep the tree out of harsh sun and wind. A clear bag propped so plastic does not touch foliage raises humidity and cuts transpiration while roots reconnect. Mist inside the bag if leaves look dry.
Weeks 1–2: Watering
Water well after potting, then watch moisture closely—reduced root area means less uptake. Let the top layer approach dry before watering again; soggy soil invites rot.
Weeks 2–3: Ease out of the bag
Open the bag a bit more each day or add small holes over a week so humidity drops gradually.
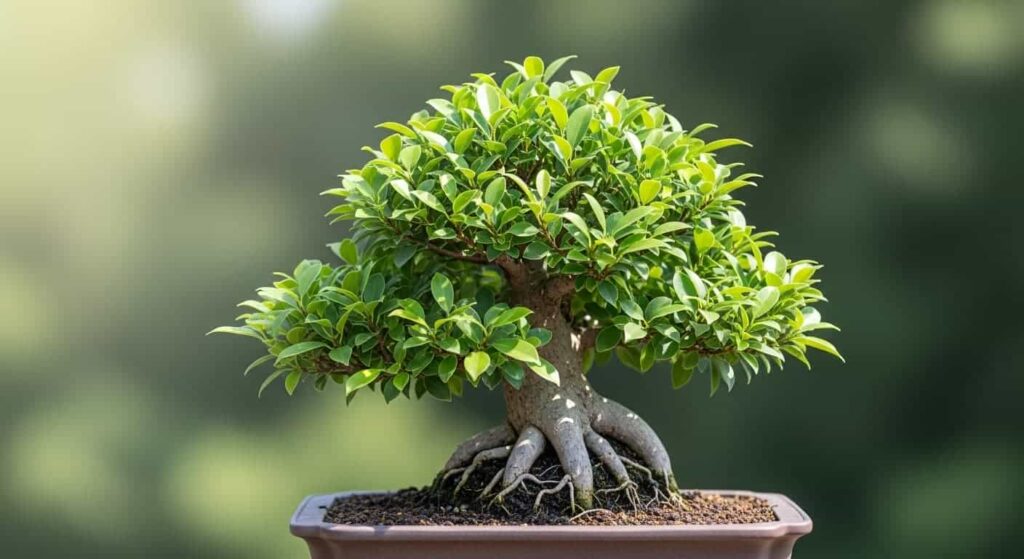
Weeks 3–4: Read the tree
New buds and firmer foliage usually mean recovery is underway. Persistent yellowing or drop with wet soil suggests watering or environment issues, not necessarily failure of the trim method itself.
Hold fertilizer
Wait at least a month before feeding; tender new roots burn easily. After that, start with a dilute balanced product if growth looks stable.
Frequently asked questions
Can I use underwater bonsai root trimming on any tree?
No. It aligns best with delicate tropical and sub-tropical species. Conifers and many temperate trees are normally repotted dry. Confirm habits for your species before you default to this approach.
Does trimming underwater prevent transplant shock?
It reduces one major mechanical risk (air in vessels) and keeps roots from drying during cuts. Shock can still happen without careful watering, light, and humidity afterward.
What water temperature should I use?
Room temperature, roughly 65–75°F (18–24°C), avoids extra stress.
Can I prune leaves at the same time?
On broadleaf types, a modest leaf reduction (often cited around up to 30%) can match canopy to a smaller root system. Decide per species and season.
How long should the root ball stay under water?
Cap the whole session at about 10–20 minutes including rinse, trim, and final checks—not counting immediate potting right after.
Mold inside a humidity tent?
A little surface mold on soil is sometimes manageable with slightly more air. Fungus on wood or leaves means remove the tent and address airflow or treatment as needed.
Closing thoughts
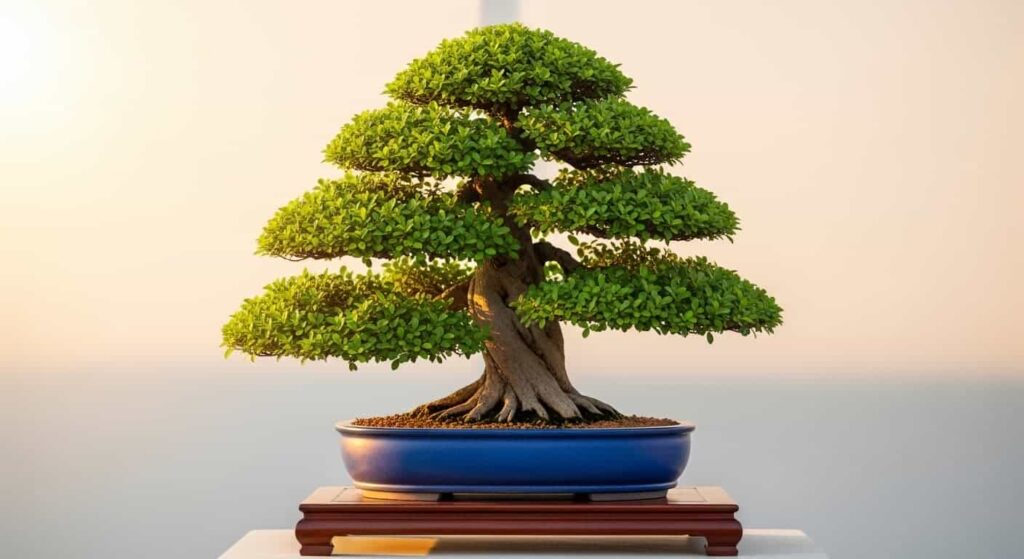
Underwater bonsai root trimming is a targeted repotting method, not a universal upgrade over dry work. Where it shines is sensitive tropical material, heavy root reduction, and situations where you want cuts to happen wet and fast.
For a Fukien Tea or Ficus undergoing serious root work, it can be a sensible part of the plan. For a tough juniper on a standard cycle, dry pruning usually stays the simpler path.
Treat this article as a framework; your tree’s response is the final reference. Experience with your own collection will narrow when the extra step earns its place.