
Last Updated on April 15, 2026 by Indoor Plant Nook
Trimming your bonsai’s roots is one of the most critical — and most nerve-wracking — moments in bonsai care. Do the next step wrong, and weeks of stress can undo years of growth.
Bonsai soil after root trimming is not a detail you can leave to chance. It is the recovery environment your tree lives in while cuts heal and new roots form. The mix you choose controls drainage, air around the roots, and how moisture behaves at the wound sites. Get the composition right, and your tree bounces back strong. Get it wrong, and you risk rot, root suffocation, or shock.
This guide explains what soil to use after root trimming, why those choices matter, and how to repot so the substrate does its job from day one.
Why Bonsai Soil After Root Trimming Matters So Much
After root trimming, your bonsai enters a vulnerable recovery phase. The root system is temporarily reduced, so the tree has less capacity to absorb water and nutrients. During this window, the soil you use does most of the protective work: it must keep cut surfaces from sitting wet, yet stay moist enough for new roots to grow.
Dense or moisture-holding mixes invite rot on fresh cuts. A purpose-built mix does three things at once:
- Drains excess water quickly so cut surfaces are not waterlogged
- Retains just enough moisture to support new root growth
- Stays open enough that oxygen reaches developing feeder roots
That balance is not achievable with regular garden soil or generic potting mix. Recovery calls for a substrate designed for shallow pots and reduced root mass.
What to Put in the Soil Mix After Root Trimming

The soil you use after root trimming should be fast-draining and mostly inorganic, with a modest organic fraction if the species needs a bit more moisture buffering.
A ratio many experienced growers use as a starting point is:
- 60% Akadama — fired clay that holds and releases water gradually and breaks down over time into finer particles with small air pockets
- 20% Pumice — volcanic material that improves drainage and aeration without compacting easily
- 20% Fine grit or decomposed granite — adds structure and helps the mix resist settling into an airless layer
For tropical and subtropical species (ficus, jade, fukien tea), you can shift toward roughly 25–30% organic by replacing some pumice with fine pine bark. For conifers and junipers, lean more inorganic (about 70–80% akadama, pumice, and grit) because they are prone to rot when the mix stays too wet around trimmed roots.
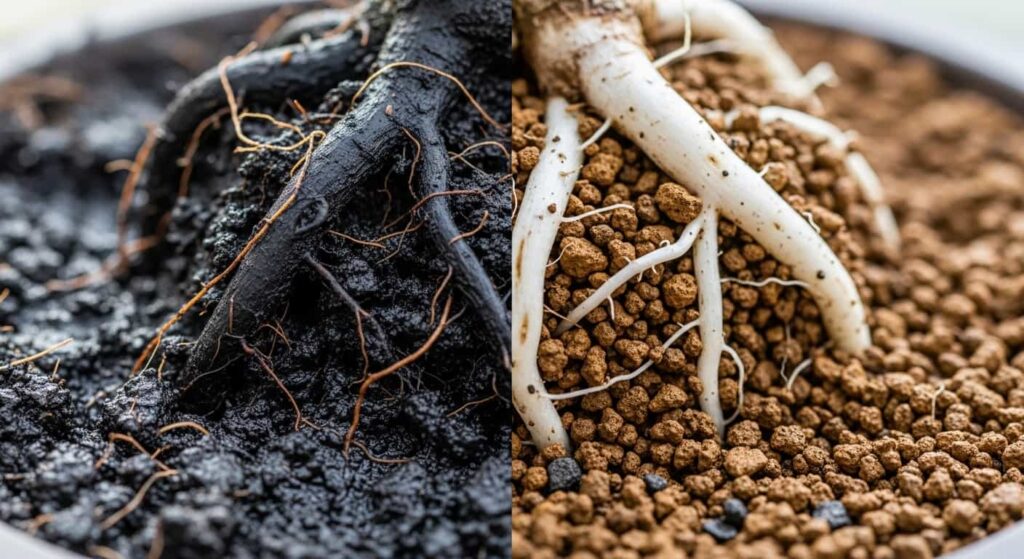
What not to use as bonsai soil after root trimming
- Standard potting mix — holds too much water around cut roots
- Peat-heavy blends — often hydrophobic when dry and soggy when wet, poor for even moisture
- Garden soil or loam — too dense; slows drainage in a shallow pot
- Sand alone — drains fast but gives new roots little structure to grip
Repotting: Working That Soil In After Root Trimming
Your bonsai soil after root trimming only helps if it fills the root ball evenly, without air gaps or compaction. These steps assume you have already trimmed roots and are ready to pot into the mix above.
Step 1 — Prepare tools and workspace
Have everything ready before you handle the tree. Less time exposed means less stress after the trim.
You will need:
- Fresh mix prepared as described
- A clean pot with adequate drainage holes
- Mesh drainage screens
- Copper wire for anchoring the tree
- Rooting hormone powder (optional)
- Sterile scissors or root shears if any final cleanup is needed
- A clean chopstick for working soil between roots
Step 2 — Optional rooting hormone on cut surfaces
Lightly dust larger cut ends with powdered rooting hormone before you add soil. This can help callusing and new feeder roots; many growers find it especially worthwhile on deciduous species.
Step 3 — Drainage layer
Cover each hole with mesh, then add a thin bottom layer of slightly coarser grit or large pumice (about 1 cm) so fines do not clog the holes while water still exits freely.
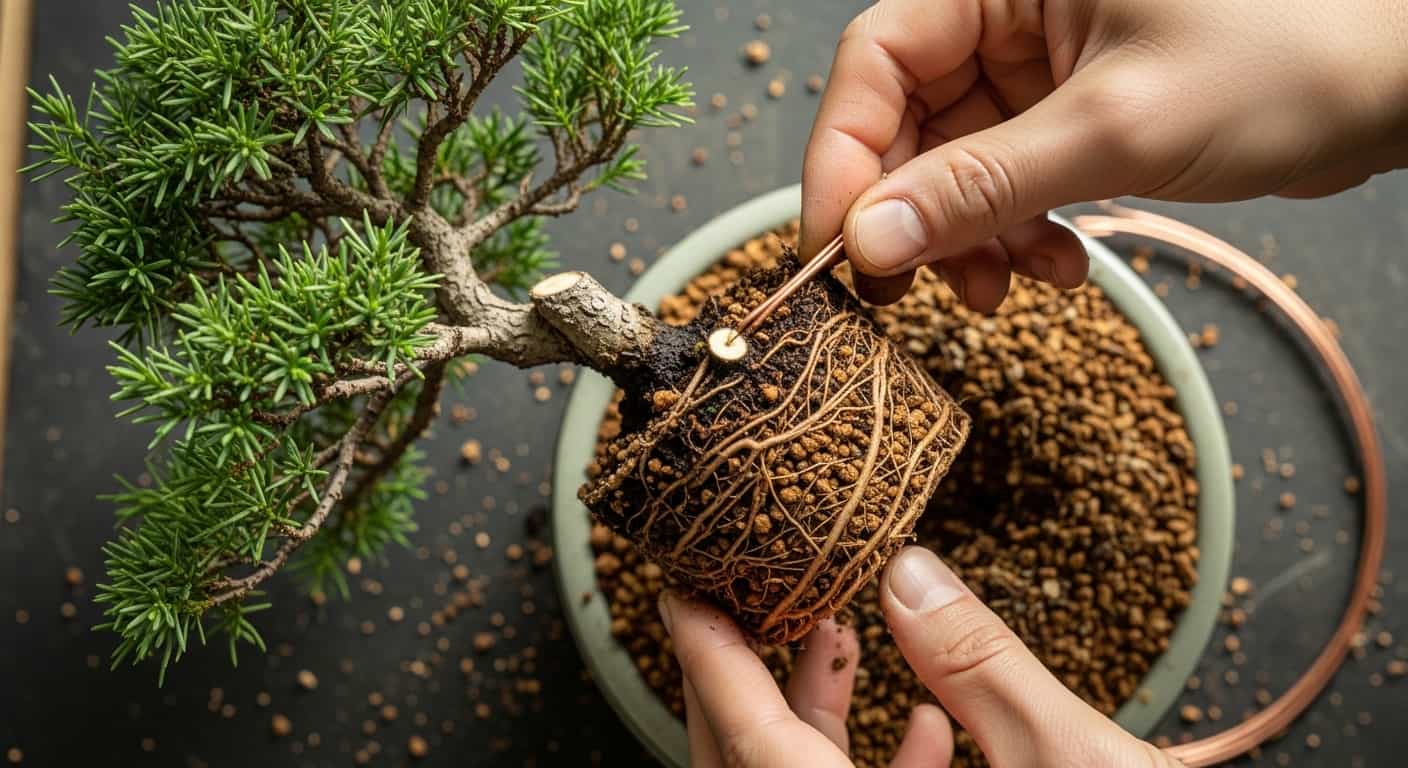
Step 4 — Position and anchor the tree
Set the tree in the pot and secure it with wire through the drainage holes. Movement tears new root hairs and works against everything the soil is trying to do; a stable tree is non-negotiable.
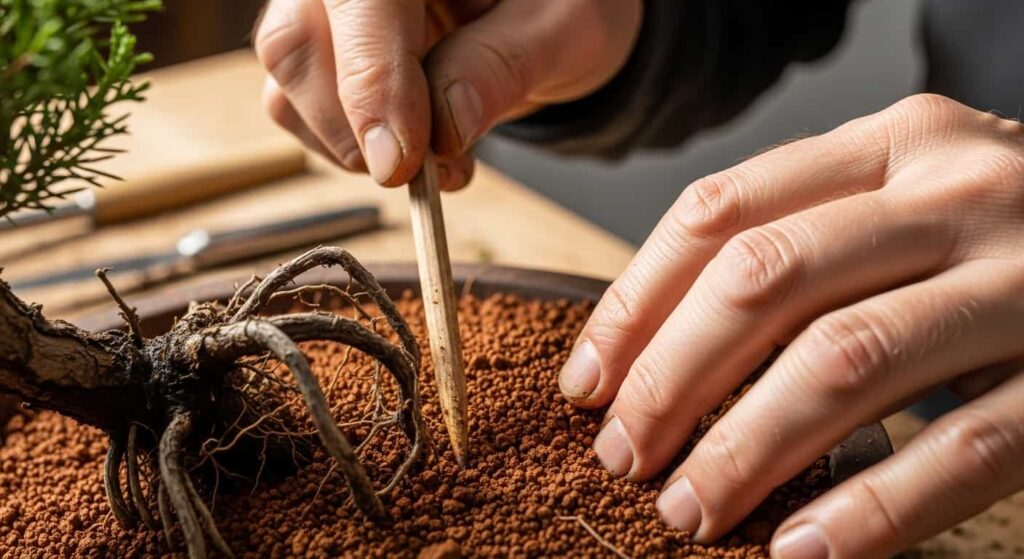
Step 5 — Fill with your bonsai soil after root trimming
Add the mix around the roots and use a chopstick to work it between them, removing air pockets. Do not press the surface hard — that crushes the aeration you built into the mix. Build in layers, chopsticking as you go.
Step 6 — First watering
Water until runoff is clear. This settles the soil against the roots and confirms drainage is working with the mix you chose.
Moisture and Placement: Making Your Soil Choice Pay Off
Even ideal bonsai soil after root trimming fails if you fight it with the wrong watering rhythm or harsh sun. The first weeks are about matching water to what the mix allows.
Weeks 1–2: Low stress
Use bright indirect light; avoid strong direct sun while the root system is still limited. Skip fertilizer so you do not overload sensitive roots.
Weeks 2–4: Read the soil, not the calendar
Check moisture daily with a chopstick inserted a few centimetres into the soil. Water thoroughly when it reads dry at that depth; if it is still damp, wait. Fast-draining mix helps, but overwatering remains the most common cause of failure — the soil can only drain what you pour in.
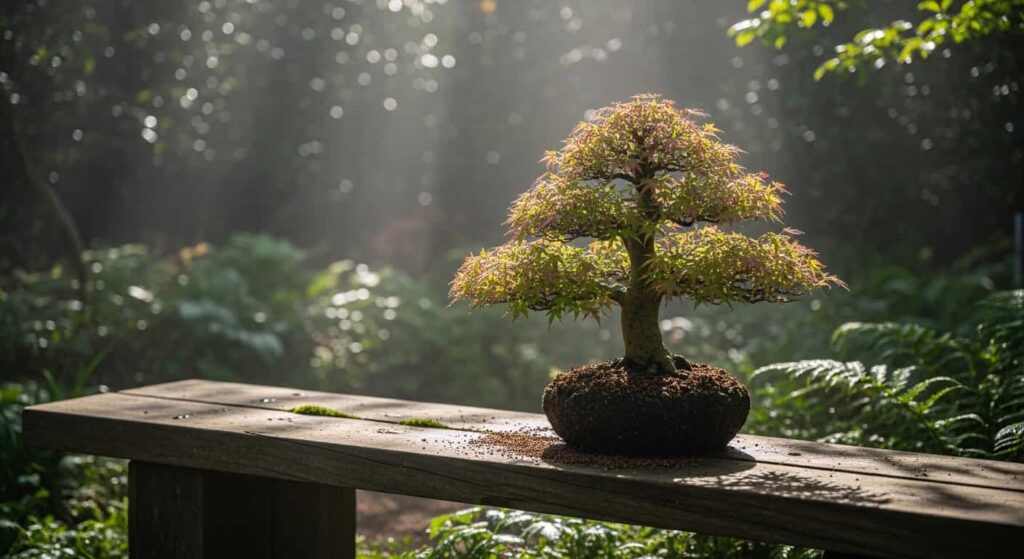
After about four weeks
When you see new buds or growth, you can gradually return to normal light, start half-strength feeding, and ease off constant moisture checks. Expect deciduous trees often to show recovery in a few weeks, tropicals sometimes a bit sooner, conifers often slower; season and health matter as much as the label on the pot.
How Soil Fits With Recovery Time

Recovery speed depends on species, season, and how aggressive the trim was — not on soil alone. What good soil after a trim does is remove “bad substrate” from the list of variables: you are not fighting waterlogging or suffocation while the tree rebuilds roots. Repotting in early spring, as buds swell, usually aligns the tree’s own growth push with your fresh mix and gives the quickest visible rebound for many species.
Frequently Asked Questions
Can I reuse the old soil after root trimming?
Only if it still drains sharply and has not broken down. Akadama in particular degrades over a couple of years into finer, less airy material. If old soil crumbles into mud when squeezed, start fresh. New mix matched to the trim is usually the safer call.
Should I fertilize right after repotting into new soil?
Wait at least three to four weeks. Cut roots do not handle salts well at first; early feeding can burn wound tissue. When you resume, use half strength.
What if the tree wilts after repotting?
Brief wilting for a few days is common while uptake catches up. If it is severe or lasts well past a week, move to deeper shade, mist foliage lightly, and check whether the mix is staying soggy — a sign drainage or watering is working against your soil choice.
Can I add mycorrhizal inoculant to the new soil?
Yes. Mix a small amount of granular inoculant into the lower portion of the soil before you set the tree. It complements a well-aerated mix by supporting root biology after trimming.
Summary
Bonsai soil after root trimming should drain fast, hold moisture without staying wet, and stay open for air. A 60/20/20 blend of akadama, pumice, and fine grit is a solid default; adjust organic content for tropicals and inorganic share for conifers. Anchor the tree, fill without compacting, water to test drainage, then protect the tree from harsh sun and overwatering while the mix does its job.
The cuts need a soil structure that protects them until new roots grow. Nail the mix and how you use it, and recovery follows.