
Last Updated on March 16, 2026 by Indoor Plant Nook
Root pruning is one of the most critical — and most misunderstood — practices in black pine bonsai care. Do it at the wrong time, and you risk killing a tree you’ve spent years developing. Do it right, and you’ll build a dense, powerful nebari and a tree that responds vigorously to every other technique you apply.
This guide gives you a precise, season-by-season root pruning schedule for black pine (Pinus thunbergii), along with the reasoning behind every timing decision so you can adapt confidently to your climate.
Why Root Pruning Matters for Black Pine Bonsai
Black pines develop thick, aggressive root systems. Without intervention, coarse roots spiral inside the pot, choke finer feeder roots, and eventually push the tree out of the container. Root pruning accomplishes several things simultaneously:
- Encourages fine feeder root development — the roots that actually absorb water and nutrients
- Controls tree vigor — essential for ramification and back-budding work
- Renews the growing medium — old soil compacts, loses drainage, and becomes anaerobic
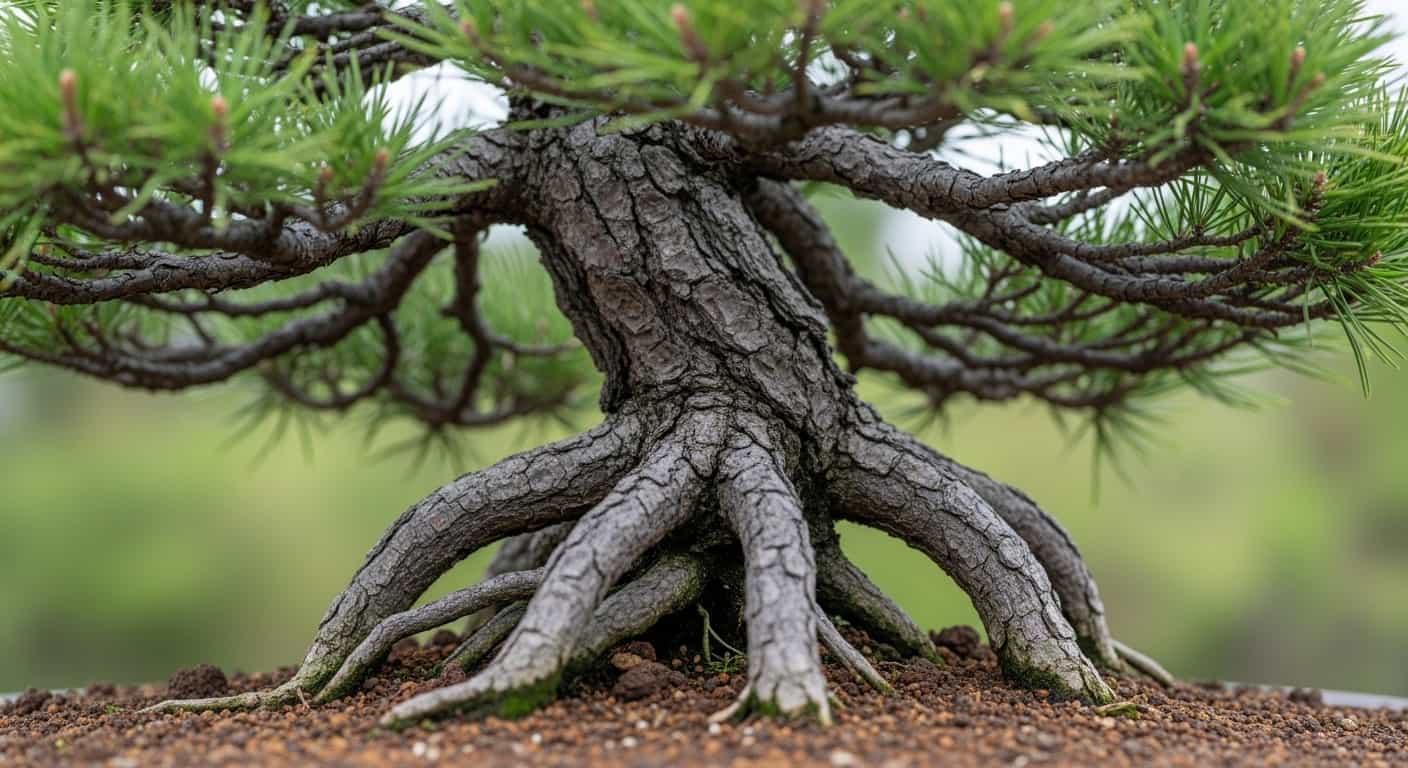
- Refines nebari (surface roots) — selective pruning shapes the radial root spread visible above the soil line
- Resets the pot size relationship — keeping roots in proportion to the canopy
Neglecting root pruning for too long makes the process far more stressful on the tree when you eventually do it.
Understanding Black Pine’s Root Activity Cycle
Before committing to any schedule, you need to understand when black pine roots are biologically active.
Black pine has two distinct growth flushes per year:
- Spring flush — candles extend, needles push, and the tree demands energy. Roots are actively growing to support this surge.
- Late-summer secondary flush — after the first decandling, the tree pushes a second round of buds and short needles.
Root pruning must avoid overlapping with these high-demand periods. The ideal window is when the tree is metabolically relaxed but still has enough warm weather remaining to regenerate new roots before going dormant.
The Black Pine Bonsai Root Pruning Schedule
Early Spring (Before Bud Swell) — Repotting Window #1
Timing: Late February to mid-March (temperate climates); adjust 2–4 weeks based on your last frost date. Recommended for: Trees in poor soil, severely root-bound specimens, first-time repots.
This is the most widely used window for black pine root pruning. The tree is dormant or just beginning to stir — buds are swelling, but candles have not yet extended. At this stage:
- The tree has not yet committed its stored energy reserves to top growth
- New root tips can generate within 2–3 weeks in warm conditions
- There is still time for the root system to establish before the spring flush demands full support
What to do:
- Remove the tree from its container
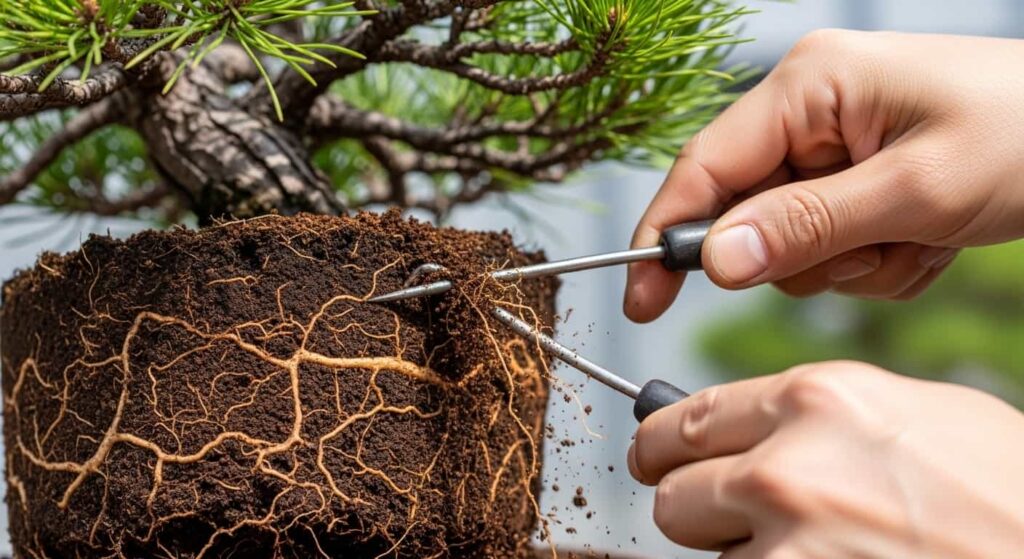
- Work the old soil away from the root mass using a root hook or chopstick — work from the outside inward.
- Identify and remove any circling roots, deadwood roots, and roots growing directly downward.
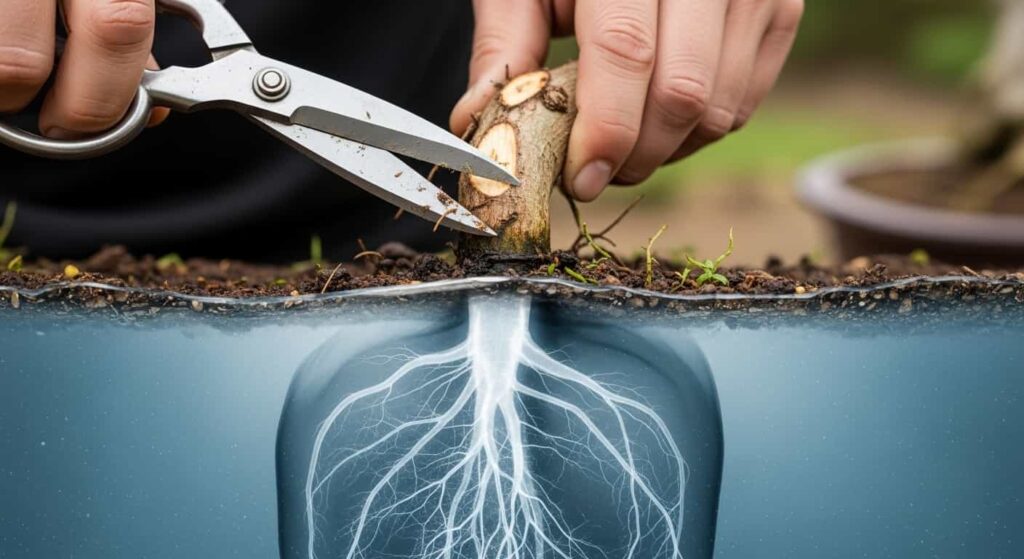
- Shorten all remaining roots by 30–50%, cutting cleanly with sharp scissors or shears.
- Repot into a bonsai container with fresh, well-draining substrate (typically a mix of akadama, pumice, and coarse sand or lava rock)
- Water thoroughly and place in a sheltered location away from strong wind and frost for 3–4 weeks.
Pro tip: Do not fertilize immediately after root pruning. Wait until you see clear signs of vigorous new growth — usually 4–6 weeks post-repot.
Late Summer / Early Fall — Repotting Window #2

Timing: Late August to mid-September (after second-flush needles have hardened). Recommended for: Vigorous, healthy trees; trees receiving decandling treatment; refinement-stage trees.
This is the preferred window for experienced growers working on refined black pines in the development or refinement phase. After decandling in late June or July, the tree pushes its second flush. Once those second-flush needles have fully extended and hardened — usually by late August — the tree enters a brief metabolic lull before fall.
Root pruning now takes advantage of:
- Warm soil temperatures that stimulate rapid new root growth
- Sufficient time before winter dormancy for roots to re-establish (6–8 weeks minimum)
- Reduced demand from the canopy (second flush is complete)
- Better root-to-shoot balance heading into winter
What to do:
- Follow the same removal and pruning steps as the spring window
- Be slightly more conservative with root reduction (25–40%) since fall root work allows less recovery time than spring
- Repot into fresh substrate
- Keep the tree in partial shade for 2–3 weeks, then return to full sun
- Reduce watering frequency until new root tips appear
Warning: Do not root prune after mid-October in temperate climates. The tree will not generate sufficient new roots before hard frost, leading to die-back or death.
Midsummer — Avoid Root Pruning
Timing: June through early August Status: Not recommended
During active candle extension and decandling recovery, the tree is drawing heavily on stored carbohydrates. Root pruning at this stage forces the tree to simultaneously regenerate roots and support canopy growth — a dual stress that weakens the tree and invites disease.
The only exception is emergency repotting due to root rot or container failure, in which case you should:
- Remove only diseased or dead roots
- Avoid pruning healthy roots further than necessary
- Place the tree in light shade and reduce watering until recovery is evident
Winter Dormancy — Avoid Root Pruning
Timing: November through January Status: Not recommended
Cold soil temperatures suppress root regeneration almost entirely. A tree repotted in deep winter will sit in disturbed soil with damaged roots and no ability to recover until temperatures rise — leaving it vulnerable for months. Wait for the pre-bud-swell window in late winter/early spring.
How Often Should You Root Prune Black Pine Bonsai?
The frequency depends on the tree’s stage of development:
| Development Stage | Recommended Frequency |
|---|---|
| Young stock / development trees | Every 2–3 years |
| Mid-development refinement | Every 3–4 years |
| Mature / display-stage trees | Every 4–5 years |
| Trees in deep, large containers | Every 5–7 years |
A well-developed root system in quality substrate can sustain a tree longer between repots. Watch for these signs that root pruning is overdue:
- Water sits on top of the soil and drains slowly
- The tree dries out unusually fast despite normal weather
- Roots are visibly emerging from drainage holes
- Reduced vigor or needle length compared to prior years
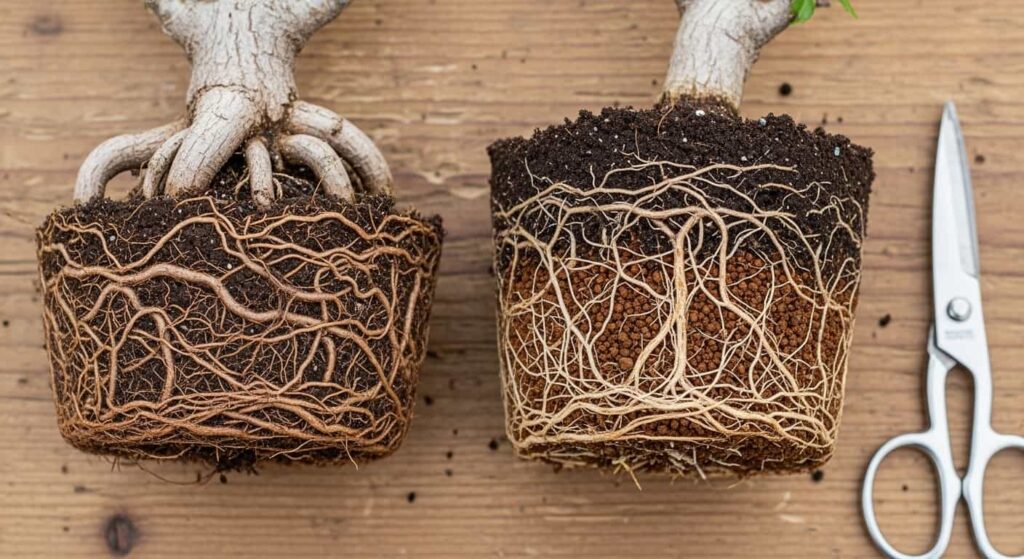
- The root ball has become a dense, solid mass when removed
Root Pruning Tools and Substrate
Tools
- Root hook or sickle: For breaking apart old soil without tearing roots
- Root scissors (bonsai scissors): Fine, precise cuts on small feeder roots
- Bypass pruning shears: For larger, woody roots
- Wound sealant (cut paste): Apply to any root cuts thicker than a pencil to prevent desiccation and infection
Always sterilize tools before and after root work using isopropyl alcohol. This prevents transferring fungal disease between trees.
Recommended Substrate Mix for Black Pine
Black pines demand exceptional drainage. A widely used mix for temperate climates:
- 50% Akadama — retains moisture while allowing air circulation
- 25% Pumice — improves drainage and adds mineral content
- 25% Lava rock or coarse sand — increases porosity and prevents compaction
Avoid peat-heavy or organic-dominant mixes. They retain too much moisture, promote root rot, and compact quickly — requiring more frequent repotting.
Step-by-Step Root Pruning Technique
- Water the tree the day before to hydrate the root mass and make soil removal easier.
- Prepare your workspace — lay out fresh substrate, your container, and all tools within reach.
- Remove the tree from its pot. If root-bound, use a root sickle around the container’s interior edge.
- Comb out the root mass. Work from the outer edges inward, removing old soil. Aim to expose at least 50% of the roots.
- Assess root health. Remove any brown, mushy, or clearly dead roots entirely.
- Prune roots to length. Shorten to fit your container with 1–2 cm of clearance on all sides. Prioritize keeping fine feeder roots; sacrifice thick, coarse roots.
- Trim nebari roots selectively. Surface roots growing directly into the soil or crossing each other should be removed or redirected.
- Position the tree in the container. Tilt and rotate until you achieve the desired front and angle.
- Anchor if necessary. Use wire through drainage holes for trees in training pots to prevent movement while roots establish.
- Fill with fresh substrate. Work substrate into all voids with a chopstick, then top-dress if desired.
- Water thoroughly until water runs freely from the drainage holes.
- Move to a sheltered location for 3–4 weeks before returning to full exposure.
Common Root Pruning Mistakes to Avoid
Pruning during active growth. The most common mistake. If candles are extending, wait.
Removing too much root at once. A general rule: never remove more than one-third of the total root mass from a weak tree. Healthy, vigorous trees tolerate up to 50% reduction.
Leaving roots exposed to air. Work quickly. Exposed roots desiccate within minutes in dry or windy conditions. Keep a spray bottle of water nearby and mist roots during the process.
Using a poor-draining substrate. Even perfect timing can’t save a tree repotted into dense, water-retaining soil. Drainage is non-negotiable for black pine.
Fertilizing too soon. Fresh roots are vulnerable. Nitrogen fertilizer applied too early can burn new root tips. Wait for visible top growth before resuming a full fertilizer schedule.
Repotting a weak or sick tree aggressively. If a tree showed reduced vigor last season, reduce root work to a light trim and focus on rebuilding health before a full repot.
Aftercare: The 6 Weeks After Root Pruning
The period immediately following root pruning is when most failures occur. Follow this aftercare protocol:
- Week 1–2: Keep in light shade, out of wind. Water only when the top layer of substrate begins to dry.
- Week 3–4: Gradually reintroduce morning sun. Watch for the first signs of bud activity or new root tips (visible through drainage holes).
- Week 5–6: Return to normal sun exposure. Resume light watering schedule.
- Week 6+: Begin fertilizing once new growth is firmly established. Start with a balanced fertilizer, then shift to low-nitrogen as the season progresses.
Do not use fungicides or pesticides during the recovery window unless there is a clear disease or pest problem — the tree needs minimal chemical stress while rebuilding its root system.
Adapting the Schedule to Your Climate
The dates in this guide are calibrated for temperate climates with cold winters (USDA Zones 6–8). Adjust as follows:
- Warmer climates (Zones 9–10): Shift spring window to January–February; fall window extends into October.
- Colder climates (Zones 4–5): Spring window narrows to April; fall window closes by early September.
- Use bud swell, not calendar dates: The most reliable indicator is the tree itself. Begin root pruning when buds are visibly swelling but not yet extending. This self-corrects across years and microclimates.
Frequently Asked Questions
Can I root-prune and decandle a black pine in the same year?
Yes, but sequence matters. Root prune in late winter/early spring, allow the tree to recover and push its spring flush normally, then decandle in late June. The tree has 8–10 weeks between the two interventions to stabilize.
Should I root prune every time I repot?
For black pine, yes. Repotting without meaningful root work just resets the clock without addressing root congestion. At minimum, trim the outer root mat and any circling roots even on light repots.
My black pine is in a very large training pot. Does it still need root pruning?
Large containers delay the need but don’t eliminate it. Check the root mass at the 4–5 year mark. Trees in large containers often develop very coarse root systems that benefit from a more significant reduction when the time comes.
What if I miss the ideal window?
If spring’s window passes (candles already extending), wait for the late-summer window. A year’s delay is far better than root pruning during peak growth stress.
Final Thoughts
Black pine bonsai reward patience and precise timing. The root pruning schedule isn’t complicated — two windows per year, both chosen for when the tree is metabolically relaxed, neither overlapping with active growth. Master that timing, keep your substrate sharp and well-draining, and your black pine will respond with the vigor and refinement that makes this species one of the most respected in bonsai.
Work the roots with intention, give the tree the recovery time it needs, and the canopy will follow.