
Last Updated on March 16, 2026 by Indoor Plant Nook
Jade bonsai (Crassula ovata) are among the most rewarding succulents to style as bonsai — but their long-term health depends on what happens beneath the soil. Root pruning and washing are two of the most important — and most misunderstood — maintenance tasks for jade bonsai owners.
Done correctly, root work keeps your jade vigorous, compact, and thriving inside its pot. Done carelessly, it can set your tree back by months or kill it outright. This guide walks you through every step: when to do it, how to do it safely, and how to recover your jade afterward.
Why Root Pruning and Washing Matter for Jade Bonsai
A jade bonsai grown in a container will eventually fill every inch of available soil with roots. When the roots become pot-bound:
- Water drains too fast — roots displace soil, leaving little moisture retention
- Nutrients deplete rapidly — dense roots exhaust fertilizer before the plant can absorb it
- Trunk development slows — energy is diverted to root maintenance rather than growth
- Root rot risk increases — tangled, circling roots trap moisture and decay
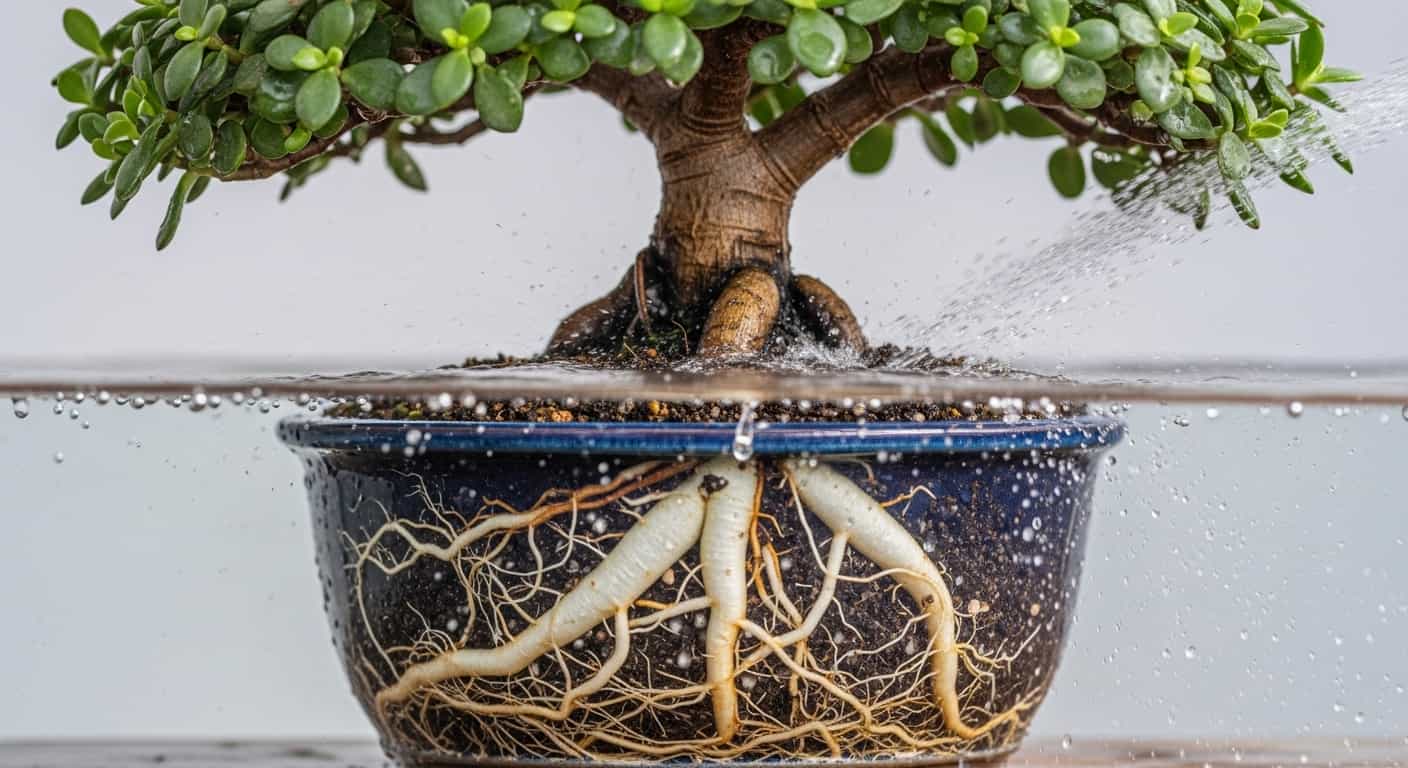
Root pruning prevents all of this. Washing the roots removes old, exhausted soil and gives you a clear view of the root system so you can identify rot, pests, or structural problems before they become fatal.
When to Prune and Wash Jade Bonsai Roots
Timing is critical with jade bonsai because, unlike many deciduous bonsai species, jade is a succulent with different seasonal rhythms.
Best Time: Late Spring to Early Summer
The ideal window is late spring to early summer — when temperatures are warm (65–85°F / 18–29°C), the plant has broken dormancy, and active growth has resumed. At this point, the jade can heal pruning wounds quickly and push new feeder roots before cooler months arrive.
Acceptable Window: Early Fall
A secondary window exists in early fall, provided you live in a climate with mild autumns. Avoid root work within 6–8 weeks of your first expected frost.
Times to Avoid
- Midsummer heat (above 95°F / 35°C) — stress compounds quickly
- Winter dormancy — root healing slows dramatically
- During or after repotting shock — never perform root work on a recently stressed tree.
- When the tree is diseased or pest-infested — stabilize first, then address roots.
Rule of thumb: If your jade is producing new growth tips, it’s generally safe to work on roots. If growth has stalled, wait.
Tools and Supplies You Will Need
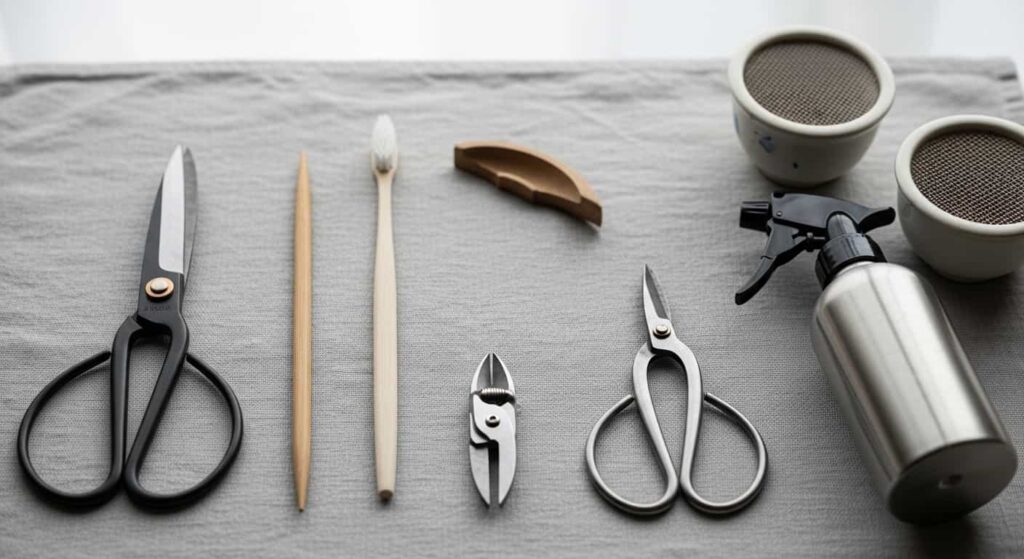
Gather everything before you start. Once a jade’s roots are exposed, you want to work efficiently and minimize stress time.
Pruning tools:
- Sharp bonsai root scissors or pruning shears
- Root hook or chopstick (for untangling)
- Concave cutters (for thick root removal, optional)
Washing supplies:
- Large bucket or basin
- Room-temperature water (never cold)
- Soft brush (like a toothbrush) for scrubbing roots
Repotting supplies:
- Fresh, well-draining bonsai soil (akadama + pumice + lava rock, or cactus mix)
- Clean the bonsai pot with drainage holes
- Mesh screen for drainage holes
- Wire for root anchoring (optional but recommended)
- Chopstick or skewer for soil working
Sanitation:
- Isopropyl alcohol (70%) or diluted bleach solution for sterilizing tools
- Paper towels or a clean cloth
Step-by-Step: Root Pruning and Washing Jade Bonsai
Step 1: Prepare Your Workspace
Work in a shaded area outdoors or indoors away from direct sun. Jade roots should never dry out or get sunburned during the process. Lay a clean towel or work mat on your surface.
Sterilize all cutting tools by wiping them with isopropyl alcohol. This prevents transferring fungal spores or bacteria from a previous task to your jade’s exposed roots.
Step 2: Water the Tree One Day Before
Water your jade thoroughly 24 hours before root work. This slightly hydrates the roots, making them more pliable and less prone to snapping during untangling — but not so wet that the soil becomes muddy and hard to remove.
Do not water on the same day you plan to prune, as soggy soil is harder to work with.
Step 3: Remove the Tree from Its Pot
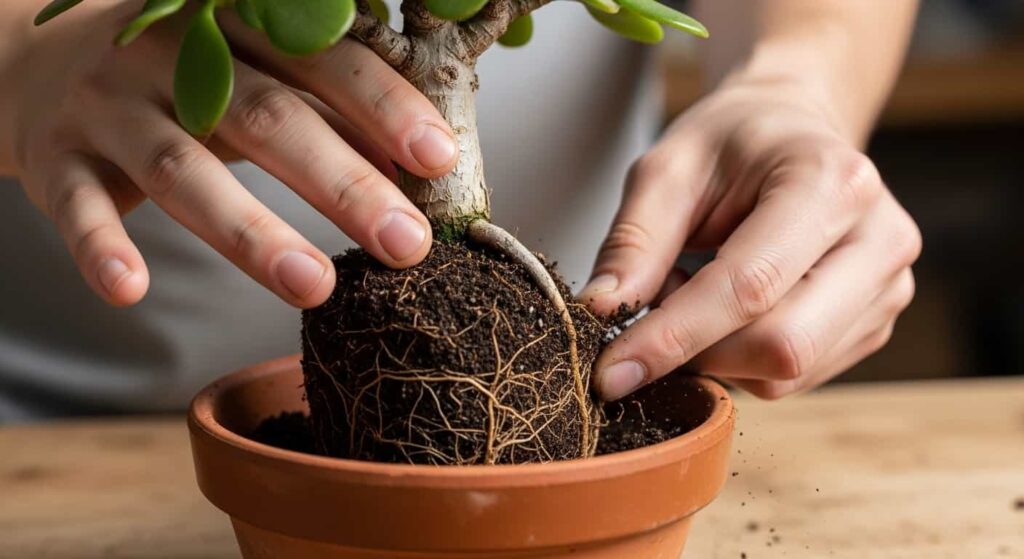
Tilt the pot and gently tap the sides to loosen the root ball. If the tree is stuck, run a thin spatula or chopstick around the inner edge of the pot. Never yank the trunk — apply firm, steady pressure to the root ball while supporting the tree.
Once out, set the root ball on your work surface.
Step 4: Remove Loose Soil by Hand
Use your fingers or a chopstick to gently knock away the outer layers of old soil. Work from the outside in circular motions. Do not force tangled roots apart at this stage — just remove whatever soil falls away naturally.
You should begin to see the root structure: thick anchor roots extending outward from the nebari (surface root base), and finer feeder roots spreading through the outer soil.
Step 5: Wash the Root Ball
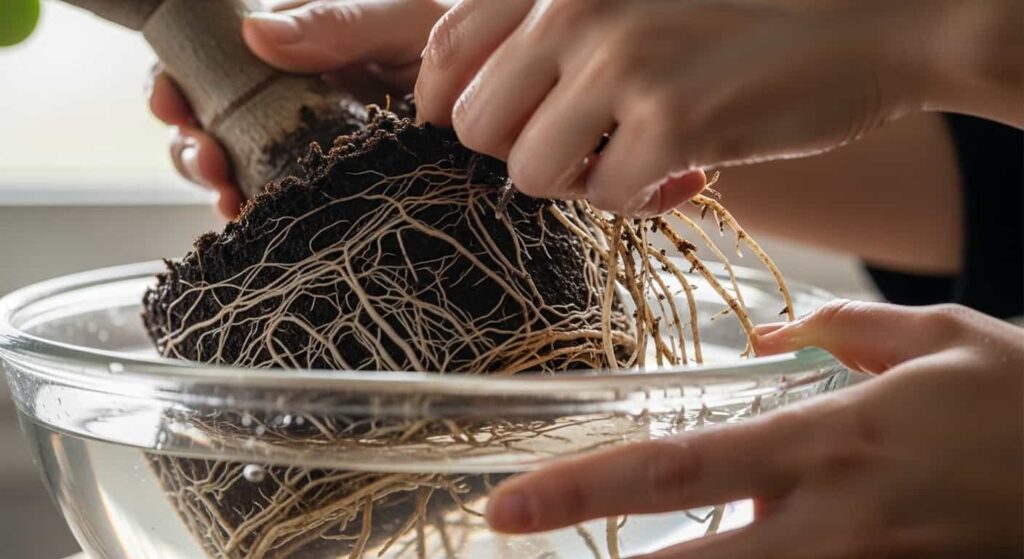
This is where root washing diverges from basic repotting. Fill a bucket with room-temperature water and submerge the root ball. Gently agitate it, letting water loosen the remaining soil.
Use a soft brush to clean around thicker roots. Do not use a hose with high water pressure — this can strip feeder roots and damage the delicate root tips that are responsible for water and nutrient uptake.
Rinse and repeat until the roots are fully exposed, and you can see the entire structure clearly.
Important: Work quickly once roots are washed. Exposed jade roots can desiccate within 15–20 minutes in dry, warm air. Keep a damp cloth nearby to lightly cover roots if you need to pause.
Step 6: Inspect the Root System
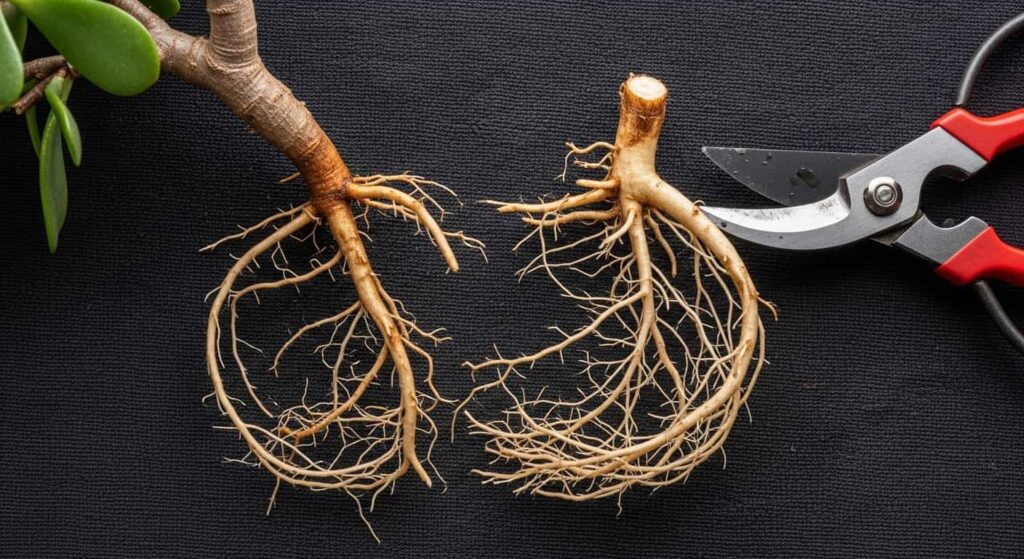
With clean, bare roots, you can now diagnose what’s happening below the soil line.
Look for:
- Healthy roots: Firm, white or light tan, slightly springy
- Dead roots: Brittle, dry, dark brown/black — snap cleanly or crumble
- Root rot: Soft, mushy, dark, and often foul-smelling — requires immediate removal
- Circling/girdling roots: Roots that wrap around the trunk base can eventually choke it
- Pests: Check for mealybugs (white cottony clusters) or vine weevil larvae (small white grubs)
Document what you find. If rot is extensive (more than 30% of the root mass), scale back pruning significantly — the tree needs to recover before further stress.
Step 7: Prune the Roots
This is the core of the process. Your goal is to:
- Remove all dead, rotted, or diseased roots — cut back to healthy tissue
- Shorten overly long roots — any root extending beyond the pot width can be trimmed
- Remove downward-growing roots — jade bonsai benefit from a flat, radial root structure (nebari)
- Thin the root mass — remove some of the fine feeder roots to reduce density, especially in the center of the root ball, where airflow is lowest.
How much to remove:
For a healthy jade in normal repotting cycles (every 2–3 years), removing 20–30% of the total root mass is safe. For a badly pot-bound tree, you can remove up to one-third of the roots in a single session.
Never remove more than one-third of the root system at once. Jade is resilient, but excessive root pruning without corresponding foliage reduction causes dehydration stress and can kill the tree.
Cutting technique:
- Use sharp, sterilized scissors to make clean cuts
- Cut at a slight angle to discourage water pooling at the cut site
- Cut back to a root junction (branching point) rather than leaving stubs — stubs die back and can introduce rot
Step 8: Optional — Prune Foliage to Balance
When you remove roots, you reduce the tree’s capacity to absorb water and nutrients. If you removed more than 20% of the root mass, consider a light foliage reduction — removing 10–15% of leaf mass — to reduce demand and restore balance.
This is especially important in hot or dry conditions.
Step 9: Let the Roots Air Dry Briefly
After pruning, leave the tree in a shaded, dry spot for 30–60 minutes. This allows the cut surfaces to callus slightly before contact with moist soil, reducing the risk of rot at pruning sites.
Do not leave roots exposed for longer than 1–2 hours total.
Step 10: Repot with Fresh Soil
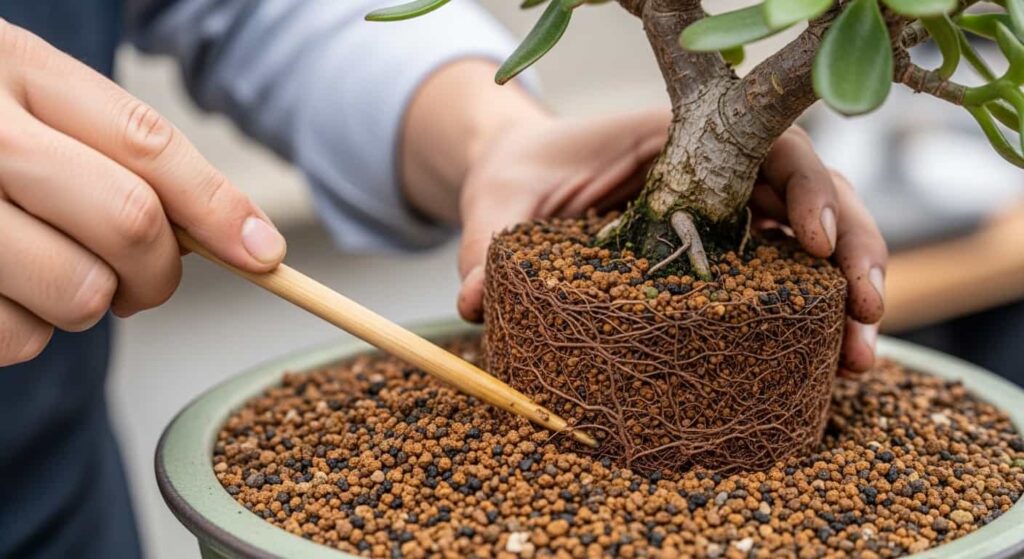
Prepare your pot by covering the drainage holes with a mesh screen. If you want to anchor the tree for stability during re-rooting, thread wire up through the drainage holes before adding soil.
Add a thin base layer of coarse grit or pumice at the bottom for drainage. Then:
- Position the jade where you want it — slightly off-center is the traditional bonsai aesthetic
- Work soil into the root mass using a chopstick, filling all air pockets
- Do not compact the soil too hard — you want a loose, open structure for air and water movement
- Water gently until it flows from the drainage holes
Aftercare: The Critical Recovery Period
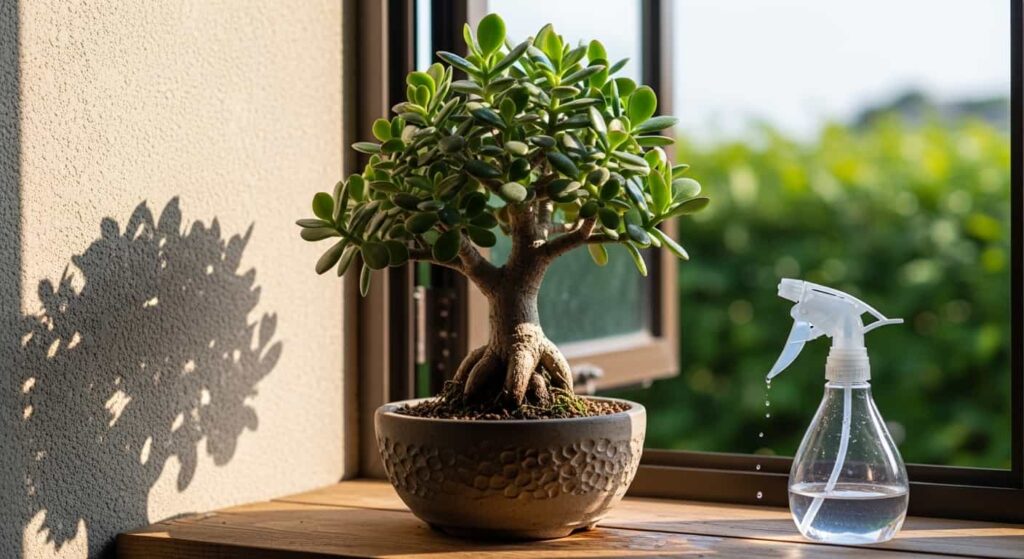
The 4–6 weeks after root pruning are the most important for your jade’s recovery.
Watering After Root Work
Do not water immediately after potting — wait 5–7 days. This encourages new root tips to grow outward in search of moisture rather than sitting in soggy soil. After the first watering, allow the soil to dry nearly completely before watering again.
Light and Location
Keep the jade in bright indirect light for at least two weeks. Avoid full direct sun, which increases transpiration demands on a root system that is still recovering capacity. After two to three weeks of visible new growth, gradually reintroduce the tree to its normal light conditions.
Avoid Fertilizing
Do not fertilize for at least 4–6 weeks after root work. Fresh-cut roots are sensitive to fertilizer salts, which can burn healing tissue. Once you see clear new growth — new leaf pairs or elongating shoots — it is safe to resume a diluted fertilizer at half strength.
Watch for Stress Signs
Some leaf drop after root work is normal. However, watch for:
- Widespread wrinkling of leaves — a sign of dehydration; lightly mist the foliage
- Yellowing from the base upward — possible root rot; unpot and inspect
- No new growth after 6–8 weeks — the tree may be struggling; reassess watering and light
Common Mistakes to Avoid
Washing roots with cold water. Cold water shocks succulents. Always use room-temperature water.
Pruning in winter. Root healing is extremely slow in low temperatures, and even a mild cold snap can kill a jade with freshly pruned roots.
Skipping tool sterilization. Jade roots are highly susceptible to fungal infection at cut sites. One contaminated pair of scissors can introduce rot that kills the tree within weeks.
Leaving roots exposed too long. Twenty minutes of direct sun exposure can desiccate fine feeder roots beyond recovery. Work in shade and keep a damp cloth handy.
Overly wet soil immediately after repotting. Jade prefers a dry start after repotting. Soggy conditions at cut root surfaces are a recipe for rot.
Removing too much root mass. More is not better. Stick to the one-third rule.
How Often Should You Prune Jade Bonsai Roots?
For most jade bonsai grown in small to medium containers, root pruning every 2–3 years is sufficient. Signs that your jade needs root work sooner include:
- Roots emerging from drainage holes
- Water runs straight through the pot without being absorbed
- Noticeably slowed growth despite regular fertilizing
- The tree lifts slightly from the soil (root pressure)
Young jade plants in development may benefit from annual or biennial root pruning to keep the nebari developing correctly. Older, more refined specimens can often go 3–4 years between root sessions.
Summary: Root Pruning and Washing at a Glance
| Stage | Key Points |
|---|---|
| Timing | Late spring to early summer; avoid winter and extreme heat |
| Soil removal | Remove dead/rotted roots first; shorten and thin remaining roots; stay within one-third rule. |
| Inspection | Look for rot, pests, circling roots, and dead tissue |
| Pruning | Remove dead/rotted roots first; shorten and thin remaining roots; stay within one-third rule |
| Repotting | Fresh, well-draining mix; chopstick to remove air pockets |
| Aftercare | No water for 5–7 days; no fertilizer for 4–6 weeks; indirect light for 2 weeks |
| Frequency | Every 2–3 years for established trees |
Final Thoughts
Root pruning and washing a jade bonsai is one of the most hands-on — and most satisfying — aspects of bonsai cultivation. It gives you direct insight into your tree’s health, lets you correct structural problems before they become permanent, and refreshes the growing medium so your jade has the best possible foundation for years of growth.
The process requires patience and attention to detail, but the fundamentals are straightforward: work during the right season, prune conservatively, prioritize cleanliness, and give your tree time to recover. Follow those principles, and your jade bonsai will reward you with healthy, vigorous growth and a root system worth showing off.