
Last Updated on March 16, 2026 by Indoor Plant Nook
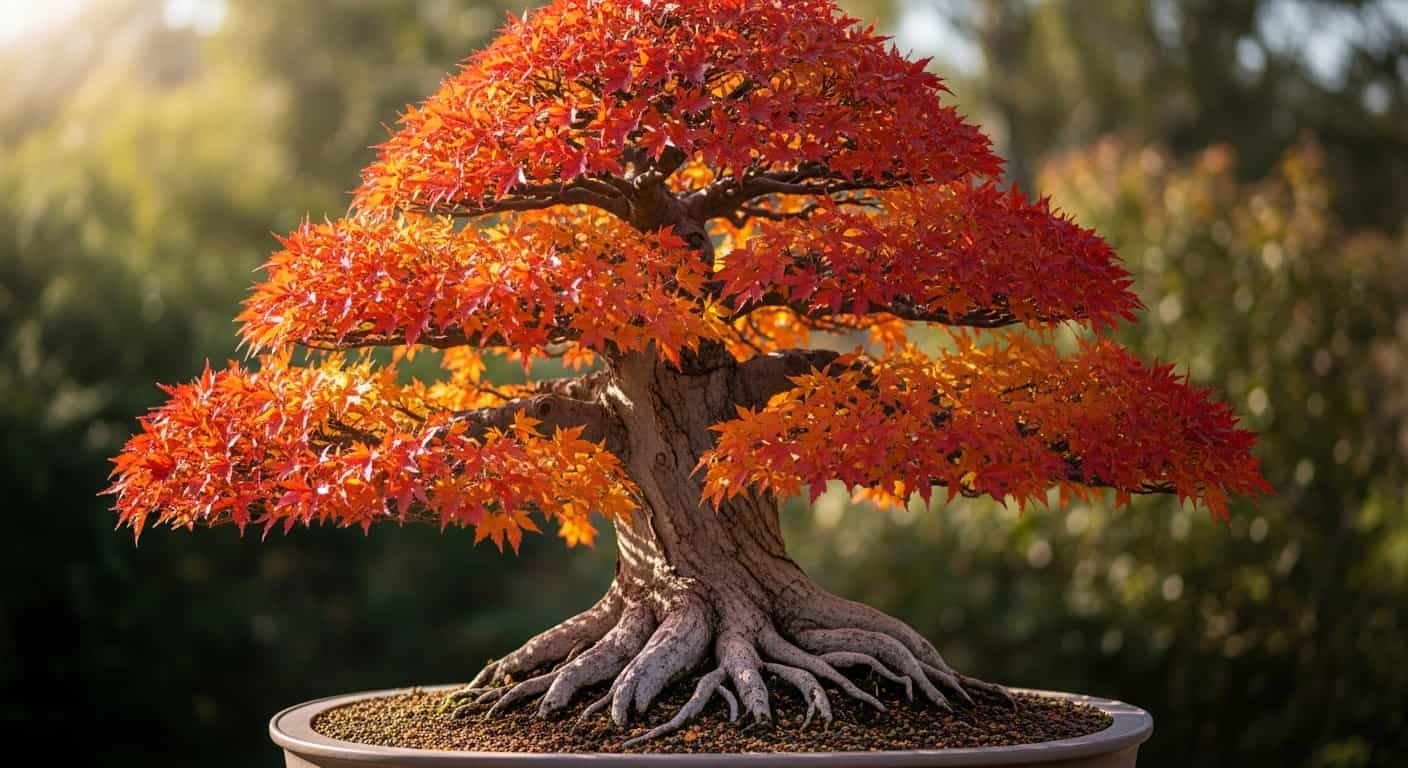
The trident maple (Acer buergerianum) is one of the most rewarding bonsai species you can grow. Known for its stunning autumn color, flaky mature bark, and exceptional ability to develop a dramatic surface root structure — called nebari — it responds to root pruning better than almost any other deciduous tree.
But root pruning is also the step that intimidates most beginners. Do it wrong, and you risk weakening your tree. Do it right, and you’ll unlock faster ramification, superior trunk flare, and a root system that looks like it’s been growing in the ground for a century.
This guide covers everything you need to know about Trident Maple bonsai root pruning: when to do it, what tools to use, how deep to cut, and how to recover your tree afterward.
Why Root Pruning Matters for Trident Maple Bonsai
Root pruning serves multiple essential purposes for trident maple bonsai:
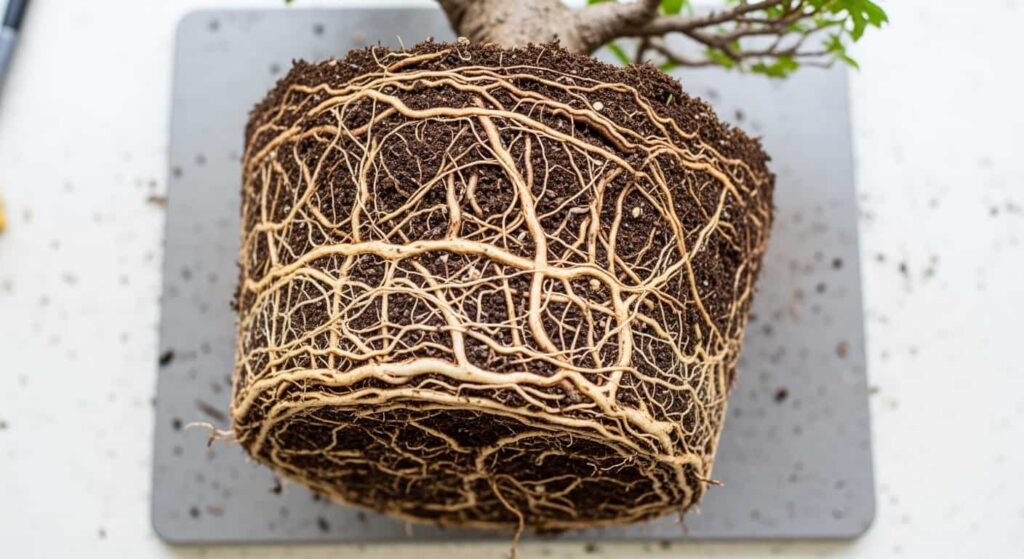
- Controls pot-bound root mass — Without pruning, roots circle the pot and become dense and tangled, strangling fine feeder roots and reducing nutrient uptake.
- Encourages fine feeder root development — Cutting thick, coarse roots stimulates the growth of finer, more efficient roots that better absorb water and nutrients.
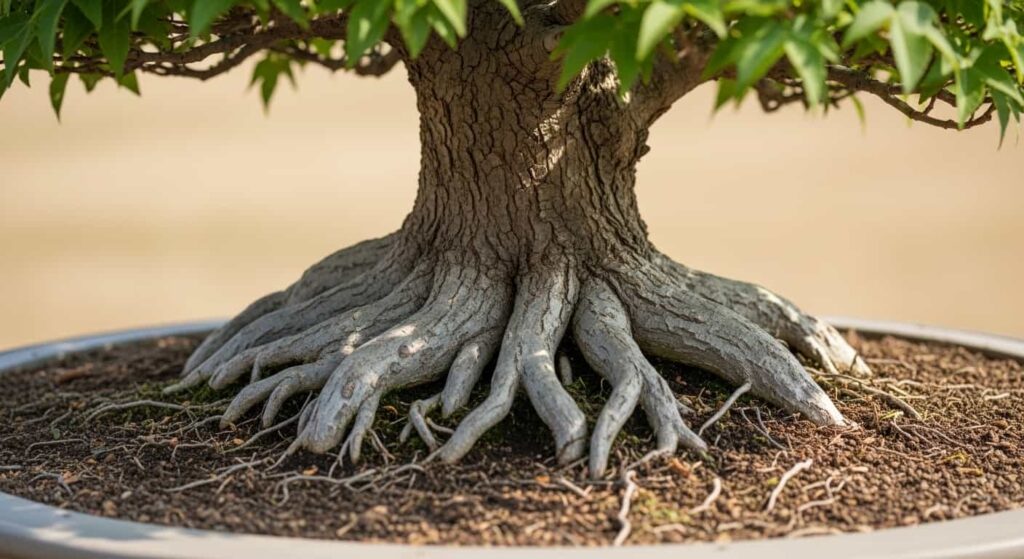
- Develops nebari (surface roots) — Strategic removal of downward-growing roots forces lateral root development, creating the dramatic flared base prized in bonsai aesthetics.
- Maintains tree vigor — A well-managed root system keeps the tree healthy, strong, and responsive to styling.
- Allows repotting into appropriate soil — Root pruning is typically done at repotting, giving you the chance to refresh bonsai soil and improve drainage.
Trident maples are particularly well-suited to aggressive root pruning because of their vigorous growth habit. A healthy specimen can have a third or more of its root mass removed and recover quickly.
When to Prune Trident Maple Bonsai Roots
Timing is everything. Root pruning at the wrong time of year can seriously stress or kill your tree.
Best Time: Early Spring (Just Before Bud Burst)
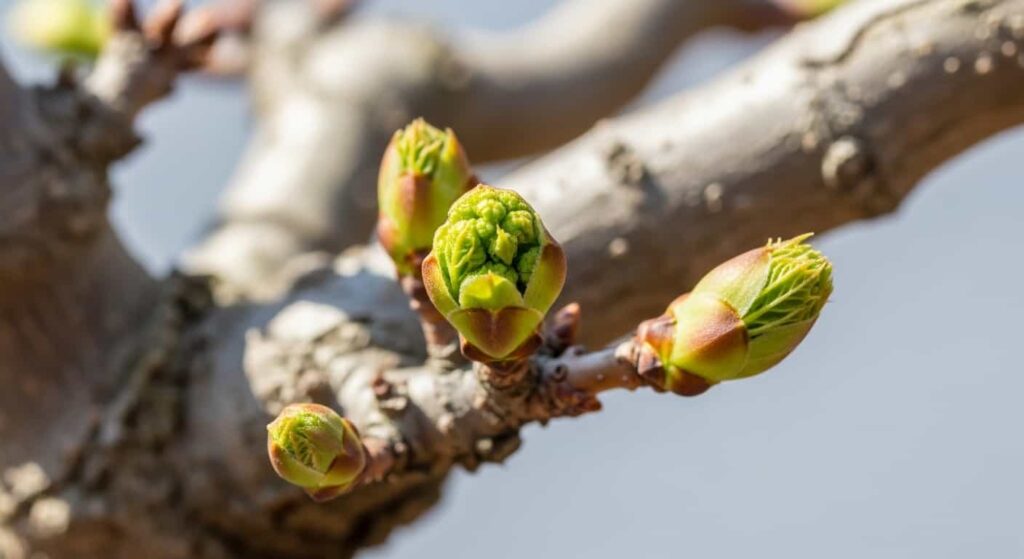
The ideal window for root pruning trident maple bonsai is early spring, just as the buds begin to swell but before they open. At this stage:
- The tree’s energy reserves are high from the previous growing season
- New root growth begins rapidly after pruning
- The healing energy of spring growth assists recovery
- Warmer temperatures encourage quick establishment in fresh soil
Watch your tree closely — the moment buds show visible swelling and early green color is your signal to act.
Acceptable Alternative: Late Winter
In mild climates, late winter root pruning (while the tree is still fully dormant) can work well. The key risk is repotting too early before temperatures stabilize, which can expose fresh roots to frost.
Times to Avoid
- Summer — The tree is in active growth, and heat stress combined with root disturbance can be fatal.
- Autumn — The tree is preparing for dormancy and cannot regenerate roots effectively before winter.
- Mid-winter in cold climates — Frozen or near-frozen soil and roots make pruning dangerous and recovery nearly impossible.
How Often Should You Prune Roots?
For young trident maples in development, root pruning at repotting every 1–2 years is standard. Young trees grow vigorously and fill pots quickly.
For mature, refined specimens, repotting every 2–4 years is typical, always assessing root density before deciding whether significant pruning is needed.
A simple test: if roots are circling the pot, pushing out of drainage holes, or the pot lifts with the tree, it’s time.
Tools You’ll Need
Before you begin, gather the right equipment:
| Tool | Purpose |
|---|---|
| Root pruning shears/knob cutters | Loosening and untangling roots |
| Sharp bonsai scissors | Cutting fine and medium roots |
| Root pruning shears / knob cutters | Cutting thick, woody roots |
| Clean root rake | Combing roots flat |
| Spray bottle with water | Keeping roots moist during work |
| Fresh bonsai soil mix | Repotting after pruning |
| Fungicide powder or paste (optional) | Sealing large cuts |
Always sterilize your cutting tools with rubbing alcohol before use to prevent the spread of fungal or bacterial disease.
Preparing Your Trident Maple for Root Pruning
1. Withhold Water for 1–2 Days Before
Slightly dry soil makes it easier to work through the root ball without soil clumping. Do not let the tree dry to the point of stress — just reduce watering a day or two beforehand.
2. Prepare Fresh Soil
Have your fresh bonsai soil mix ready before you remove the tree from its pot. A typical mix for Trident Maple includes:
- Akadama (40–60%) — for water retention and root development
- Pumice (20–40%) — for drainage and aeration
- Lava rock / Kiryu (20–30%) — for structure and drainage
Adjust the ratio based on your local climate. Humid climates benefit from more pumice; drier climates may need more akadama.
3. Choose Your New Pot
If you’re moving to a smaller or training pot, have it clean and ready. Ensure drainage holes are covered with mesh to prevent soil loss while allowing drainage.
Step-by-Step Root Pruning Process
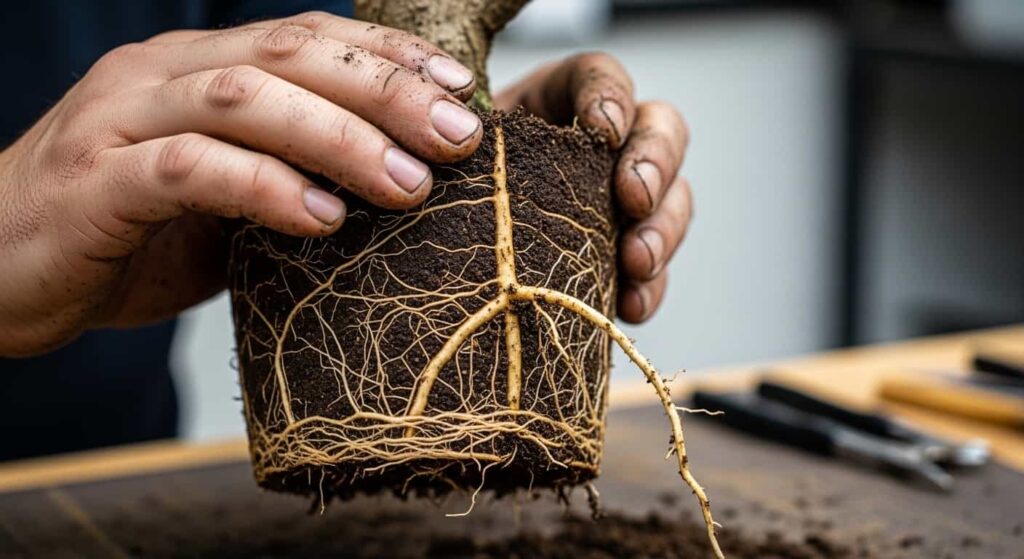
Step 1: Remove the Tree from Its Pot
Tip the pot sideways and gently slide the tree out. If it’s stuck, run a root hook or thin blade around the inside edge of the pot to free compacted roots.
Step 2: Remove Old Soil
Using a root hook and a chopstick, gently tease away old soil from the root ball. Work from the outside edges inward. The goal is to expose the roots clearly so you can see what you’re working with.
Remove old, spent soil from the center of the root ball, too — this zone is often depleted and compacted.
Step 3: Evaluate the Root System
Before cutting anything, take a moment to assess:
- Nebari roots — radial surface roots you want to encourage and preserve
- Crossing roots — roots growing over each other that should be removed
- Downward-growing roots — roots heading straight down into the pot, which should be shortened or removed to encourage lateral growth
- Dead or rotting roots — dark, mushy roots that should be fully removed
- Circling roots — roots growing in circles around the pot edge, which reduce vigor
Step 4: Prune the Roots
Work systematically:
Remove dead and rotting roots first. Cut back to healthy white or cream-colored root tissue.
Shorten long roots. Cut thick anchor roots back by up to one-third of their length. Always cut at an angle with a clean, sharp tool to reduce callus formation time.
Remove downward-growing roots. These work against nebari development. Cut them back as far as practical, flush with the base of the trunk if necessary.
Address crossing roots. Select which root to keep (favor those that radiate outward evenly) and remove the one disrupting the design.
For young development trees: You can be more aggressive, removing up to 40–50% of total root mass if the tree is healthy and conditions are favorable.
For mature, refined trees: Be more conservative, removing 20–30% to avoid unnecessary stress.
Step 5: Spread Roots Flat (for Nebari Development)
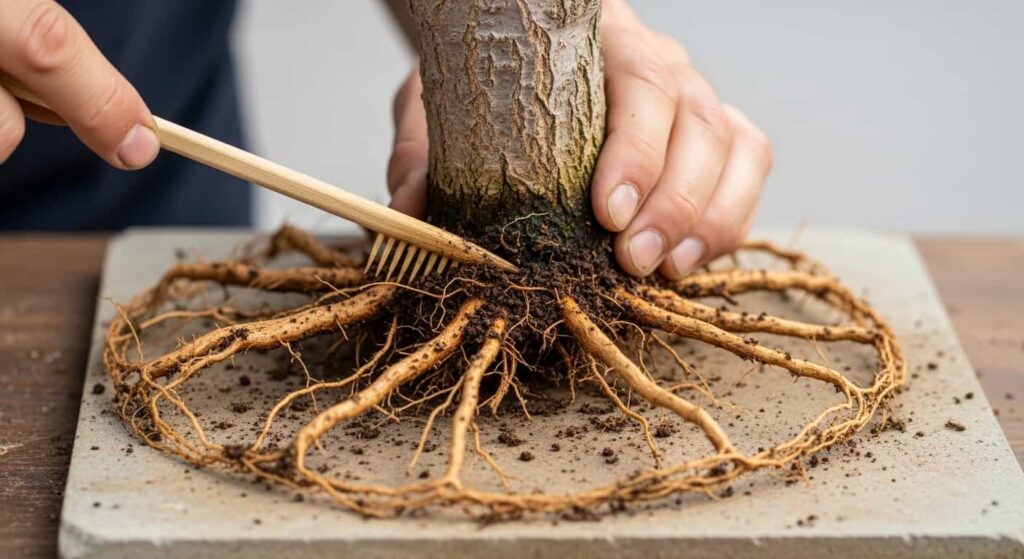
After pruning, use a root rake to comb the remaining roots outward and flat. Spreading roots radially over a tile, slate, or flat board before placing in the pot trains them to grow outward, building nebari over time.
Step 6: Repot into Fresh Soil
Place a layer of fresh soil in the bottom of the pot. Position the tree so the nebari roots sit just above the rim of the pot (they will settle as soil compresses). Work fresh soil in and around the roots with a chopstick, eliminating air pockets.
The tree should sit firmly in the pot with no rocking.
Step 7: Water Thoroughly
Water the freshly repotted tree thoroughly until water runs clear from the drainage holes. This settles the soil and ensures good root-to-soil contact.
Post-Pruning Care
Placement
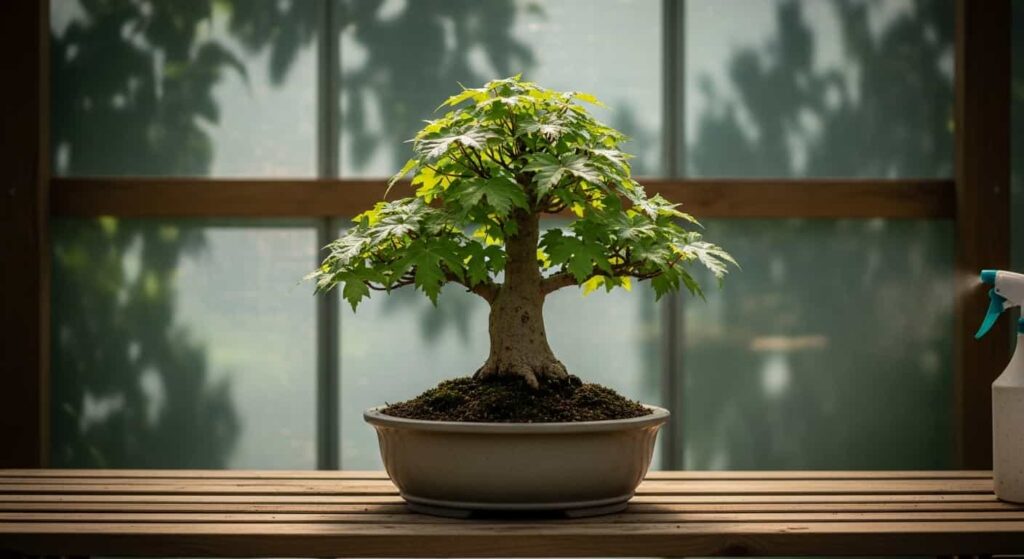
After root pruning, place the tree in a sheltered location out of direct sun and strong wind for 2–4 weeks. A greenhouse, cold frame, or sheltered porch works well. This reduces transpiration stress while the root system recovers.
Watering
Keep soil consistently moist but not waterlogged. New roots need moisture to establish, but standing water will cause rot. Check soil moisture daily.
Fertilizing
Do not fertilize for 4–6 weeks after root pruning. The fresh roots are sensitive, and fertilizer salts can burn damaged root ends. Once the tree leafs out fully and shows strong growth, you can resume a regular fertilizing schedule.
Frost Protection
If late frosts are possible after repotting, protect the tree. A single night of hard frost can kill roots that have been disturbed and are not yet established in new soil.
Common Mistakes to Avoid
Pruning at the wrong time of year — this is the single biggest mistake. Always wait for the early spring bud swell.
Using dull tools — crushed roots heal poorly. Sharp, clean cuts are essential.
Removing too much root at once on a weak tree — assess tree health before deciding how aggressively to prune. A weak or recently stressed tree needs a gentler approach.
Leaving the tree in full sun immediately after repotting — even a vigorous trident maple needs a recovery period in sheltered conditions.
Not removing old, spent soil — leaving compacted, depleted soil around the root ball undermines the entire point of repotting.
Planting too deep — burying the nebari roots defeats the purpose of all your nebari development work. Aim for the root flare to sit at or just above soil level.
Nebari Development Tips Specific to Trident Maple
The trident maple’s greatest aesthetic asset is its potential for spectacular surface roots. Here are targeted tips to accelerate nebari development through root pruning:
- Use the tile method — Place a flat tile or slate beneath the root ball when repotting. This forces all roots growing downward to deflect outward, building lateral spread over the years.
- Air layer for instant nebari — Air layering a section of trunk with good radial roots and planting it shallowly can give you a head start on nebari.
- Prune unwanted roots early — The earlier you remove downward and crossing roots, the sooner energy is redirected to desirable surface roots.
- Use shallow training pots — Growing in a shallow pot naturally encourages lateral root spread versus deep root growth.
- Document progress — Photograph the root base every repotting cycle. Trident maples show remarkable nebari improvement over 5–10 years of consistent root management.
Quick-Reference Root Pruning Schedule
| Tree Stage | Repotting Frequency | Root Pruning Aggressiveness |
|---|---|---|
| Seedling / Yamadori (first 2 years) | Every 1–2 years | Light — stabilize first |
| Young development tree | Every 1–2 years | Moderate to aggressive (up to 40%) |
| Intermediate refinement | Every 2–3 years | Moderate (20–30%) |
| Mature display tree | Every 3–4 years | Conservative (10–20%) |
Conclusion
Root pruning is not something to fear — it’s one of the most powerful tools you have for shaping a world-class trident maple bonsai. Done at the right time, with sharp tools and sound technique, it rewards you with a faster-developing nebari, a stronger and more vigorous tree, and the deep satisfaction of truly understanding what’s happening beneath the soil.
The trident maple’s forgiving nature and enthusiastic growth make it an ideal species to build your root pruning confidence. Follow the timing guidelines, be systematic in your approach, give your tree proper post-pruning care, and you’ll see the difference within a single growing season.
Happy pruning.