
Last Updated on March 16, 2026 by Indoor Plant Nook
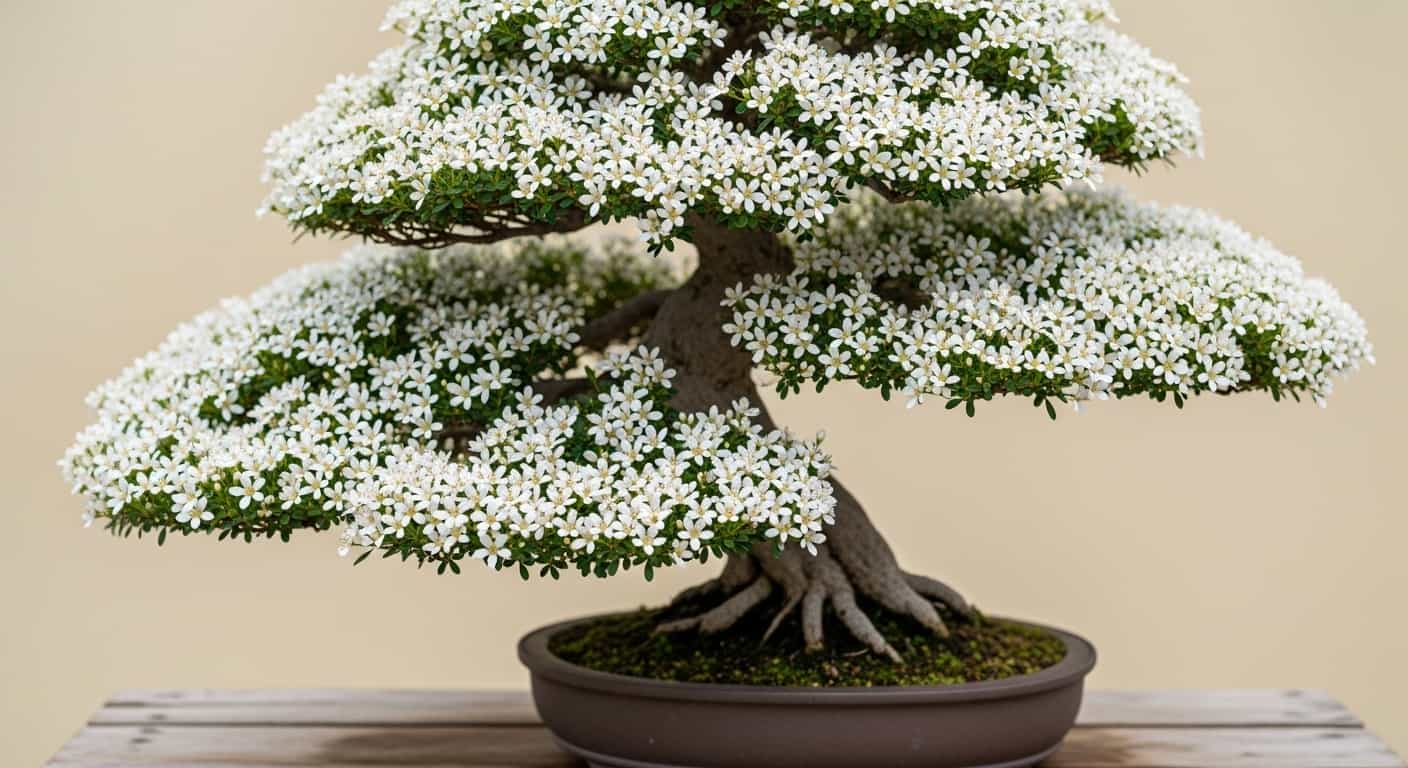
Serissa bonsai — often called the “Tree of a Thousand Stars” — is one of the most rewarding yet sensitive trees you can grow. Its delicate white blooms and fine branching make it a beloved choice for bonsai enthusiasts. But beneath the surface, a healthy root system is what keeps this beauty alive.
Root washing is one of the most powerful maintenance techniques in bonsai care. Done correctly, it refreshes degraded soil, removes root rot, and gives you a clear window into your tree’s overall health. Done incorrectly, it can shock or even kill a sensitive species like Serissa.
This guide walks you through everything a beginner needs to know about root washing a Serissa bonsai — safely, effectively, and with confidence.
What Is Root Washing in Bonsai?
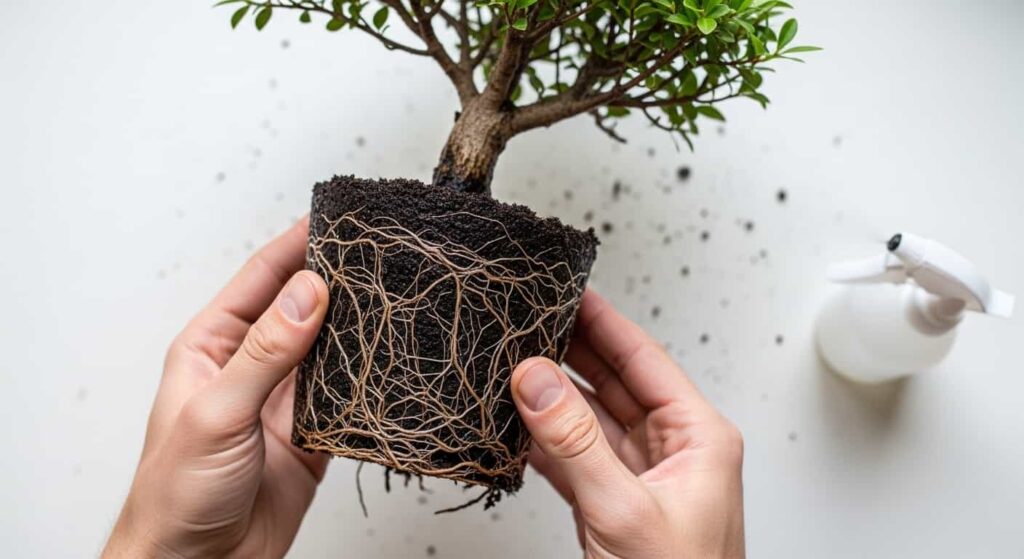
Root washing (also called bare-rooting) is the process of completely removing all soil from the roots of a bonsai tree. You expose the entire root system, rinse it clean with water, inspect the roots, prune as needed, and then repot the tree into fresh bonsai soil.
For Serissa, this process serves several key purposes:
- Removes exhausted or compacted soil that no longer drains well
- Reveals hidden root rot before it spreads and kills the tree
- Untangles circling or crossed roots that can strangle the tree over time
- Allows full inspection of root health and structure
- Prepares the tree for a fresh, well-draining growing medium
Root washing is not just repotting — it is a deep reset for the entire underground system of your tree.
Is Root Washing Safe for Serissa Bonsai?
Serissa is famously sensitive. It drops leaves in response to changes in light, temperature, humidity, and even being moved from one side of a room to the other. This reputation makes many beginners afraid to touch the roots at all.
Here is the truth: Serissa can handle root washing very well — if you time it correctly and minimize stress.
The biggest mistakes beginners make are:
- Root washing at the wrong time of year
- Leaving roots exposed to air for too long
- Cutting too much root mass in one session
- Placing the tree in harsh conditions immediately after
Avoid these mistakes and your Serissa will reward you with vigorous new growth.
When to Root Wash Your Serissa Bonsai
Timing is everything with Serissa root work.
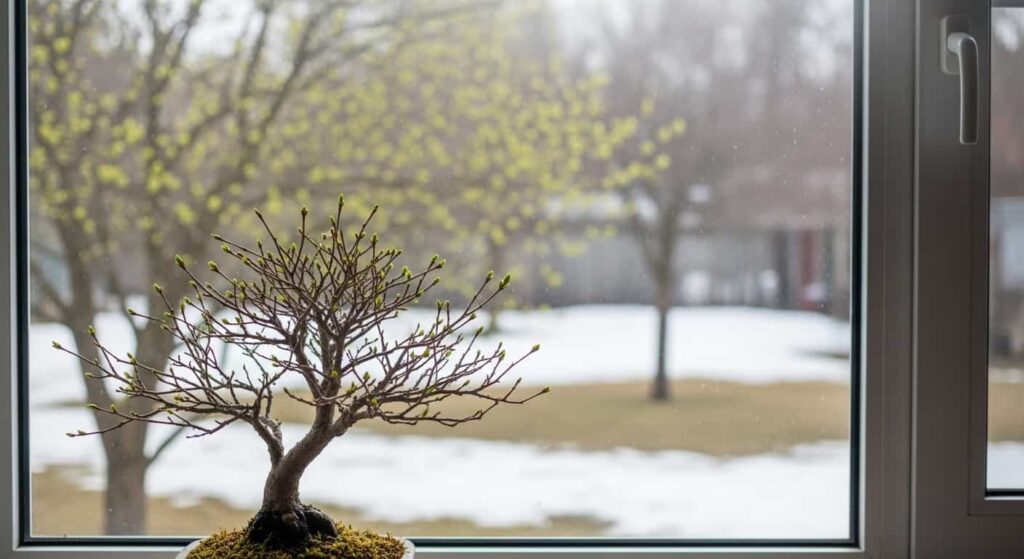
The ideal window is late winter to early spring, just before the tree breaks dormancy and new growth begins to push. At this point, the tree has its energy reserves ready but has not yet committed them to new shoots. The roots heal quickly, and fresh soil is ready to support the burst of spring growth.
A secondary window exists in early fall, after the summer growth has hardened off but before temperatures drop sharply.
Avoid root washing during:
- Mid-summer heat — the tree is already stressed by high temperatures and active growth
- Full dormancy in winter — root regeneration slows dramatically in the cold
- Flowering periods — Serissa blooms are fragile; root disturbance will cause immediate bud and flower drop
- After recent repotting, never root wash a tree that was repotted within the last 12 months without a very good reason (such as severe root rot)
If you notice signs of root rot, waterlogged soil, or severe decline, you may need to root wash as an emergency measure, regardless of season — but do so with extra care and provide ideal recovery conditions afterward.
Tools You Will Need
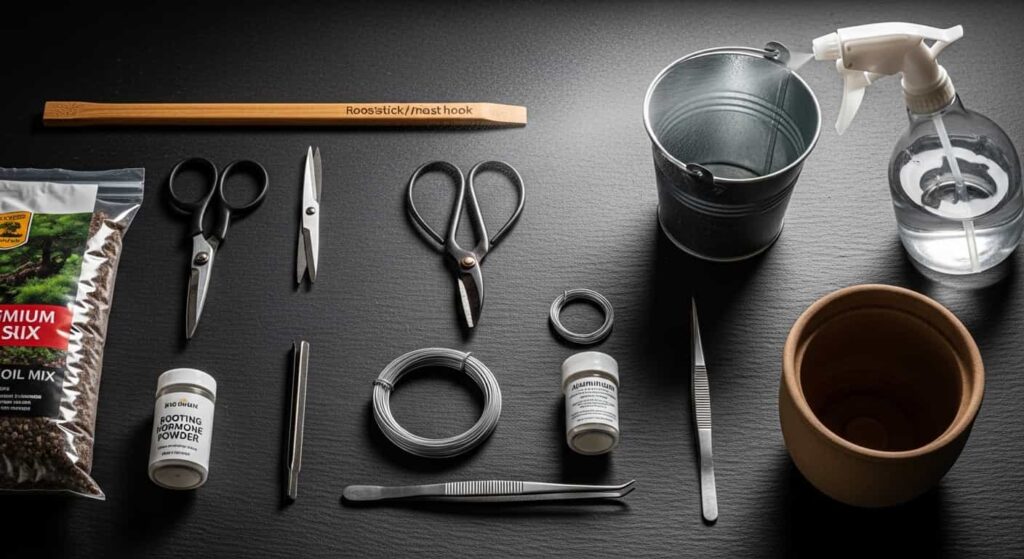
Gather everything before you start. You do not want to stop mid-process with bare roots drying in the air while you look for scissors.
| Tool | Purpose |
|---|---|
| Root hook or chopstick | Loosening soil from roots gently |
| Fine-tipped bonsai scissors | Trimming dead or damaged fine roots |
| Sharp bonsai pruning shears | Cutting thicker, damaged roots cleanly |
| Bucket or tub of room-temperature water | Rinsing roots |
| Spray bottle with water | Keeping roots moist during inspection |
| Bonsai soil mix | Fresh, well-draining medium for repotting |
| Clean bonsai pot | Prepared and clean |
| Wire mesh and pot drainage wire | Covering drainage holes |
| Rooting hormone powder (optional) | Stimulates recovery on fresh root cuts |
| Tweezers | Removing debris from fine root clusters |
Always clean and sterilize your cutting tools before use. Contaminated tools introduce bacteria and fungi directly into open root wounds.
Step-by-Step: How to Root Wash a Serissa Bonsai
Step 1: Water the Tree 24–48 Hours Before
Water your Serissa thoroughly one to two days before the planned root washing. Moist soil is much easier to remove without tearing roots, and a well-hydrated tree handles the stress better than a dry one.
Do not fertilize in the weeks leading up to root washing. You want the tree in a calm, steady state — not in the middle of a growth response.
Step 2: Remove the Tree from Its Pot
Tip the pot gently on its side and ease the root ball out. If the tree is root-bound, run a thin tool around the inside edge of the pot to free the roots from the walls.
Never yank the trunk. If the tree resists, be patient and work methodically around the edges.
Lay the root ball on a clean work surface. Take a moment to observe the overall shape and density of the root mass before you begin removing soil.
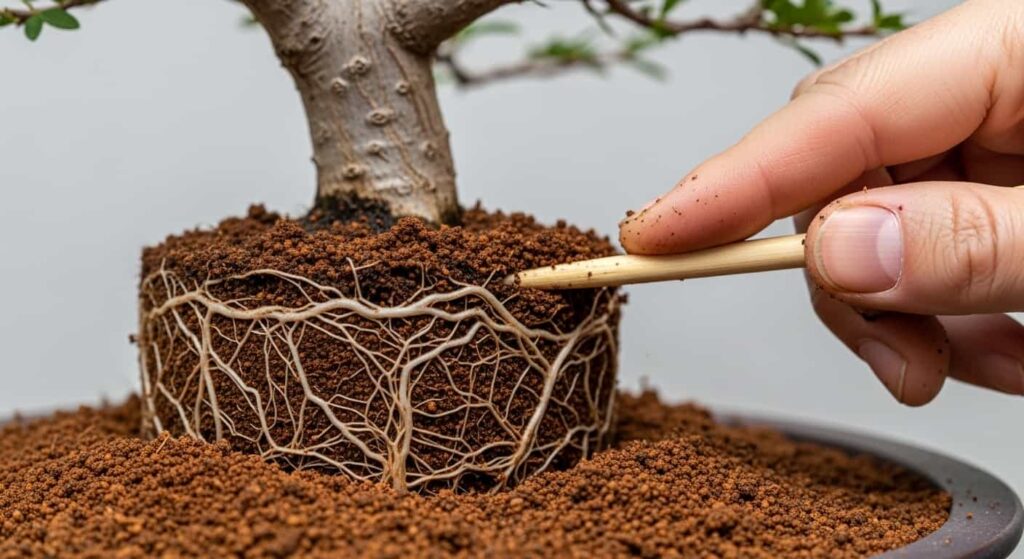
Step 3: Loosen the Soil with a Root Hook
Use a chopstick or root hook to gently tease soil away from the roots, starting from the outer edges of the root ball and working inward. Move with the direction of the roots — never jab or pry across them.
Work slowly. The fine feeder roots of Serissa are delicate and easily torn. Damaged feeder roots mean slower recovery after repotting.
As you loosen soil, let it fall away rather than pulling it free. Gravity is your friend here.
Step 4: Rinse the Roots in Water
Once most of the soil is loosened, submerge the root ball in a bucket of room-temperature water. Gently swish and agitate to wash away remaining soil particles.
Use your fingers to gently separate root clusters and rinse between them. Repeat with fresh water if needed until the roots are fully clean and visible.
Never use cold tap water directly from the faucet. Let water sit for at least 30 minutes to reach room temperature and allow chlorine to dissipate. Cold water shocks the roots and can cause immediate stress to Serissa.
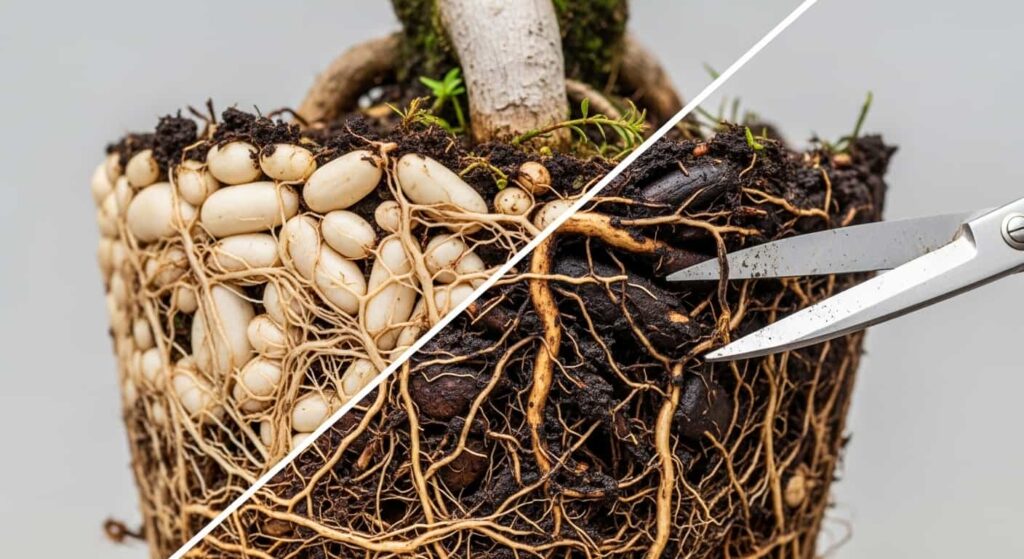
Step 5: Inspect the Root System
This is the most valuable part of the entire process. With the roots fully visible, take time to examine them carefully.
Healthy roots are white to light tan, firm to the touch, and slightly flexible. They should not smell foul.
Look for:
- Black or brown mushy roots — these are rotted and must be removed entirely
- Very long, circling roots — these will eventually girdle the tree and should be trimmed back
- Broken or frayed roots — trim cleanly to prevent rot spreading from the damaged ends
- Overly dense root clusters — thin these out to allow better water and oxygen penetration
- Insects or pest eggs — rare but possible; rinse and treat accordingly
Keep the roots misted with your spray bottle throughout the inspection. Serissa roots should never be allowed to dry out during this process.
Step 6: Prune the Roots
Using clean, sharp tools, make precise cuts on any roots that need to be removed or shortened.
Basic root pruning principles for beginners:
- Remove all dead, rotted, or mushy roots completely — cut back to healthy white tissue
- Shorten any roots that extend beyond the planned pot dimensions by about one-third
- Avoid removing more than 25–30% of the total root mass in a single session on a healthy tree
- If root rot is severe and you must remove more than 30%, also trim back a proportional amount of foliage to reduce the water demand on the diminished root system
- Make cuts at a slight angle to discourage water from sitting on the cut surface
- Apply rooting hormone to larger cut surfaces to encourage faster healing
After pruning, give the roots one more gentle rinse.
Step 7: Prepare the New Pot and Soil
While your Serissa’s roots are briefly wrapped in a damp cloth or misted regularly to stay hydrated, prepare the new pot.
Place wire mesh over the drainage holes and secure it with tie-down wire. Add a thin layer of coarse drainage material — pumice or coarse grit — to the bottom of the pot.
For Serissa, the ideal soil mix is fast-draining and slightly acidic, such as:
- 60% Akadama
- 20% pumice
- 20% fine grit or perlite
Some growers add a small amount of composted bark for moisture retention. Avoid heavy peat-based mixes — they retain too much moisture for Serissa and invite root rot, the very problem you just cleaned up.
Step 8: Position and Repot the Tree
Create a small mound of soil in the center of the pot. Place the tree on the mound, adjusting the root flare so it sits at the correct height — the nebari (surface roots) should sit just at or slightly above the final soil level.
Fan the roots out naturally over the mound. Avoid folding, bending, or cramming roots to fit the pot. If roots do not fit comfortably, consider a slightly larger container.
Carefully work fresh soil down between the roots using a chopstick, eliminating air pockets. Air pockets in the soil cause roots to dry out and die in localized zones.
Secure the tree with tie-down wire through the drainage holes if needed, especially for trees in shallow training pots.
Step 9: Water Thoroughly
Once repotted, water the tree deeply and slowly until water runs freely from the drainage holes. This settles the soil and ensures good contact between roots and growing medium.
Some growers use a very dilute seaweed solution in the first watering to support root development. This is optional but beneficial.
Post-Root Wash Care for Serissa
The recovery period is just as important as the root washing itself.
Light
Place the tree in bright, indirect light for two to four weeks after root washing. Avoid direct intense afternoon sun during recovery — the diminished root system cannot support the water demands of full sun exposure just yet.
Watering
Water carefully. The reduced root mass cannot process as much water as before, and overly wet soil now will cause more root rot — undoing all your work. Check moisture by pressing a finger or a chopstick an inch into the soil before each watering.
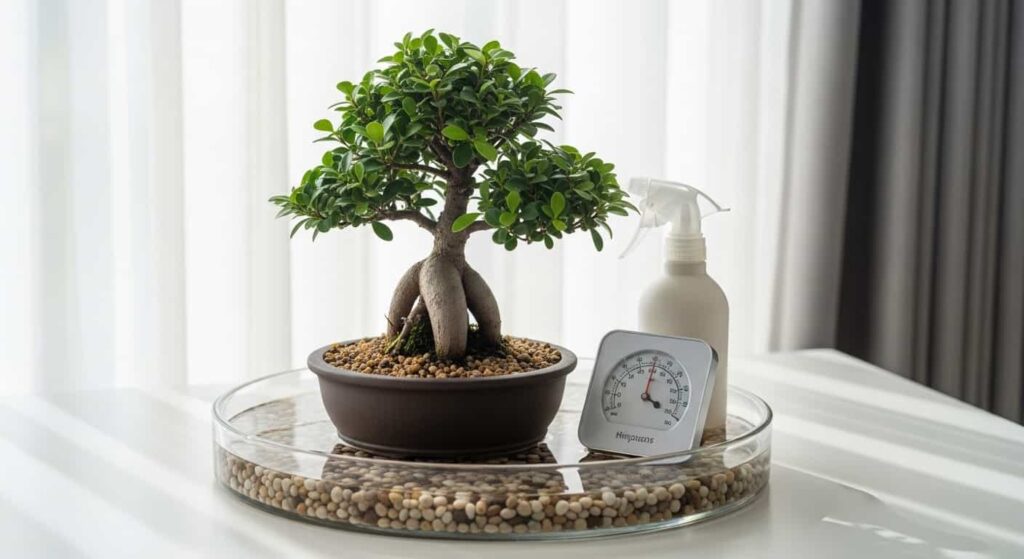
Humidity
Serissa loves humidity. A humidity tray filled with pebbles and water placed beneath the pot (not touching the drainage holes) helps maintain moisture in the air around the foliage without waterlogging the roots.
Fertilizing
Do not fertilize for at least four to six weeks after root washing. The fresh root cuts are vulnerable, and fertilizer salts can burn them before they heal. Once you see new growth emerging — a reliable sign that the root system is recovering — you can resume a gentle fertilizer regimen.
Temperature
Protect the tree from frost, strong wind, and temperature extremes during recovery. Keep it in a stable, warm environment.
Leaf Drop
Some leaf drop after root washing is completely normal for Serissa. Do not panic. As long as the branches remain flexible and green, the tree is alive and recovering. Resist the urge to overwater or move the tree repeatedly — stability is what it needs most.
Common Beginner Mistakes to Avoid
| Mistake | Why It Matters |
|---|---|
| Root washing during bloom | Causes immediate flower and bud drop |
| Leaving roots exposed too long | Cutting more than 30% of the root mass |
| Shocks the roots and stresses the tree | Overwhelms the tree’s ability to recover |
| Using cold water for rinsing | Moving the tree repeatedly during recovery |
| Repotting into water-retentive soil | Invites root rot right after cleaning |
| Fertilizing too soon after repotting | Burns healing root cuts |
| Moving tree repeatedly during recovery | Serissa hates instability; pick a spot and leave it |
How Often Should You Root Wash a Serissa?
Root washing is not an annual routine for Serissa — it is a targeted intervention when needed.
As a general guideline:
- Young, developing trees are being trained aggressively: every two to three years
- Established, mature trees in stable health: every three to five years
- Emergency root washing when root rot or severe soil degradation is detected: whenever necessary, regardless of schedule
Regular repotting (without full root washing) can be done more frequently to refresh the soil surface and trim fine root tips, typically every one to two years for younger trees.
Final Thoughts
Root washing a Serissa bonsai is not something to fear — it is one of the best things you can do for your tree’s long-term health. A clean, well-structured root system supports everything you see above the soil: the elegant branches, the fine foliage, and the thousands of tiny white stars it rewards you with every year.
Take your time, work with care, and respect the tree’s post-repotting needs. Serissa asks for patience and consistency. Give it those, and it will thrive for decades under your care.