

The life cycle of an orchid plant begins with a microscopic seed.
Under ideal conditions, this seed germinates into a protocorm.
It develops into a seedling, then enters a long vegetative stage focused on leaf and root growth.
Once mature, the orchid produces a flower spike and enters the blooming stage.
Eventually, the flowers fade, and the plant rests.
After a period of dormancy, this natural cycle repeats.
Orchids are captivating plants with an exotic beauty.
Yet, many people feel intimidated by them.
They believe orchids are difficult to keep alive.
Understanding the life cycle of an orchid plant is the key to demystifying their care.
It helps you appreciate their incredible journey.
From a speck of dust-like seed to a magnificent blooming plant, the orchid life cycle is a story of patience.
This guide will walk you through every phase of an orchid’s life.
We will explore the intricate stages of orchid growth.
Whether you’re a beginner or an experienced grower, knowing the orchid growth cycle empowers you.
We will also suggest the right tools and supplies to help your plant thrive at every step.
What is the Life Cycle of an Orchid?
The life cycle of orchids describes the series of stages a plant goes through.
It starts as a seed and becomes a mature, flowering plant that can reproduce.
Unlike many common houseplants, the orchid lifecycle is uniquely slow.
It has specific requirements at each phase.
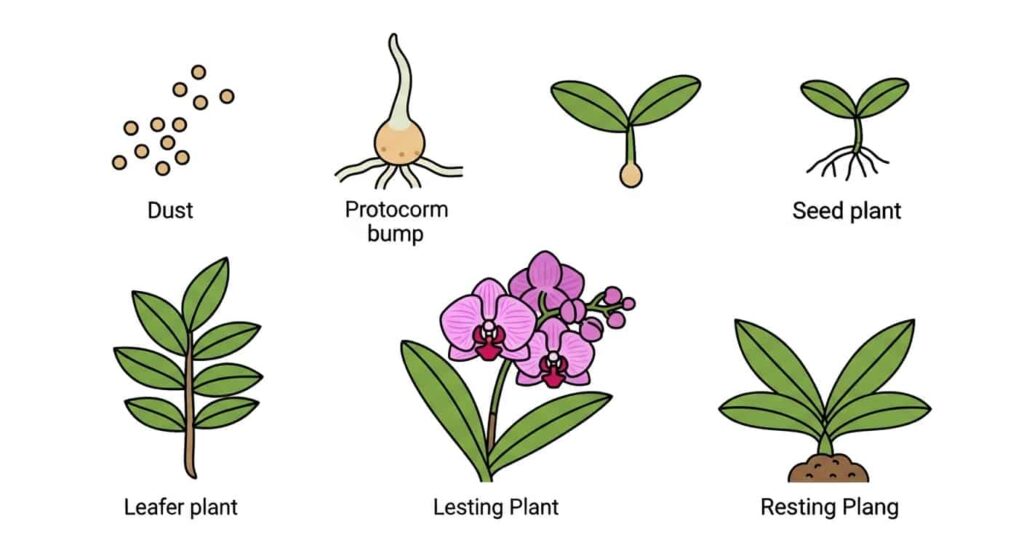
The main stages are: seed, protocorm, seedling, vegetative growth, flowering, and dormancy.
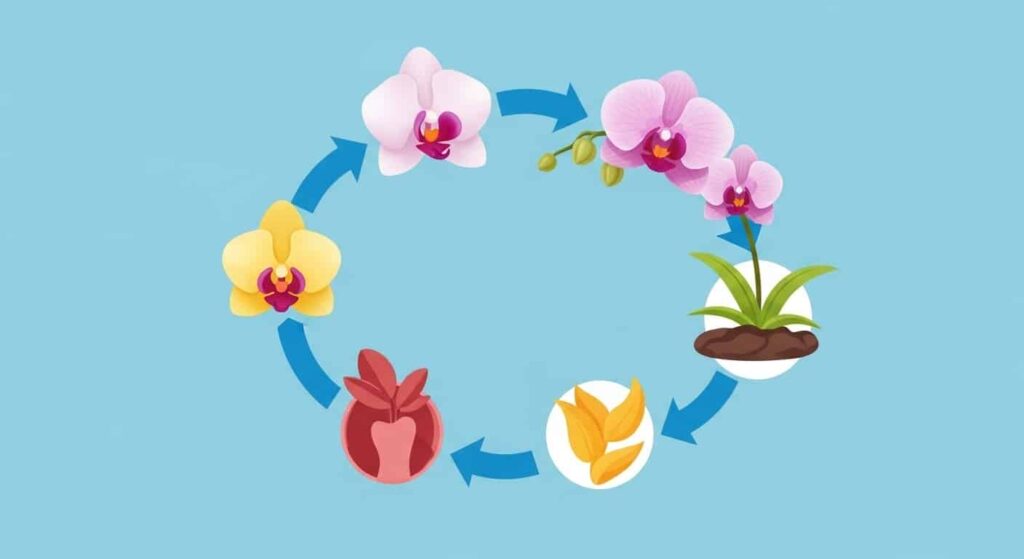
The Six Main Orchid Stages
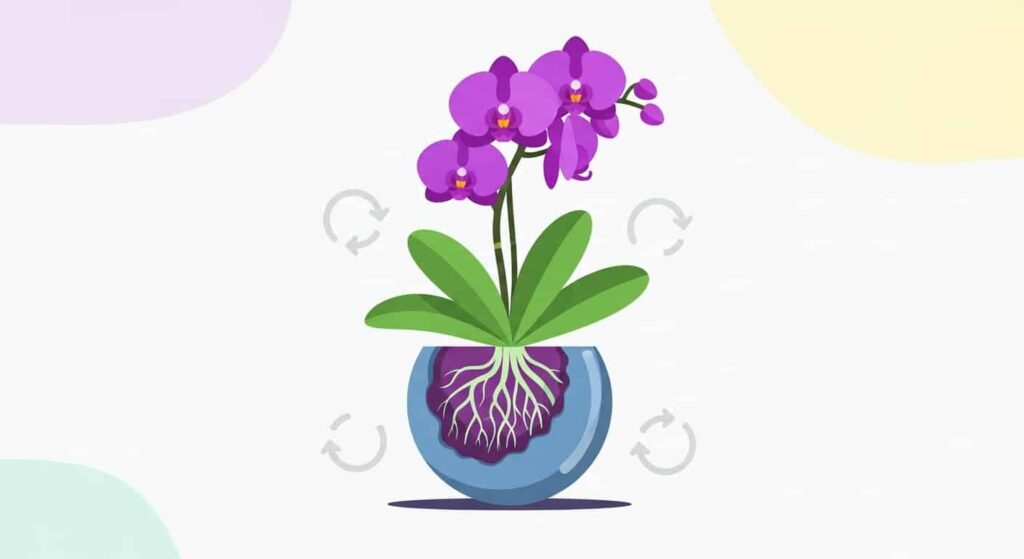
Imagine the orchid plant life cycle as a circle.
Each stage transitions into the next.
With proper care, the cycle of growth, blooming, and rest can continue for decades.
- Seed Stage: The starting point where a microscopic seed needs fungi to germinate.
- Protocorm Stage: The germinated seed forms a small, tuber-like structure.
- Seedling Stage: First leaves and roots appear.
- Vegetative Stage: The plant focuses on growing leaves and a strong root system.
- Flowering Stage: The plant produces a spike, buds, and blooms.
- Dormancy/Resting Stage: The plant rests to conserve energy.
Stage 1: The Microscopic Seed
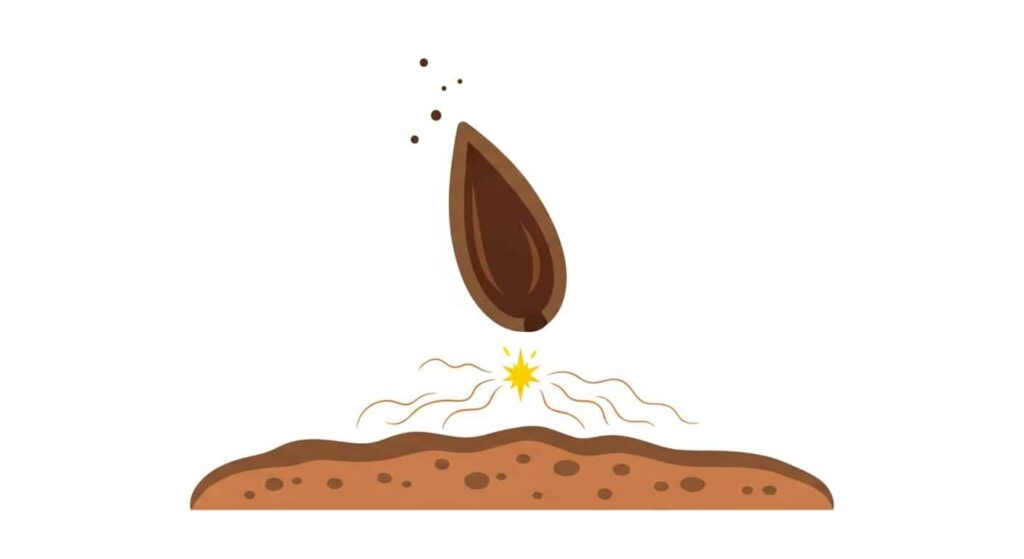
The life cycle begins differently than most other flowering plants.
An orchid seedpod can contain up to three million seeds.
Each seed is incredibly tiny, like a speck of dust.
These seeds lack the nutrient-rich tissue that feeds the embryo in typical seeds.
In the wild, they rely on a symbiotic relationship with specific fungi to sprout.
How Long Do Orchids Take to Grow from Seed?
Growing an orchid from seed is a slow process.
In a lab, germination can take several months.
From germination to the first flower can take three to seven years.
Phalaenopsis orchids typically take two to three years to bloom from a seedling.
Pro Tip for Enthusiasts:
Most home growers skip the seed stage because it requires sterile lab conditions (flasking). If you are adventurous, you can buy Orchid Flasking Kits that provide the sterile agar jelly needed to germinate seeds at home.
Stage 2: The Protocorm

Once the seed germinates, it enters the protocorm stage.
A protocorm is a small mass of cells.
It looks like a tiny, pale green bump.
During this phase, it relies on nutrients from fungi or lab gel.
Over several months, it develops hair-like structures to absorb food.
Eventually, the first primitive leaves emerge.
This marks the beginning of a recognizable plant structure.
Stage 3: The Seedling
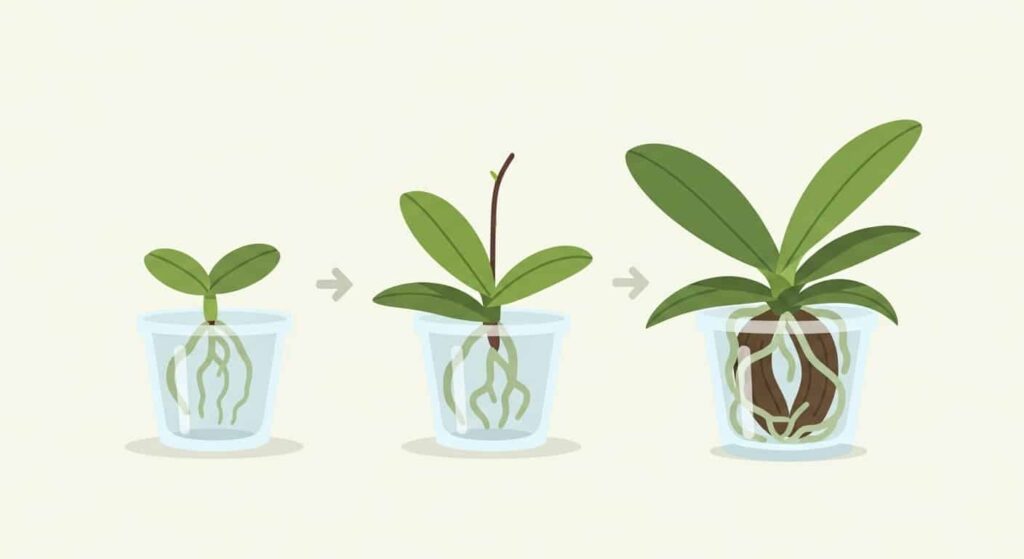
The seedling stage is where the plant begins to look like a miniature orchid.
Once the protocorm has true leaves and roots, it is a seedling.
It can now create its own food from light.
However, it is still incredibly fragile.
Seedlings are often grown in community flasks for months.
This is one of the most vulnerable orchid growing stages.
They are sensitive to changes in humidity and temperature.
Essential Gear for Seedling Success
If you are buying young seedlings (often called “plugs”), they need a stable environment. They dry out very fast compared to adult plants.
| Tool | Why You Need It |
|---|---|
| Seedling Heat Mat | Keeps the root zone warm, which encourages faster growth in young plants. |
| Humidity Dome | Traps moisture to keep the fragile leaves from drying out. |
| Sphagnum Moss | The best potting medium for seedlings as it holds moisture evenly. |
Stage 4: The Vegetative Growth Stage
After the seedling is established, it enters the vegetative stage.
This period can last for several years.
The orchid’s entire focus is on growth.
It will not produce flowers yet.
Energy is directed toward a strong foundation.
Key Developments
Leaf Growth: The orchid produces new, larger leaves.
A Phalaenopsis typically needs 3-4 pairs of mature leaves to flower.
Root Growth: A robust root system expands significantly.
Roots anchor the plant and absorb nutrients.
Green roots on epiphytic orchids also photosynthesize.
Best Supplies for Vegetative Growth
During this stage, your goal is to build a monster root system. The bigger the roots now, the better the flowers later.
1. The Right Pot
Switch to Clear Plastic Slotted Pots. These allow you to see the root health without unpotting the plant. The slots provide the airflow that orchid roots crave to prevent rot.
2. The Right Soil (Media)
Never use regular potting soil. Mature orchids need airflow.
- Fir Bark Chips: Great for drainage and airflow (Standard choice).
- Clay Pebbles (LECA): Excellent for semi-hydroponic setups.
- Perlite/Charcoal Mix: Keeps the mix fresh and airy.
3. Growth Fertilizer
Look for a High-Nitrogen Orchid Fertilizer (often labeled as “Grow” formulas). Nitrogen promotes green, leafy growth. Apply this “weakly, weekly” (diluted to quarter strength).
Stage 5: The Flowering Stage

This is the moment every orchid owner waits for.
The transition from growth to flowering is visually spectacular.
It is triggered by environmental cues.
For Phalaenopsis, a drop in nighttime temperature often triggers the bloom.
A drop of 10-15°F (5-8°C) for several weeks in the fall works well.
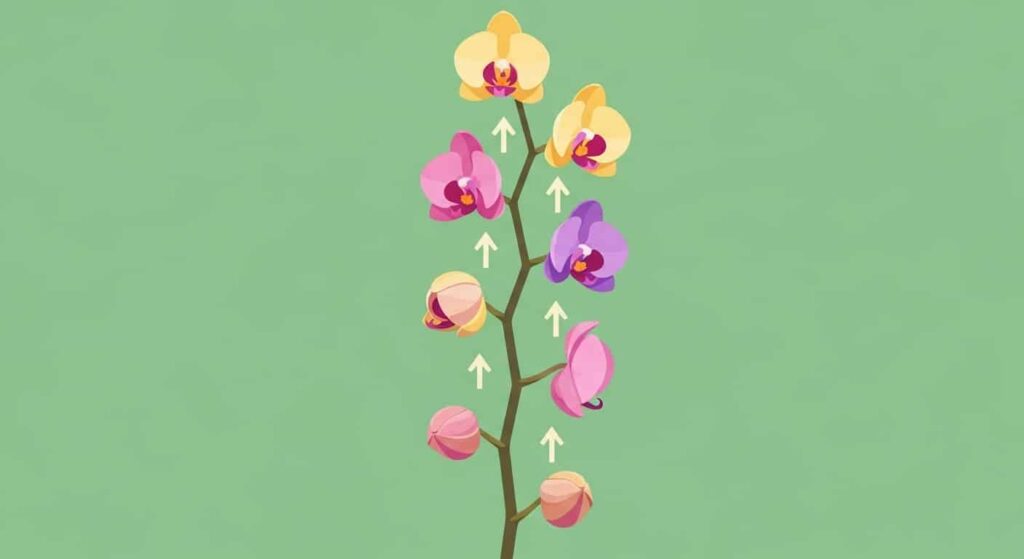
The Progression of a Bloom
1. Flower Spike Emerges: A mitten-shaped node appears between leaves.
2. Spike Elongation: The spike grows tall over several weeks.
3. Bud Formation: Small bumps form and swell into buds.
4. The Bloom: Buds open into flowers.
Tools for the Perfect Display
As the spike grows, it can become top-heavy. You need to support it to prevent snapping.
- Orchid Stakes: Bamboo or fiberglass stakes help guide the spike upward.
- Butterfly Clips: These gentle clips attach the spike to the stake without crushing the stem.
- Bloom Booster Fertilizer: Switch from your “Grow” fertilizer to a “Bloom” formula (high in phosphorus). This supports vibrant, long-lasting flowers.
Warning: Avoid moving the plant once buds form. Changing the light direction can cause the buds to twist or fall off (bud blast).
Stage 6: Dormancy and Rest
After the flowers fade, the plant enters dormancy.
This is a normal part of the orchid cycle.
The plant is not dying; it is resting.
It conserves energy for the next cycle.
Growth slows down significantly.
Caring for a Resting Orchid
Watering: Reduce frequency. Allow the medium to dry out more.
Fertilizing: Stop fertilizing or reduce significantly.
Pruning: You need to deal with the old flower spike.
Pruning Guide: What to Buy
You need clean cuts to prevent infection. Tearing the stem is dangerous for the plant.
- Sterile Pruning Snips: Use sharp, bypass pruners. Wipe them with alcohol before cutting.
- Cinnamon Powder: A natural fungicide. Dab a little household cinnamon on the cut end of the stem to seal the wound and prevent rot.
If the spike is green, cut above a node to try for a second bloom.
If the spike is brown, cut it at the base.
General Care for a Healthy Lifecycle
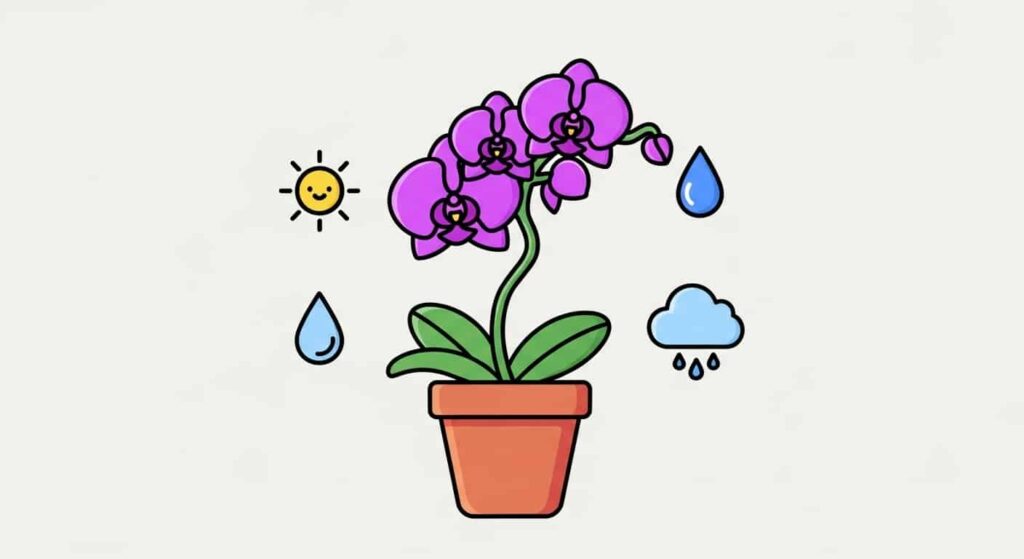
Maintaining a healthy life cycle depends on consistent care.
Light: Bright, indirect light is ideal.
- Recommendation: If you lack natural light, Full Spectrum LED Grow Lights are surprisingly affordable and effective for orchids.
Water: Use the “soak and dry” method.
- Recommendation: A Moisture Meter takes the guesswork out of watering. Stick it in the bark; if it reads dry, it’s time to soak.
Humidity: Orchids love moisture in the air.
- Recommendation: Place pots on Humidity Trays filled with pebbles and water, or run a Cool Mist Humidifier nearby.
Potting Medium: Use a coarse mix like bark or moss.
- Recommendation: Premium Orchid Mixes (like those from Repotme or similar brands) often combine bark, sponge rock, and charcoal for the perfect balance.
The Orchid Life Cycle for Kids
Explaining the orchid life cycle for kids can be fun.
Simplify the stages to make them easy to understand.
The Dusty Seed: An orchid seed is tiny as dust. It needs a fungus friend to grow.
The Little Ball: The seed grows into a tiny ball called a protocorm.
The Baby Plant: Little leaves and roots pop out. It becomes a seedling.
Growing Big and Strong: The orchid grows big leaves. It eats its “vegetables” (light and water) to get strong.
Flower Power: A long stem grows. Buds appear. Pop! They open into flowers.
Time for a Nap: The flowers fall. The plant takes a long nap to rest for next time.
Conclusion
The life cycle of an orchid is a remarkable journey.
It goes from a dust-like seed to a stunning bloom.
Each stage brings its own beauty and challenges.
Success comes from observing and learning.
It also comes from having the right tools for the job.
Whether you are a seasoned grower or a beginner, patience pays off.
Every new leaf and every new bloom is a reward.
With the right care and supplies, you can enjoy this cycle for years to come.