
You’ve selected the perfect miniature rose and gathered all your essential tools. Now comes the most exciting part: the hands-on process of planting. This is the moment you create a proper home for your new plant, setting the stage for its future growth and beautiful blooms. While it might seem intimidating, potting a rose is a simple and deeply satisfying process. This guide will walk you through every detail, from preparing the pot to the crucial first watering, ensuring your rose gets the best possible start in its new indoor environment.
Following these steps carefully will help your plant transition smoothly from its nursery container to its long-term home. We’ll cover how to handle the delicate root system, position the plant for optimal growth, and avoid the common pitfalls that can stress a newly potted rose. By the end of this guide, you’ll have the confidence and knowledge to plant your rose like a seasoned gardener.
Preparing for a Smooth Transition
Before you even touch the plant, taking a few moments to prepare your workspace and materials will make the entire process cleaner, faster, and more effective. Think of this as mise en place for gardening—everything in its right place.
Setting Up Your Potting Station
Planting can be a bit messy, so choose a location where you can easily clean up. A garage, balcony, or even a kitchen counter covered with a newspaper or a plastic tablecloth works well. Assemble all your supplies so they are within arm’s reach:
- Your chosen pot (with drainage holes)
- A saucer or tray to go underneath it
- A bag of high-quality potting mix
- Your new rose plant
- A watering can filled with room-temperature water
- Gardening gloves
Prepping the Container and Soil
Proper preparation of the pot and soil is a critical first step that directly impacts drainage and root health.
1. The Terracotta Soak: If you’re using a new terracotta pot, it’s essential to submerge it completely in water for at least 30 minutes, or until it stops bubbling. Dry terracotta acts like a sponge and will wick moisture away from the fresh potting mix, stressing the plant’s roots. Soaking ensures the pot is fully saturated and won’t compete with your rose for water. If you are reusing an old pot, scrub it thoroughly with hot, soapy water and a stiff brush, then rinse it well to remove any old soil residue or potential pathogens.
2. To Cover the Hole or Not? You may have heard advice to place a layer of gravel or large pottery shards (crocks) at the bottom of a pot to improve drainage. This is a persistent gardening myth that has been debunked. Instead of improving drainage, this layer actually creates a perched water table, raising the level of waterlogged soil higher in the pot and closer to the roots. The best practice is to simply cover the drainage hole with something that will prevent soil from washing out while still allowing water to escape freely. A single piece of a broken pot, a coffee filter, or a small square of mesh screen works perfectly.
3. Hydrate the Potting Mix: Open your bag of potting mix. You’ll notice it is often very dry and lightweight. It’s much easier to work with and better for the plant if you pre-moisten it. Pour a good amount of the mix into a separate bucket or bowl and add a little water, mixing it with your hands until it feels like a damp, wrung-out sponge. It should be moist but not dripping wet. This ensures that the soil around the root ball will be evenly hydrated from the start.
The Planting Process: A Detailed Walkthrough
With your materials prepped, you are ready to give your rose its new home. Work gently and methodically to minimize stress on the plant.
Step 1: Establish a Base Layer
Fill the bottom third of your new pot with the pre-moistened potting mix. Lightly press it down to remove any large air pockets, but avoid compacting it tightly. This layer will form the foundation upon which your rose’s root ball will sit.
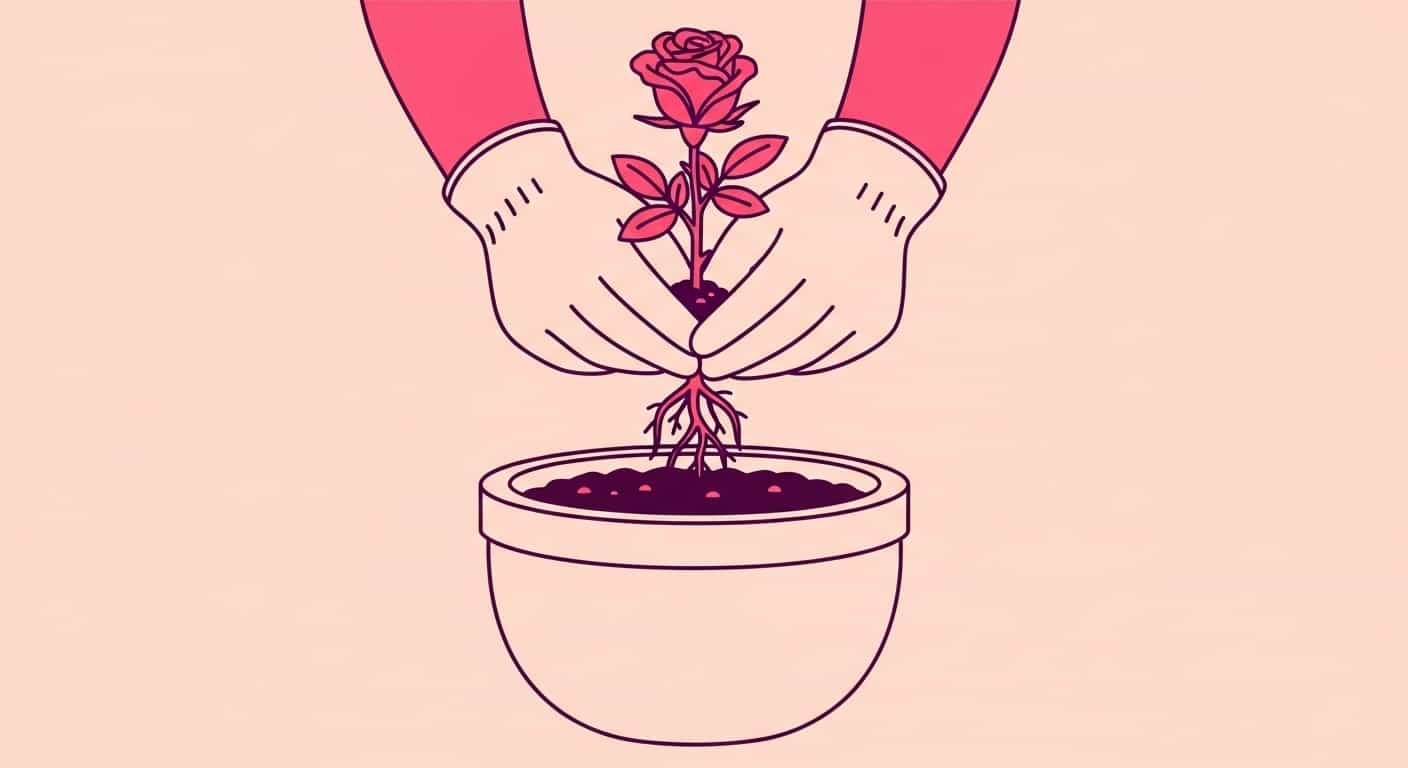
Step 2: Gently Remove the Rose from its Nursery Pot
This is a delicate operation. Never pull a plant out by its stems, as this can cause serious damage. Instead, turn the nursery pot on its side and gently squeeze the plastic to loosen the soil from the pot’s walls. Place one hand over the top of the soil, with the base of the rose canes between your fingers, and tip the pot upside down. The plant should slide out smoothly into your hand. If it’s stuck, a few firm taps on the bottom of the pot should dislodge it.
Step 3: Inspect and Tease the Roots
Now that the plant is free, take a moment to examine its root ball. This is your best opportunity to diagnose and correct any root issues.
- Healthy Roots: A healthy root system will be a network of firm, pliable roots, typically white or light tan in color.
- Addressing a Root-Bound Plant: More often than not, a plant from a nursery will be “root-bound,” meaning its roots have hit the edge of the pot and started to grow in a dense, circling pattern. If left this way, the roots will continue to circle in the new pot instead of growing outward into the fresh soil. This severely limits the plant’s ability to absorb water and nutrients. To fix this, you must gently “tease” the roots. Using your fingers, carefully pull at the bottom of the root ball to loosen the tangled mass. Try to uncoil any thick roots that are circling the exterior. Don’t be afraid to be firm; you will inevitably break some small roots, but this is a form of pruning that stimulates new, healthy growth into the surrounding soil.
Step 4: Perfecting the Planting Depth
Proper planting depth is crucial. If a rose is planted too deeply, its crown (the point where the roots and canes meet) can rot. If planted too high, the upper roots can dry out.
Place the entire root ball into the center of your new pot on top of the base layer of soil. The goal is to have the top surface of the root ball sit about one inch below the rim of the pot. This one-inch gap, known as headspace, is vital. It creates a reservoir that allows you to water thoroughly without it immediately spilling over the sides.
Add or remove soil from the base layer as needed to achieve this perfect height.
Step 5: Fill and Firm the Soil
Once the plant is positioned correctly, hold it steady with one hand and begin adding more pre-moistened potting mix into the pot, filling the space around the root ball. Use your fingers to gently firm the soil as you go, ensuring there are no large air pockets trapped around the roots. Fill the pot until the new soil is level with the top of the plant’s original root ball. Avoid piling new soil up against the main stems. The soil level should be even all the way across.
Initial Care: The First 24 Hours are Crucial
The steps you take immediately after planting are just as important as the planting process itself. This initial care helps the plant settle in and recover from the stress of being transplanted.
The First Thorough Watering
Immediately after potting, you must water the plant thoroughly. This is the most important watering you will give it. Slowly pour water over the entire soil surface until you see a generous amount running out of the drainage holes at the bottom and into the saucer. This initial flood accomplishes three things:
- It provides the roots with deep, immediate hydration.
- It helps the new potting mix settle, collapsing any remaining air pockets.
- It ensures the entire soil volume is evenly moist.
Let the pot drain for about 15-20 minutes, then empty the saucer. Allowing the pot to sit in a tray of water is the number one cause of overwatering and root rot.
Finding the Right Spot (for now)
While roses are sun-lovers, a freshly transplanted plant is under stress and can be scorched by intense, direct sunlight. For the first two or three days after potting, place your rose in a location that receives bright, indirect light rather than direct sun. This “recovery period” allows the plant to acclimate to its new home and begin establishing its roots without the added pressure of intense heat and light. After a few days, you can move it to its permanent location in the sunniest spot you have, or under its designated grow light.
Common Mistakes to Avoid During Planting
Being aware of common errors can help you sidestep them and ensure a flawless planting experience.
- Using a Pot Without Drainage: This is the cardinal sin of container gardening and will almost certainly lead to a dead plant. No exceptions.
- Planting Too Deeply: Piling soil up against the plant’s main stems or burying the crown can lead to stem rot. Ensure the top of the root ball is level with the surrounding soil.
- Not Loosening a Root-Bound Ball: Skipping this step is a major mistake. If the circling roots aren’t corrected, the plant will never properly establish itself in the new pot and will struggle to thrive.
- Forgetting to Water Thoroughly: A light sprinkle of water is not enough. The initial watering must be a complete saturation to settle the soil and hydrate the entire root system.
- Leaving Water in the Saucer: This creates a swamp at the bottom of the pot, suffocating roots and leading to rot. Always discard excess water.
- Compacting the Soil Too Tightly: While you want to remove air pockets, pressing the soil down with excessive force will ruin its structure, squeezing out the air that roots need to breathe. A gentle firming with your fingertips is all that’s required.
Planting your indoor rose is a foundational act of care that sets the tone for your entire gardening relationship. By taking your time and following these steps, you provide your plant with a stable, nurturing foundation. This careful beginning minimizes transplant shock and encourages the rose to quickly send out new roots, ensuring it will soon reward you with vigorous growth and a profusion of stunning flowers.